Pythonの学習が行えるように環境設定をしよう!
インストール
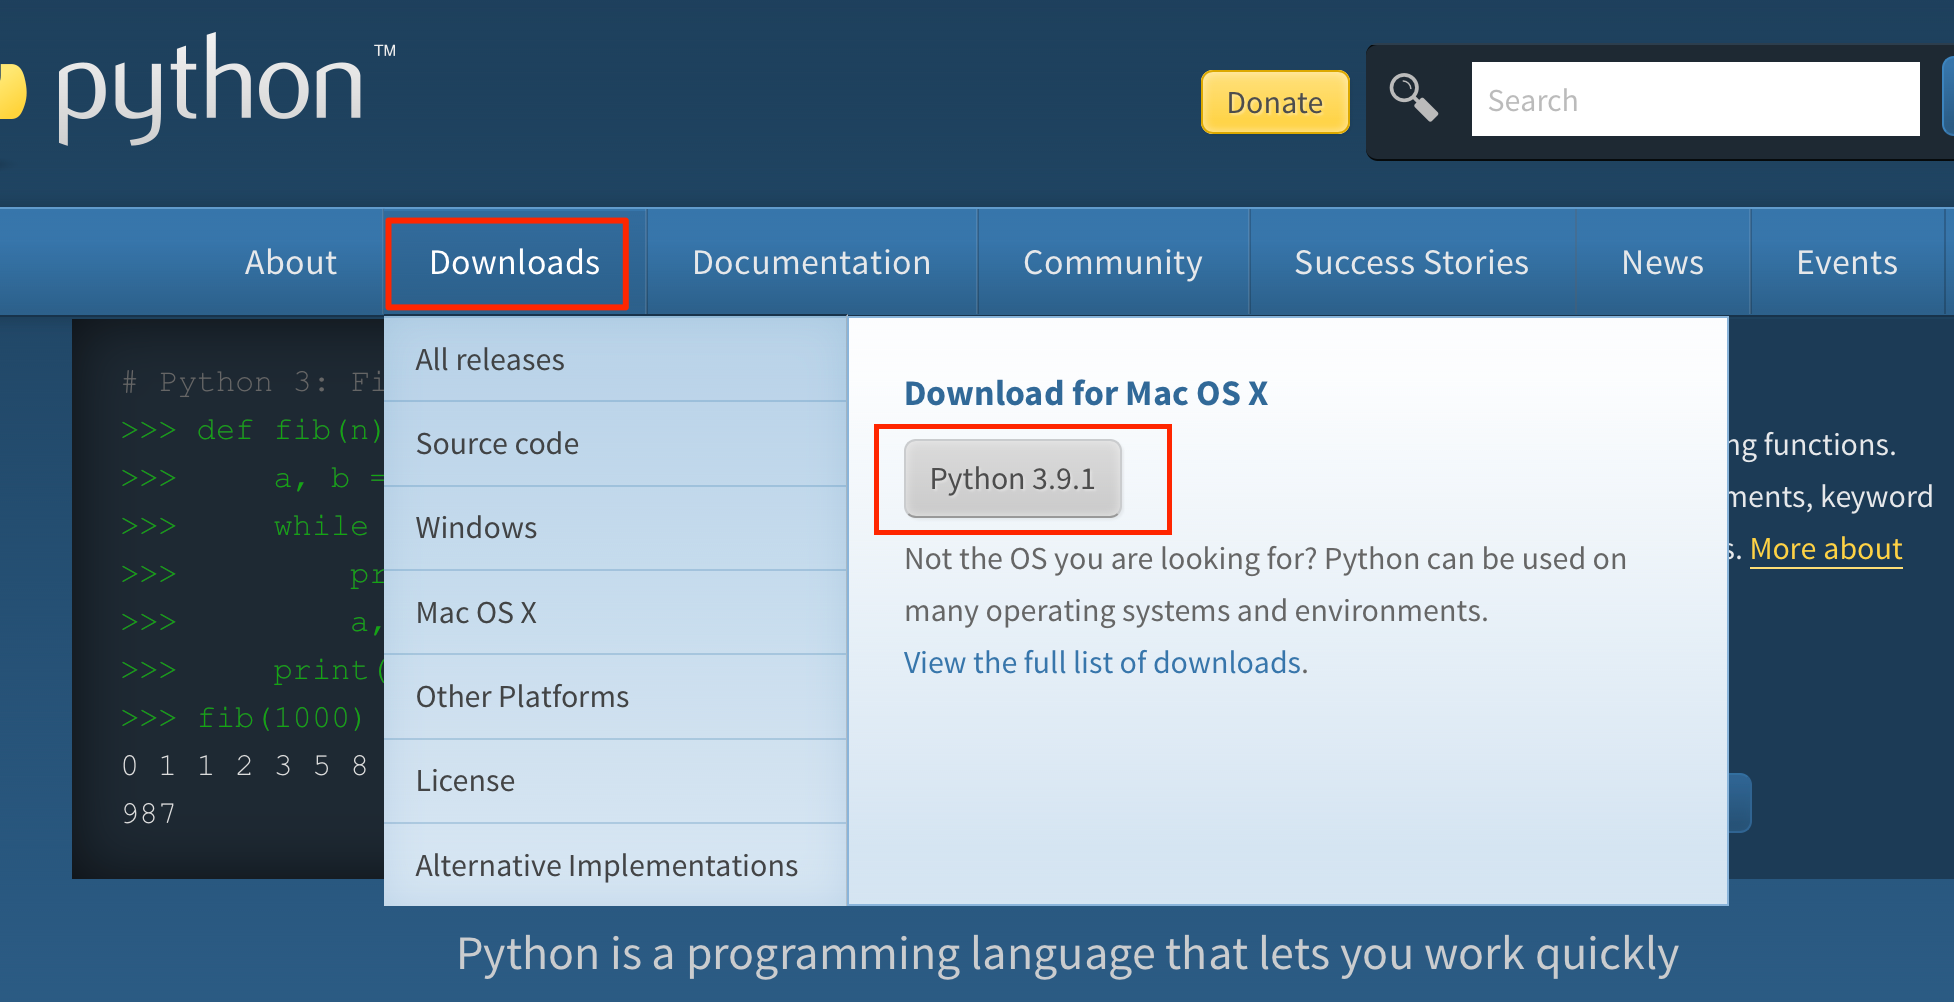
●まずは以下のURLにアクセス
https://www.python.org/
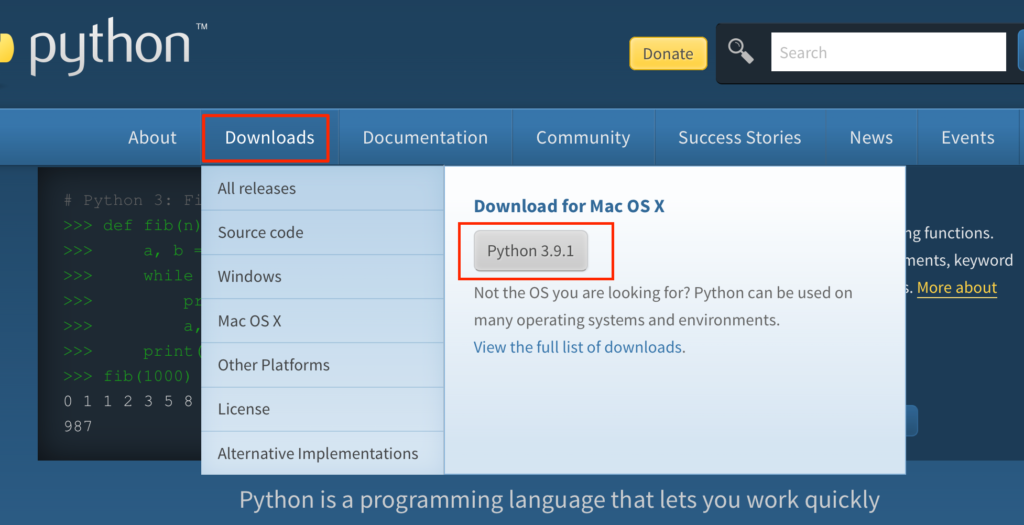
●downloadsタブからPython3.X.Xのダウンロードボタンを押す
●ダウンロードしたファイルをダブルクリックして実行する
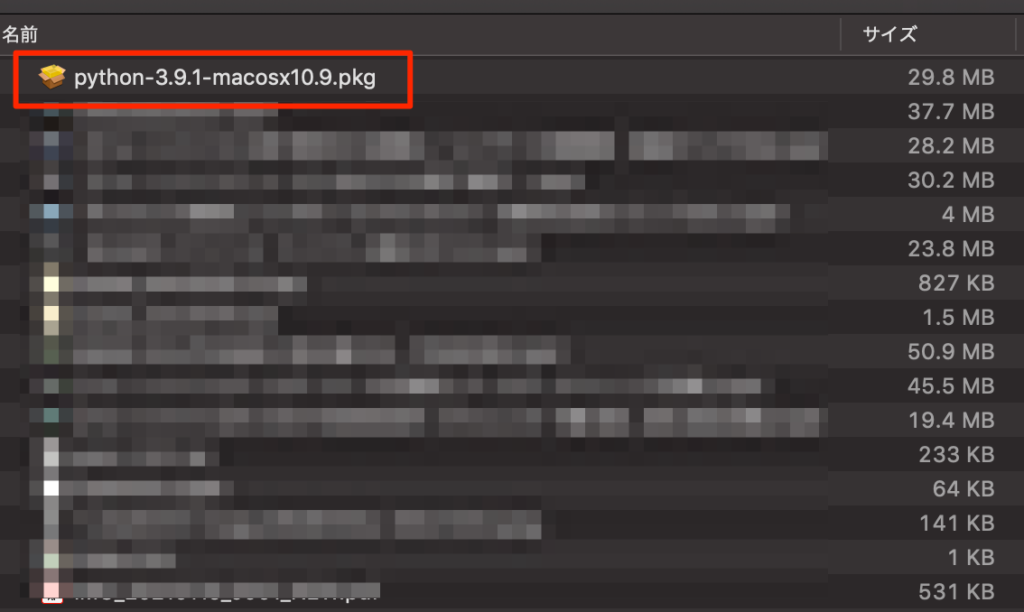
●続ける、続ける、同意などを押してインストールを続ける。
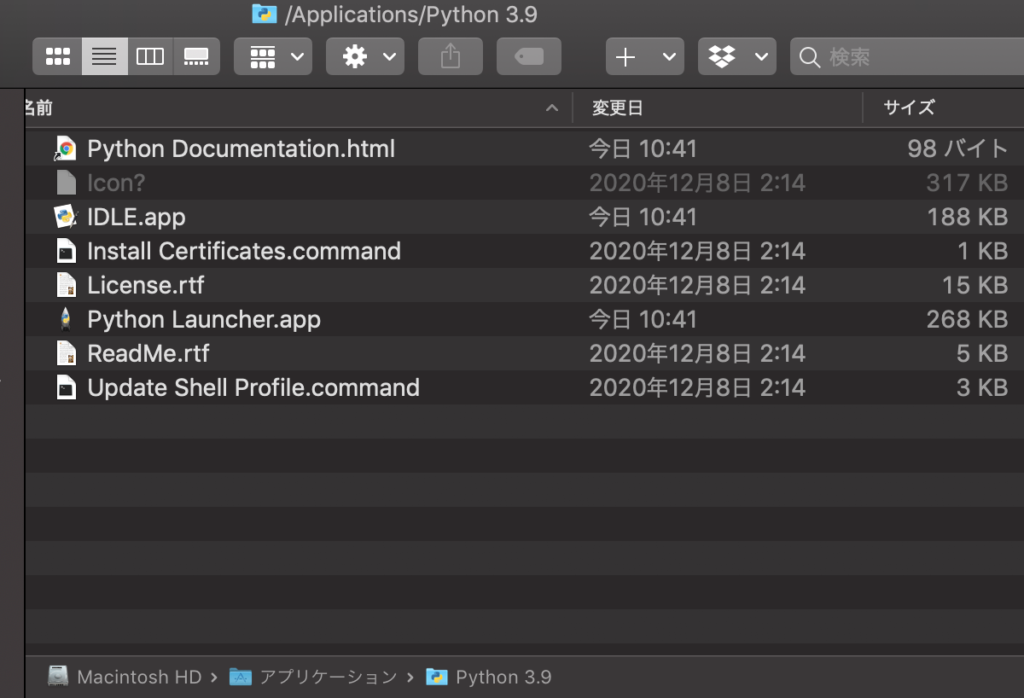
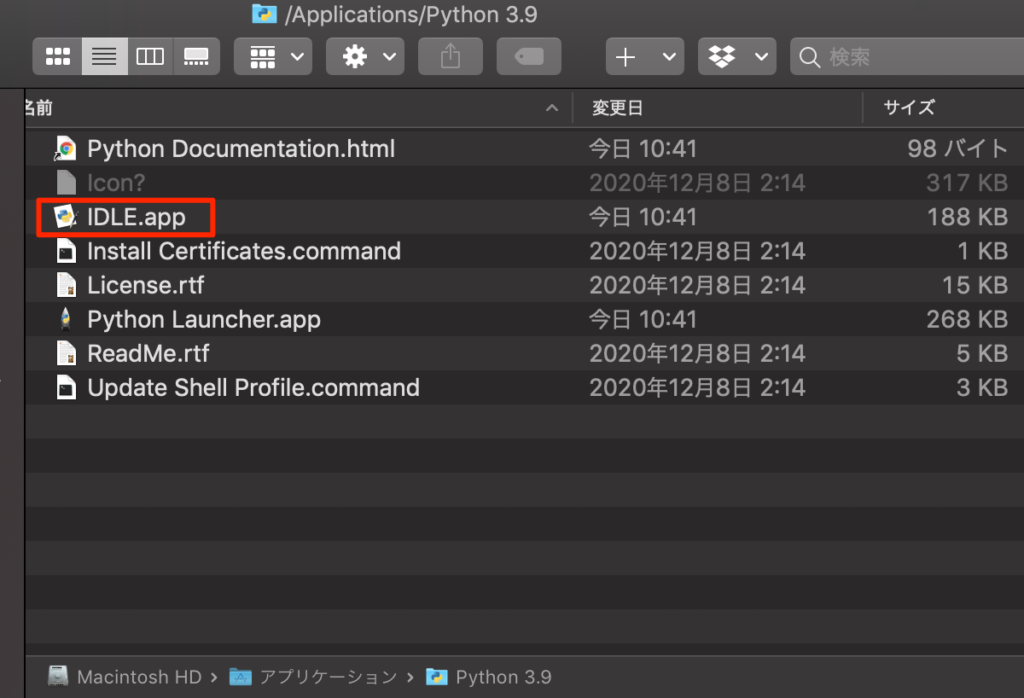
以下のようにアプリケーションフォルダにインストールされれば成功だ
起動
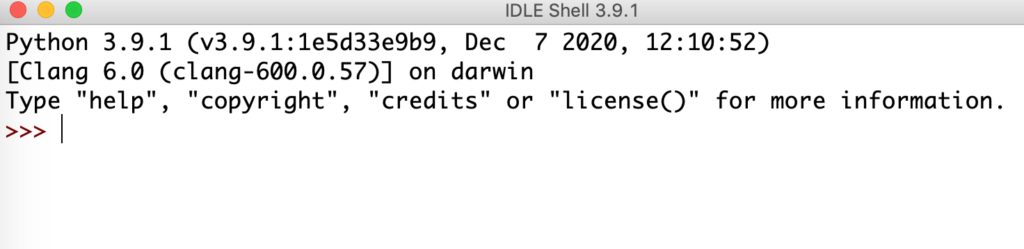
●アプリケーションに入っているIDLE.appをクリック
●以下のようにIDLEシェルが立ち上がれば成功だ。
Bashからの利用
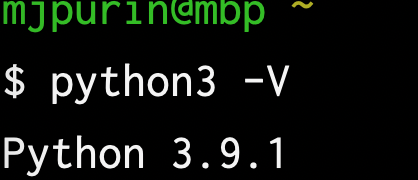
●Bash画面を開き以下を入力してみる
$ python3 -V
以下のようにバージョンが表示されればしっかりとパスが通っている
●ファイル作成
以下のように入力する
$ vi test.py
vimが開くので以下のように編集し保存する
print('Hello python')
●実行
ターミナルに戻り以下のように入力
$ python3 test.py
以下のように表示されれば成功だ

コメント