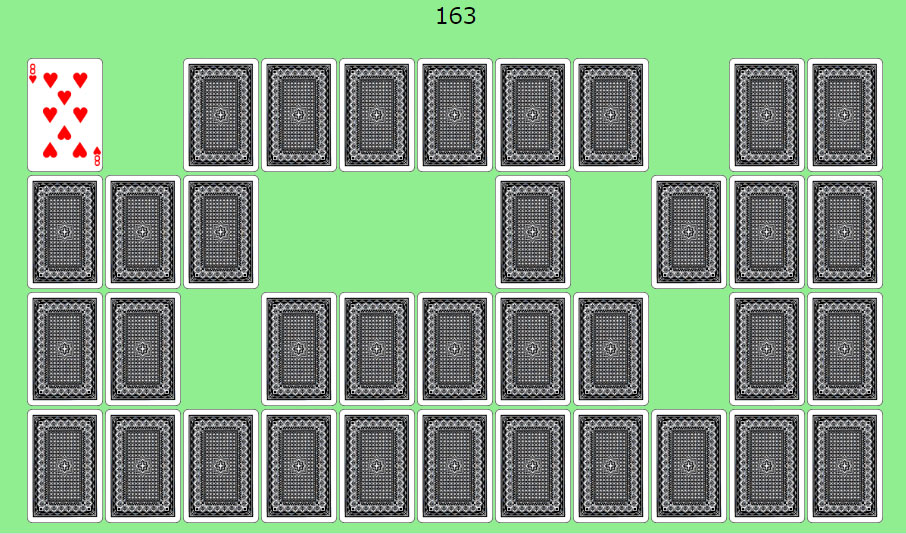
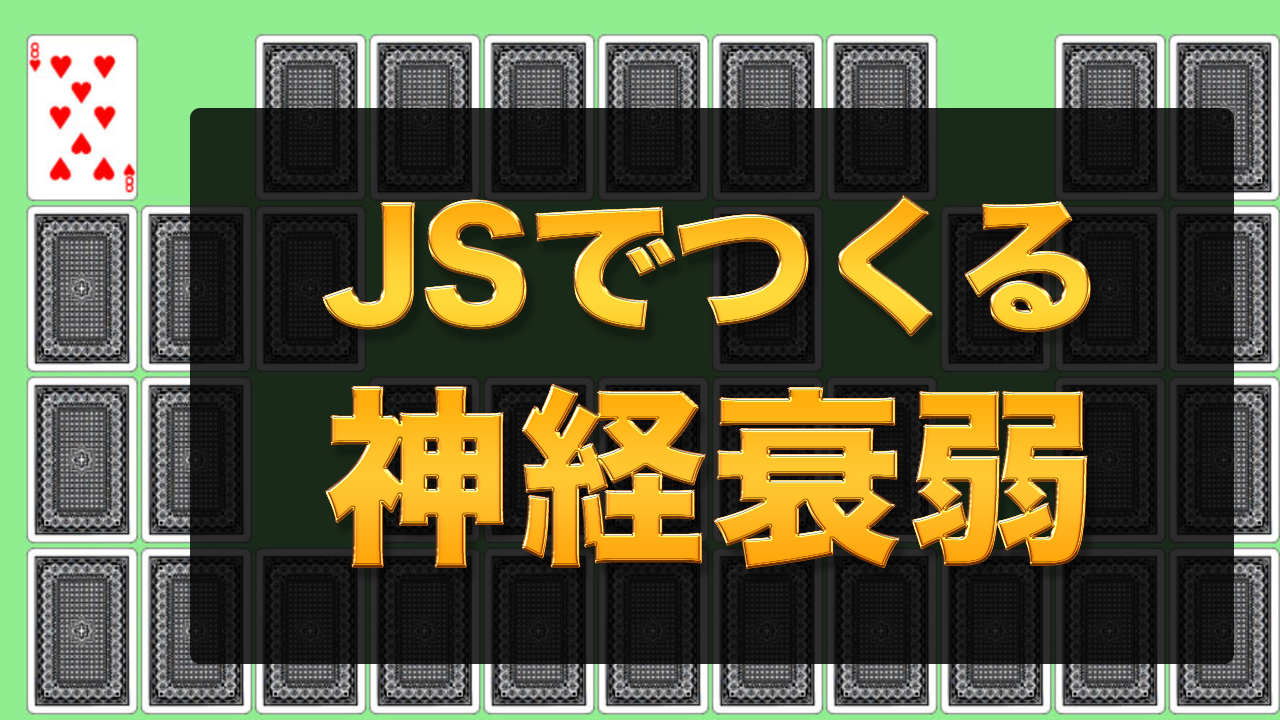
トランプ画像を使って神経衰弱ゲームを作ってみよう。
これは以前の記事を最新版としてhtml,css,jsを書き直したものだ。
以前はtableタグを使ってトランプを並べていたが、今回はgridを使ってトランプを配置している
準備編
1.まずは以下をダウンロードして、デスクトップに展開する
2.以下のようなフォルダ構成になっている。imagesフォルダにはトランプの画像素材が入っている
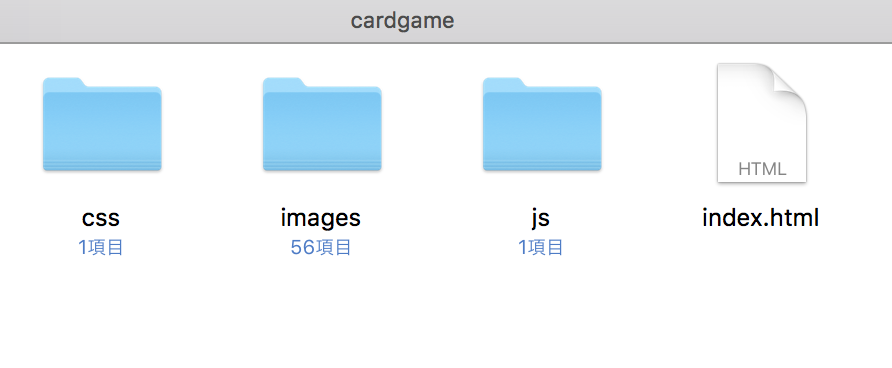
3.index.htmlはcssファイルとjsファイルの読み込み設定とボタン要素が一つとdiv要素が一つ配置されている
<!DOCTYPE html>
<html>
  <head>
    <meta charset="utf-8">
    <title>神経衰弱</title>
    <link rel="stylesheet" href="css/main.css">
    <script src="js/main.js"></script>
  </head>
  <body>
    <button id="startBt">START</button>
    <div id="cardgrid"> </div>
  </body>
</html>
4.main.jsはドキュメントの読み込みが完了したら処理を開始する記述をしてある。main.cssは背景色だけ設定してある状態だ。
'use strict';
document.addEventListener('DOMContentLoaded',()=>{

});
body{
background-color:lightgreen;
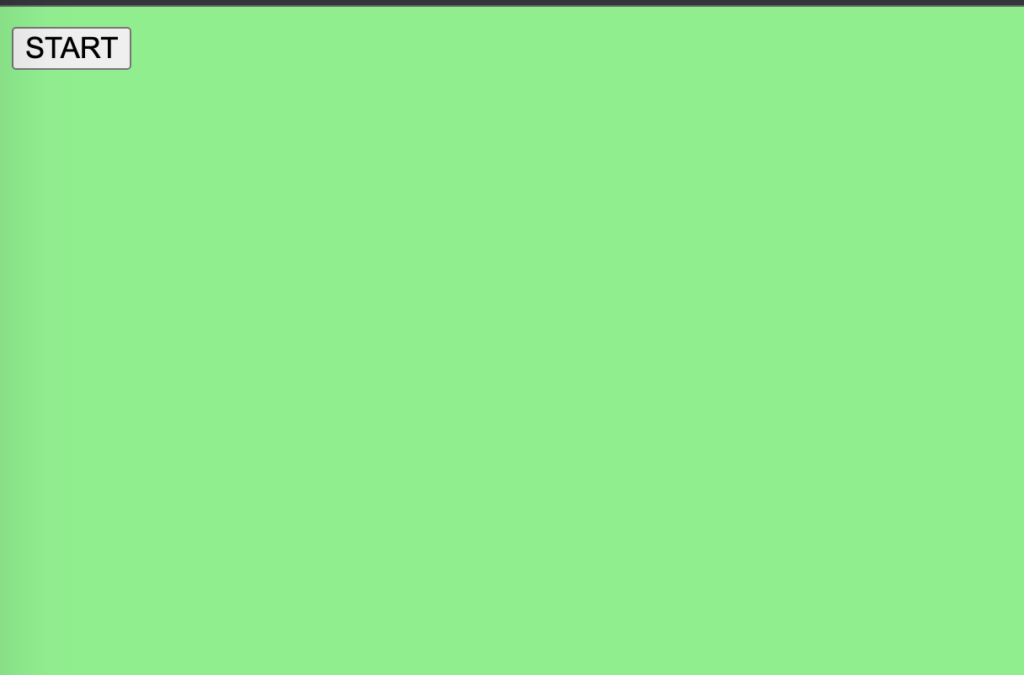
}5.index.htmlをブラウザで開いてみよう。以下のようにボタンが1つ表示されていればOKだ。
作成
main.jsの作成
1.main.jsを以下のように更新する。
'use strict';
document.addEventListener('DOMContentLoaded', () => {
// Cardクラス作成
class Card {
constructor(suit, num) {
this.suit = suit; // スート (s:スペード, d:ダイヤ...)
this.num = num; // 数字 (1, 2, ... 13)
}
}
// カード配列作成
const cards = [];
const suits = ['s', 'd', 'h', 'c']; // スートの種類 (スペード, ダイヤ, ハート, クローバー)
// 52枚のカードを作成
suits.forEach(suit => {
for (let num = 1; num <= 13; num++) {
cards.push(new Card(suit, num)); // 各カードを生成して配列に追加
}
});
// カードグリッドを初期化
const cardgrid = document.getElementById('cardgrid');
const initgrid = () => {
cards.forEach(card => {
const div = document.createElement('div'); //div要素作成
div.textContent=card.suit+':'+card.num;//divのtextContentを設定
div.classList.add('card'); //divにcardクラスを追加
cardgrid.appendChild(div); // グリッドにカードを追加
});
};
// ゲームスタートボタン
const startBt = document.getElementById('startBt');
startBt.addEventListener('click', () => {
initgrid();
});
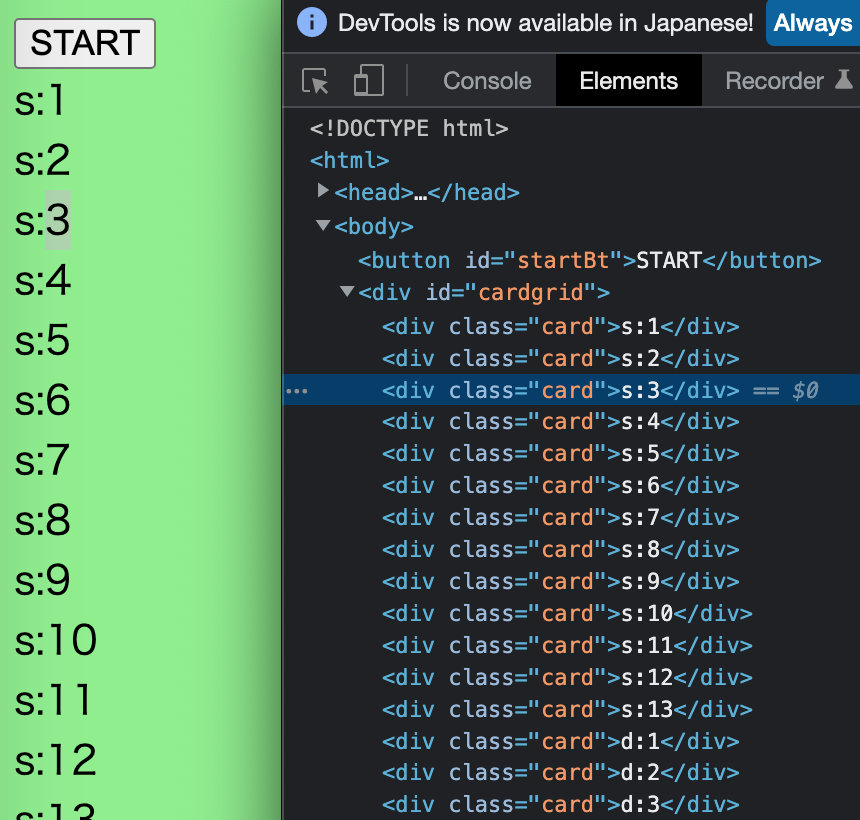
});2.実行してみよう。以下のように要素が縦に並べばOKだ。開発者画面を見てみると、div#cardgird要素の中にdiv.cardが52個格納されているのがわかる
main.cssの作成
1.main.cssを以下のように追記する
body{
  background-color:lightgreen;
}
#cardgrid{
/*テーブル全体をセンタリング*/
width:90%;
margin:10px auto;
/*グリッドレイアウトの設定*/
display:grid;
/*13個の要素を均等の幅で配置*/
grid-template-columns:repeat(13,1fr);
/*隙間を画面の縦幅の0.5%に設定*/
gap:0.5vh;
}
/*td要素でなおかつclassにcardがついている要素*/
div.card{
/*要素の横/縦 比をトランプ画像と同じ2:3に設定*/
aspect-ratio: 2 / 3;
background-color:yellow;
}2.実行してみよう。gridレイアウトによって13枚を1列に並べることに成功している。ブラウザの横幅を変えてみると連動してカードサイズが変わることがわかる。
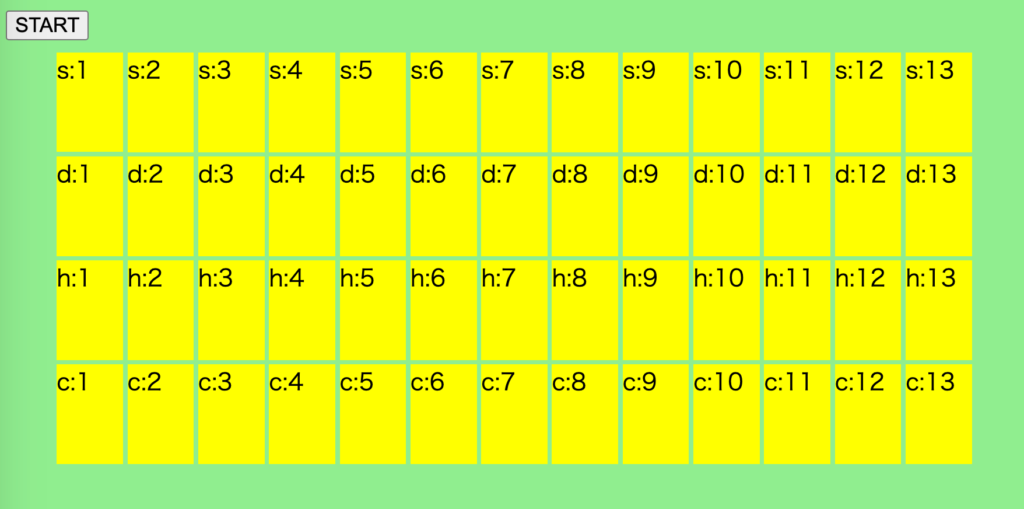
3.現状はボタンを押す度にどんどんカードが追加されてしまうので以下の1行をmain.jsに追加する 。ボタンを押すたびに中身を空っぽにしてから要素を追加している。
'use strict';
document.addEventListener('DOMContentLoaded', () => {
  // Cardクラス作成
  class Card {
    constructor(suit, num) {
      this.suit = suit;
      this.num = num;
    }
  }

  // カード配列作成
  const cards = [];
  const suits = ['s', 'd', 'h', 'c'];

  // 52枚のカードを作成
  suits.forEach(suit => {
    for (let num = 1; num <= 13; num++) {
      cards.push(new Card(suit, num));
    }
  });
  // カードグリッドを初期化
  const cardgrid = document.getElementById('cardgrid');
  const initgrid = () => {
    cardgrid.textContent=null;//cardgridに入っている要素をすべて削除
    cards.forEach(card => {
      const div = document.createElement('div');
      div.textContent=card.suit+':'+card.num;
      div.classList.add('card');
      cardgrid.appendChild(div);
    });
  };

  // ゲームスタートボタン
  const startBt = document.getElementById('startBt');
  startBt.addEventListener('click', () => {
    initgrid();
  });
});
画像の設定
1.それではいよいよ画像を設定していこう。以下のmain.jsとmain.cssのハイライト部分を追記修正する
'use strict';
document.addEventListener('DOMContentLoaded', () => {
  // Cardクラス作成
  class Card {
    constructor(suit, num) {
      this.suit = suit;
      this.num = num;
      this.front=`${suit}${num < 10 ? '0':''}${num}.gif`;//カードの画像
    }
  }

  // カード配列作成
  const cards = [];
  const suits = ['s', 'd', 'h', 'c'];

  // 52枚のカードを作成
  suits.forEach(suit => {
    for (let num = 1; num <= 13; num++) {
      cards.push(new Card(suit, num));
    }
  });
  // カードグリッドを初期化
  const cardgrid = document.getElementById('cardgrid');
  const initgrid = () => {
    cardgrid.textContent=null;
    cards.forEach(card => {
      const div = document.createElement('div');
      //div.textContent=card.suit+':'+card.num;
      div.style.backgroundImage=`url(images/${card.front})`;//背景画像に画像を設定
      div.classList.add('card');
      cardgrid.appendChild(div);
    });
  };

  // ゲームスタートボタン
  const startBt = document.getElementById('startBt');
  startBt.addEventListener('click', () => {
    initgrid();
  });
});
body{
background-color:lightgreen;
}
#cardgrid{
width:90%;
margin:10px auto;
display:grid;
grid-template-columns:repeat(13,1fr);
gap:0.5vh;
}
/*td要素でなおかつclassにcardがついている要素*/
div.card{
aspect-ratio: 2 / 3;
/*background-color:yellow;*/
background-size:contain; /*コンテナいっぱいに画像を拡大縮小する*/
}2.実行してみよう。トランプが並べば成功だ。
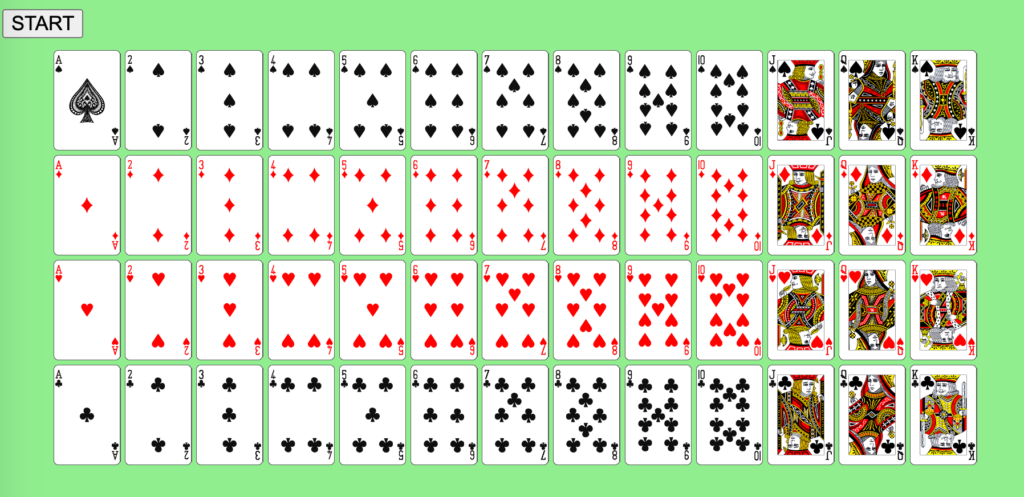
シャッフル
1.このままでは神経衰弱にならないので、まずはカードをシャッフルしよう。
ここではシャッフルアルゴリズムの一つFisher–Yates shuffleを用いている
以下のようにmain.jsを修正
'use strict';
document.addEventListener('DOMContentLoaded', () => {
  // Cardクラス作成
  class Card {
    constructor(suit, num) {
      this.suit = suit;
      this.num = num;
      this.front=`${suit}${num < 10 ? '0':''}${num}.gif`;//カードの画像
    }
  }

  // カード配列作成
  const cards = [];
  const suits = ['s', 'd', 'h', 'c'];

  // 52枚のカードを作成
  suits.forEach(suit => {
    for (let num = 1; num <= 13; num++) {
      cards.push(new Card(suit, num));
    }
  });
  // カードグリッドを初期化
  const cardgrid = document.getElementById('cardgrid');
  const initgrid = () => {
    cardgrid.textContent=null;
    cards.forEach(card => {
      const div = document.createElement('div');
      div.style.backgroundImage=`url(images/${card.front})`;
      div.classList.add('card');
      cardgrid.appendChild(div);
    });
  };
  //カードシャッフル関数(Fisher–Yates shuffle)
  const shuffle=()=>{
    let i=cards.length;
    while(i){
      const index=Math.floor(Math.random()*i--);
      [cards[index],cards[i]]=[cards[i],cards[index]]
    }
  };

  // ゲームスタートボタン
  const startBt = document.getElementById('startBt');
  startBt.addEventListener('click', () => {
    shuffle();
    initgrid();
  });
});
2.実行してみよう。ボタンを押す度にカードがシャッフルされるのがわかる。
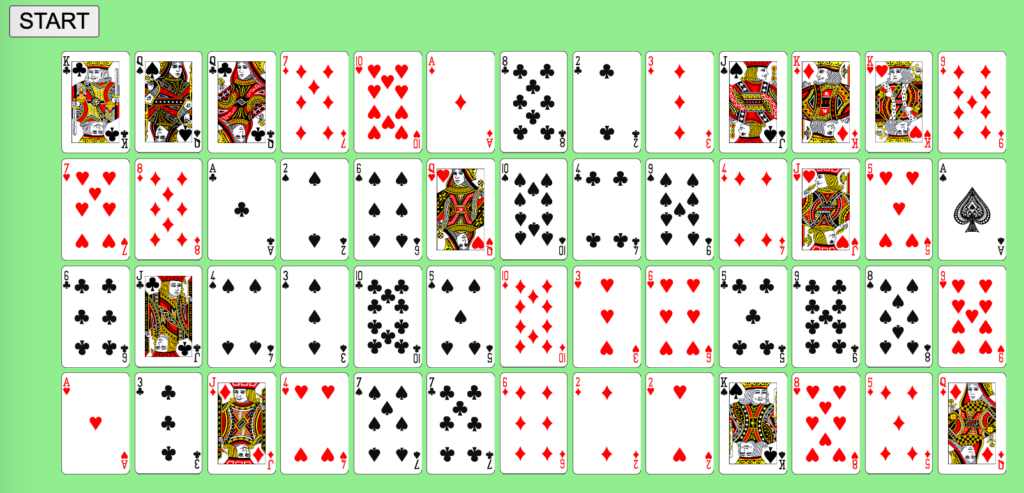
カードを裏面に
1.そもそも最初から表を向いていたらゲームにならない。最初は裏向きにしておこう。main.jsとmain.cssを以下のように追加修正
'use strict';
document.addEventListener('DOMContentLoaded', () => {
  // Cardクラス作成
  class Card {
    constructor(suit, num) {
      this.suit = suit;
      this.num = num;
      this.front=`${suit}${num < 10 ? '0':''}${num}.gif`;//カードの画像
    }
  }

  // カード配列作成
  const cards = [];
  const suits = ['s', 'd', 'h', 'c'];

  // 52枚のカードを作成
  suits.forEach(suit => {
    for (let num = 1; num <= 13; num++) {
      cards.push(new Card(suit, num));
    }
  });
  // カードグリッドを初期化
  const cardgrid = document.getElementById('cardgrid');
  const initgrid = () => {
    cardgrid.textContent=null;
    cards.forEach(card => {
      const div = document.createElement('div');
      div.style.backgroundImage=`url(images/${card.front})`;
      div.classList.add('card','back');//divにbackクラスも追加
      cardgrid.appendChild(div);
    });
  };
  //カードシャッフル関数(Fisher–Yates shuffle)
  const shuffle=()=>{
    let i=cards.length;
    while(i){
      const index=Math.floor(Math.random()*i--);
      [cards[index],cards[i]]=[cards[i],cards[index]]
    }
  };

  // ゲームスタートボタン
  const startBt = document.getElementById('startBt');
  startBt.addEventListener('click', () => {
    shuffle();
    initgrid();
  });
});
body{
  background-color:lightgreen;
}
#cardgrid{
  width:90%;
  margin:10px auto;
  display:grid;
  grid-template-columns:repeat(13,1fr);
  gap:0.5vh;
}
div.card{
  aspect-ratio: 2 / 3;
  background-size:contain;
}
/*div要素でclassにbackがついている要素は裏面画像(importantルール適用)*/
div.back{
  background-image:url(../images/z01.gif) !important;
}
ポイント解説
jsによってインラインに埋め込まれたスタイルはcssでは基本上書きできない。
それを覆してスタイルを当てるには!importantを付与する必要がある
実行してみよう。カードがすべて裏面になって表示されれば成功だ。
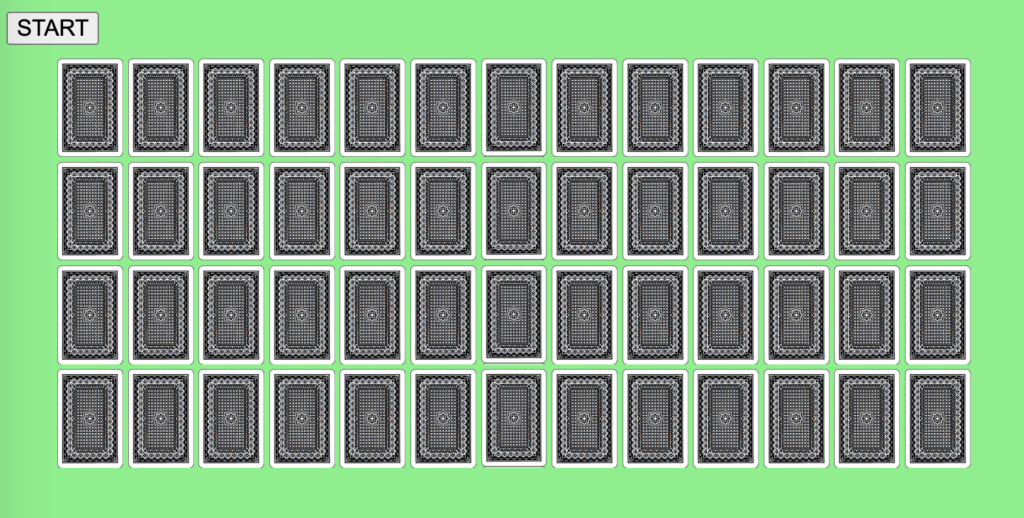
クリックしたら表になる
1.クリックしたらカードが表になったり裏になったりする挙動を作成しよう。
これは簡単で、div要素からbackクラスを外せば表になる。以下のようにmain.jsを追加修正。
'use strict';
document.addEventListener('DOMContentLoaded', () => {
  // Cardクラス作成
  class Card {
    constructor(suit, num) {
      this.suit = suit;
      this.num = num;
      this.front=`${suit}${num < 10 ? '0':''}${num}.gif`;//カードの画像
    }
  }

  // カード配列作成
  const cards = [];
  const suits = ['s', 'd', 'h', 'c'];

  // 52枚のカードを作成
  suits.forEach(suit => {
    for (let num = 1; num <= 13; num++) {
      cards.push(new Card(suit, num));
    }
  });
  //クリックした際の関数を定義
  const flip=(eve)=>{
    //クリックされた要素を特定
    const div=eve.target;
    //toggle(ついていたら外れ、外れていたら付く)
    div.classList.toggle('back');
  };
  // カードグリッドを初期化
  const cardgrid = document.getElementById('cardgrid');
  const initgrid = () => {
    cardgrid.textContent=null;
    cards.forEach(card => {
      const div = document.createElement('div');
      div.style.backgroundImage=`url(images/${card.front})`;
      div.classList.add('card','back');
      div.onclick=flip;
      cardgrid.appendChild(div);
    });
  };
  //カードシャッフル関数(Fisher–Yates shuffle)
  const shuffle=()=>{
    let i=cards.length;
    while(i){
      const index=Math.floor(Math.random()*i--);
      [cards[index],cards[i]]=[cards[i],cards[index]]
    }
  };

  // ゲームスタートボタン
  const startBt = document.getElementById('startBt');
  startBt.addEventListener('click', () => {
    shuffle();
    initgrid();
  });
});
ポイント解説
flip 関数は、クリックしたカードの表裏を切り替える(めくる)役割を果たしている。具体的には、クリックされた要素(カード)のクラスに back が付いていればそれを外し、付いていなければ追加する。
1. const flip = (eve) => {
関数の定義部分
この関数はイベントリスナーとして設定され、カード(div 要素)がクリックされた際に呼び出され、引数 eve(イベントオブジェクト)は、クリックイベントの詳細情報を持っている。
2. const div = eve.target;
もし1枚のカードがクリックされた場合、そのカードが eve.target に格納される。他のカードは影響を受けない。
eve.target とは?
イベントが発生した「具体的な要素」を指す。この場合、クリックされた div 要素(カード)が eve.target に格納される。
なぜ必要か?
一つのイベントリスナー(flip 関数)は複数のカード要素に設定されている。そのため、どのカードがクリックされたかを判定する必要がある。eve.target を使うことで、クリックされた特定のカード(div 要素)を取得できる。
もし1枚のカードがクリックされた場合、そのカードが eve.target に格納され、他のカードは影響を受けない。
判定処理
1.二枚開いて同じだったらそのままにし、違っていたら裏面に戻す処理を作成しよう。ここではfirstCard,secondCardという変数を用意し、これらの状況を見て判断することとする。main.jsを以下のように追加修正。(27行目のコメントアウトを忘れないよう!)
'use strict';
document.addEventListener('DOMContentLoaded', () => {
  // Cardクラス作成
  class Card {
    constructor(suit, num) {
      this.suit = suit;
      this.num = num;
      this.front=`${suit}${num < 10 ? '0':''}${num}.gif`;//カードの画像
    }
  }

  // カード配列作成
  const cards = [];
  const suits = ['s', 'd', 'h', 'c'];

  // 52枚のカードを作成
  suits.forEach(suit => {
    for (let num = 1; num <= 13; num++) {
      cards.push(new Card(suit, num));
    }
  });
  let firstCard=null;//1枚目のカードを保持(引いてない場合はnull)
  let secondCard=null;//2枚目のカードを保持(引いてない場合はnull)
  //クリックした際の関数を定義
  const flip=(eve)=>{
    const div=eve.target;
    //div.classList.toggle('back');//この処理は不要なので削除
    //表面のカードをクリックした場合や、3枚目のカードをクリックした場合はなにもしない
    if(!div.classList.contains('back') || secondCard !== null){
      return;
    }
    div.classList.remove('back');//表面にする
    //もしそれが1枚目だったらfirstCardに代入
    if(firstCard === null){
      firstCard=div;
    }else{
      //2枚目だったらsecondCardに代入
      secondCard=div;
      //2枚のカードの数字が同じだったら
      if(firstCard.num === secondCard.num){
        //正解だった場合fadeoutクラスを付与する
        firstCard.classList.add('fadeout');
        secondCard.classList.add('fadeout');
        //firstCard,secondカードを共にnullに戻す
        [firstCard,secondCard]=[null,null];
      }else{
        //不正回だった場合は1.2秒後に裏面に戻す
        setTimeout(()=>{
          firstCard.classList.add('back');
          secondCard.classList.add('back');
          [firstCard,secondCard]=[null,null];
        },1200);
      }
    }
  };
  // カードグリッドを初期化
  const cardgrid = document.getElementById('cardgrid');
  const initgrid = () => {
    cardgrid.textContent=null;
    cards.forEach(card => {
      const div = document.createElement('div');
      div.style.backgroundImage=`url(images/${card.front})`;
      div.classList.add('card','back');
      div.onclick=flip;
      div.num=card.num;//divにnumプロパティを定義して、そこに数字を保存
      cardgrid.appendChild(div);
    });
  };
  //カードシャッフル関数(Fisher–Yates shuffle)
  const shuffle=()=>{
    let i=cards.length;
    while(i){
      const index=Math.floor(Math.random()*i--);
      [cards[index],cards[i]]=[cards[i],cards[index]]
    }
  };

  // ゲームスタートボタン
  const startBt = document.getElementById('startBt');
  startBt.addEventListener('click', () => {
    shuffle();
    initgrid();
  });
});
ポイント解説
まず、65行目でdiv要素にnumというプロパティを定義して、トランプの数字を覚えさせておき、2枚目をめくったときにその2つの数字が等しいかで判定している。
もし等しかった場合はとりあえず、2枚のカードにfadeoutというクラスを付与して、後ほどcssでこのカードを非表示にする。そうでなかったらsetTimeout関数を使って1200ミリ秒後に裏面に戻す処理がしてある。
実行
それでは実行してみよう。2枚のカードを開いて違っていたら閉じて、同じだった場合はそのままになるという、神経衰弱のベースとなる処理が完成した。
仕上げ
では最後に揃った場合2枚のカードを消滅させよう。main.cssに以下を追記
body{
  background-color:lightgreen;
}
#cardgrid{
  width:90%;
  margin:10px auto;
  display:grid;
  grid-template-columns:repeat(13,1fr);
  gap:0.5vh;
}
div.card{
  aspect-ratio: 2 / 3;
  background-size:contain;
}
div.back{
  background-image:url(../images/z01.gif) !important;
}
/* フェードアウトアニメーションの定義 */
@keyframes fadeOutEffect {
  to {
    opacity: 0;
  }
}
/* アニメーションを適用するクラス */
div.fadeout {
  animation: fadeOutEffect 1.2s 0.8s forwards;
}
ポイント解説
揃ったと同時に消え始めてしまうのは不自然だったのでcssアニメーションを使って0.8秒は何も行わずにその後1.2秒かけて徐々に消えていくという処理を実装した。animation: アニメーション名 duration delay 終了時の挙動
完成!
これで完成だ。
以前のテーブルを使ったバージョンからgridレイアウトを使ったものにしたことでレスポンシブ対応が格段にやりやすくなっている。またjsもclass構文を使ったりと内容がアップデートされている。
この後、考えられる処理は、効果音やBGMの追加、経過時間の表示、残り枚数の表示などがある。ぜひ、実装してみてもらいたい。
リポジトリリンク
完成版のリポジトリはこちらhttps://github.com/joytasnet/memorygame.git


コメント