
今回はRigidbodyを付与せず、TranslateやRotateで物体を移動させてみよう。
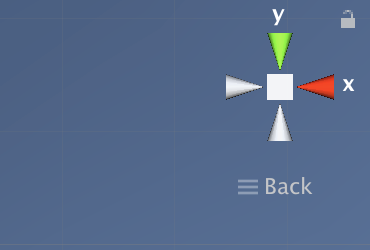
1.3Dでプロジェクトを作成したら3dギズモを以下のように調整する
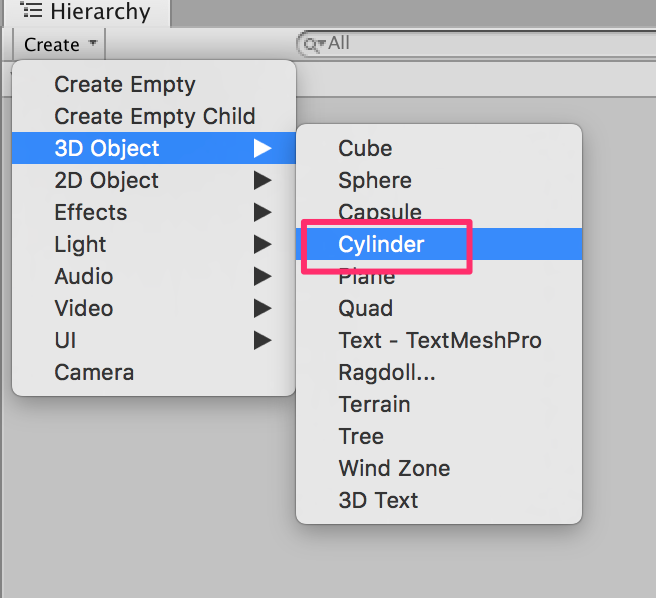
2.弾丸の作成
弾丸を作成する。create->3d->Cylinderを原点に作成する
ただこれだと物体の前方を表すz軸が奥を向いてしまっている。(画面の奥を指している)

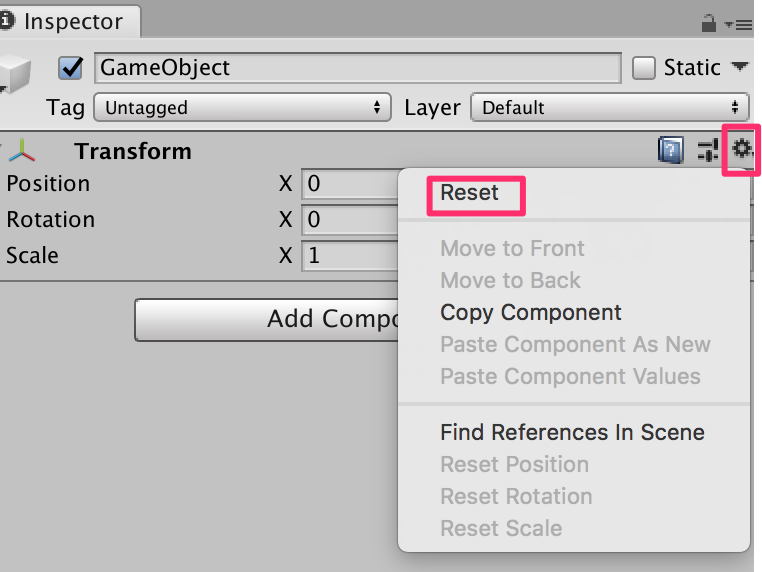
3.z軸の変更。こういった場合はオブジェクトに親を設定をする。まずは原点にCreateEmptyする。

CreateEmptyした際には必ずtransformをresetする習慣をつけるとよい
4.以下のようにcreateEmptyしたgameobjectの子要素にcylinderを設定し、rotationのxを90度に設定する。
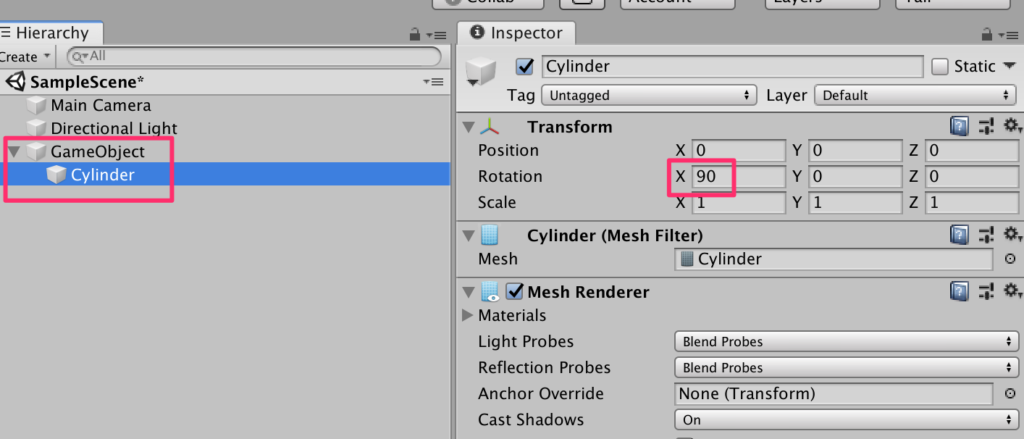
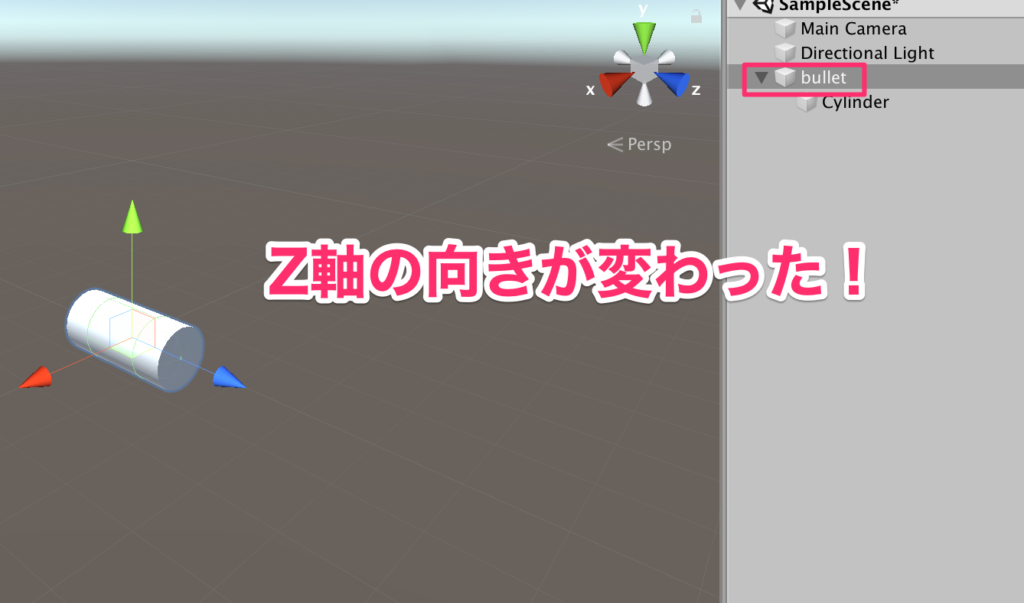
5.親子構造にして子要素を90度回すことによってz軸の向きを変えることができた。bulletと名前を変更しておこう。(下の図は見る角度を変えている)
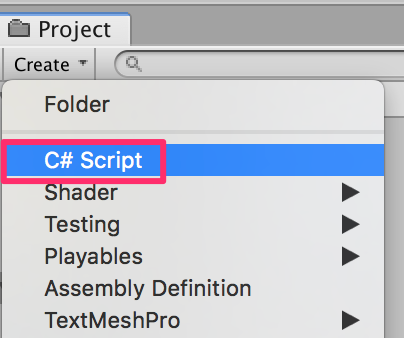
6.BulletScriptの作成。ProjectビューのCreate->C#スクリプトからBulletScriptを作成する。
7.BulletScriptを以下のように記述する。
using System.Collections;
using System.Collections.Generic;
using UnityEngine;

public class BulletScript : MonoBehaviour
{
    void Update()
    {
        transform.Translate(Vector3.forward);
    }
}
8.作成したBulletScriptをドラッグ&ドロップでbulletにアタッチする。

9.実行してみよう。画面奥に進んでいくはずだ。ためしにbulletの角度xを-30度にしてもう一度実行してみよう。
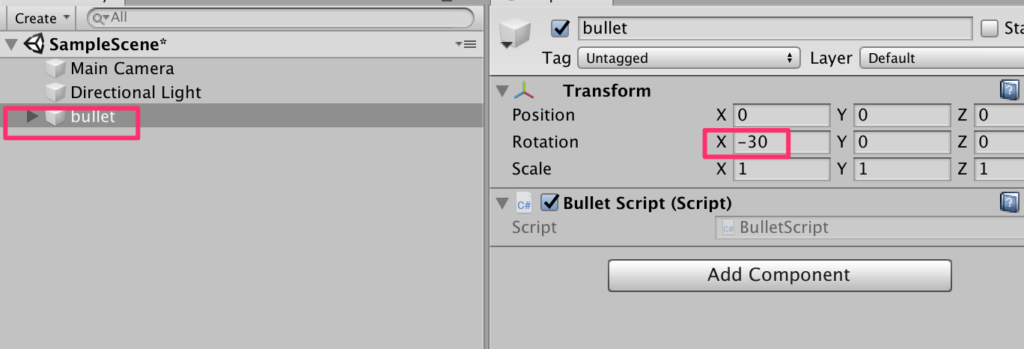
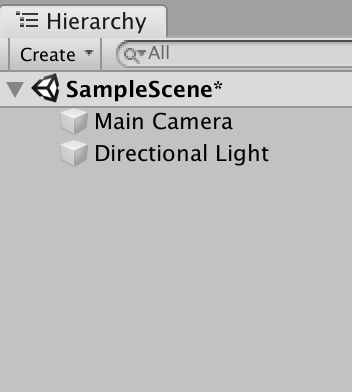
-30度の方向に飛んでいった。これで弾丸はOKなのでプロジェクトにドラッグ&ドラッグしてプレファブ化しておこう。bulletはヒエラルキーにはもう不要なので削除しておく
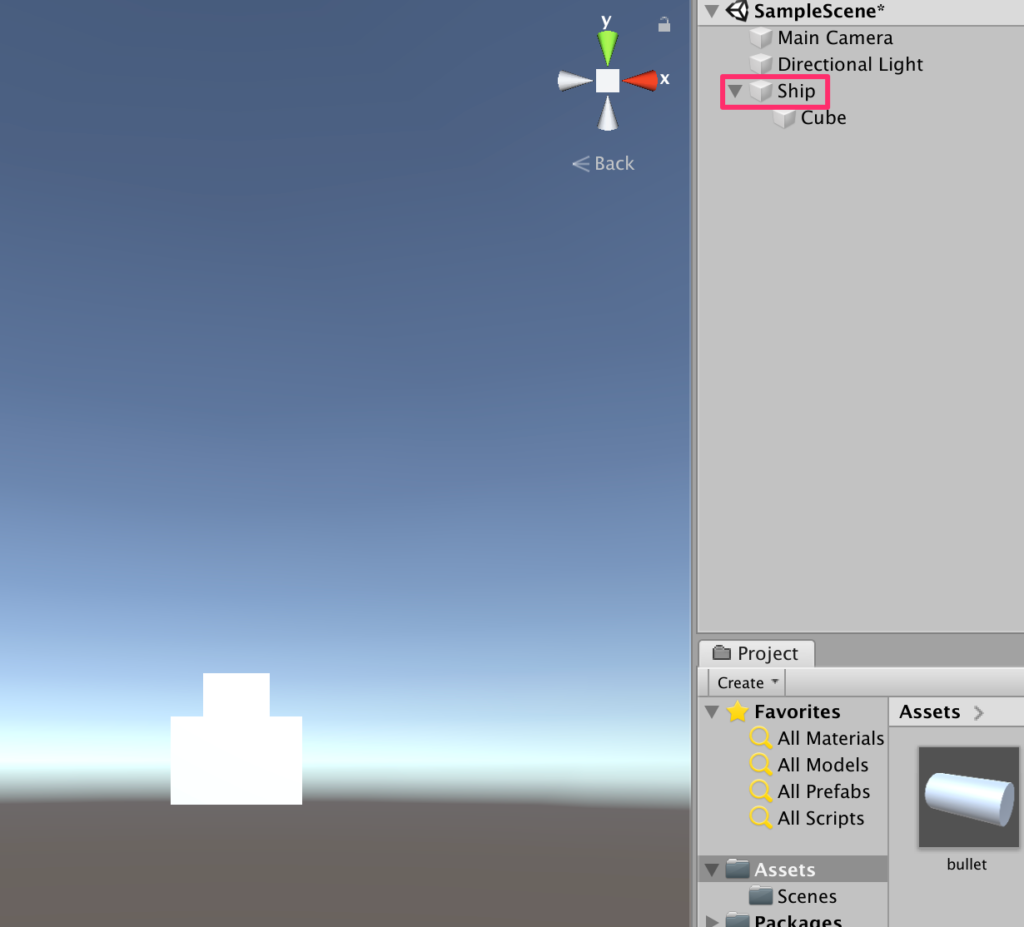
10.スペースシップを作成する。Createから3dobjectでCubeを選択する。

11.今作ったCubeを右クリックして新たにCreateからCubeを作成する。こうすることで子要素としてオブジェクトを作成することができる。子要素のインスペクターを以下のように設定する

12.Shipとリネームする
13.ShipScriptを以下のように作成する。
using System.Collections;
using System.Collections.Generic;
using UnityEngine;

public class ShipScript : MonoBehaviour
{
    public GameObject prefab;
    Vector3 vec;
    public float speed;

    void Update()
    {
        vec.x = Input.GetAxis("Horizontal");
        transform.Rotate(Input.GetAxis("Vertical"), 0, 0);
        transform.Translate(vec * speed);
        if (Input.GetButtonDown("Jump")) {
            GameObject bullet = Instantiate(
                prefab,
                transform.position,
                transform.rotation*Quaternion.Euler(-90f,0,0)
                //Quaternion.LookRotation(Quaternion.Euler(-90f, 0, 0) * transform.forward)
            );
        }
    }
}
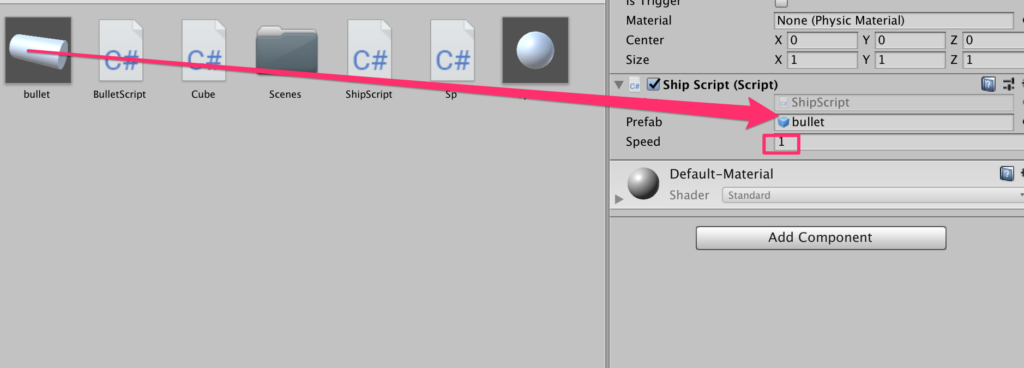
14.ShipにShipScriptをアタッチしたらインスペクターからbulletプレファブを登録する。speedは1とした。

コメント