
Sessionを利用して、以下のようなお問い合わせフォームを作成しよう。
[実行例]
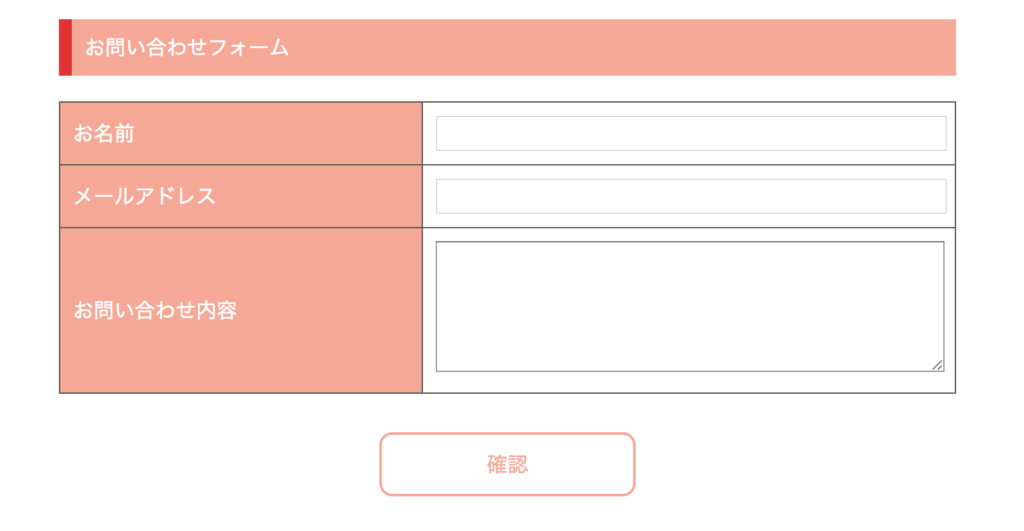
●スタート画面
●フォームに入力する

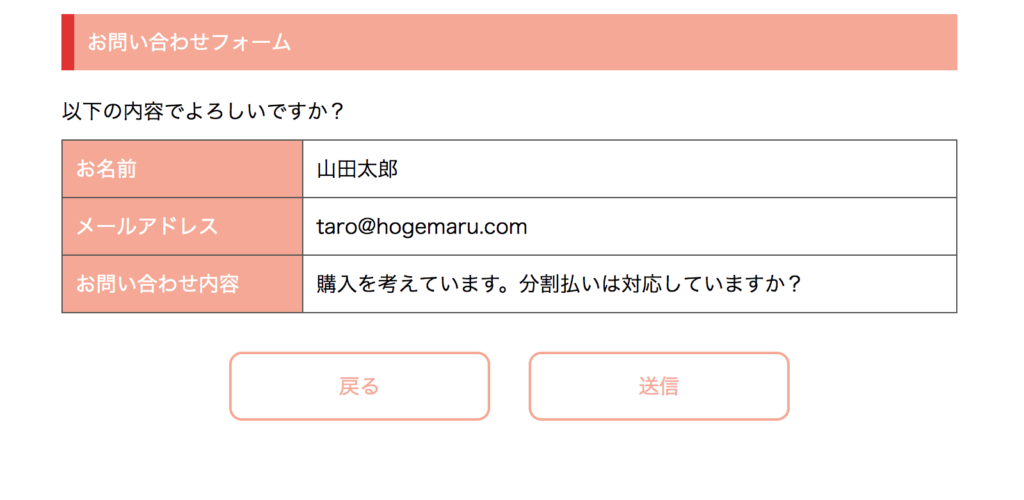
●確認ボタンを押すと、確認画面に遷移する。
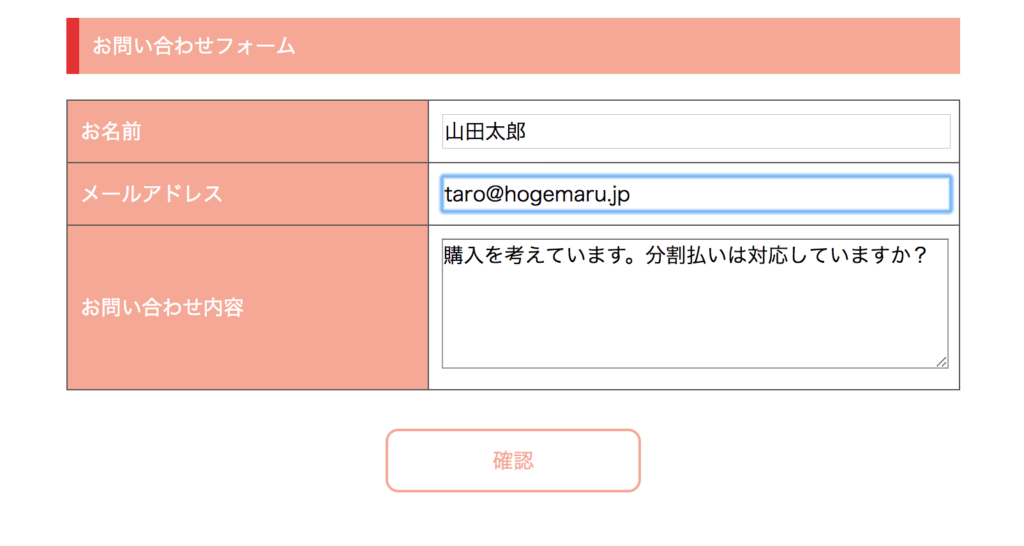
●戻るを押すと、フォームに戻る(その際、入力内容が表示されている)
●内容を編集する
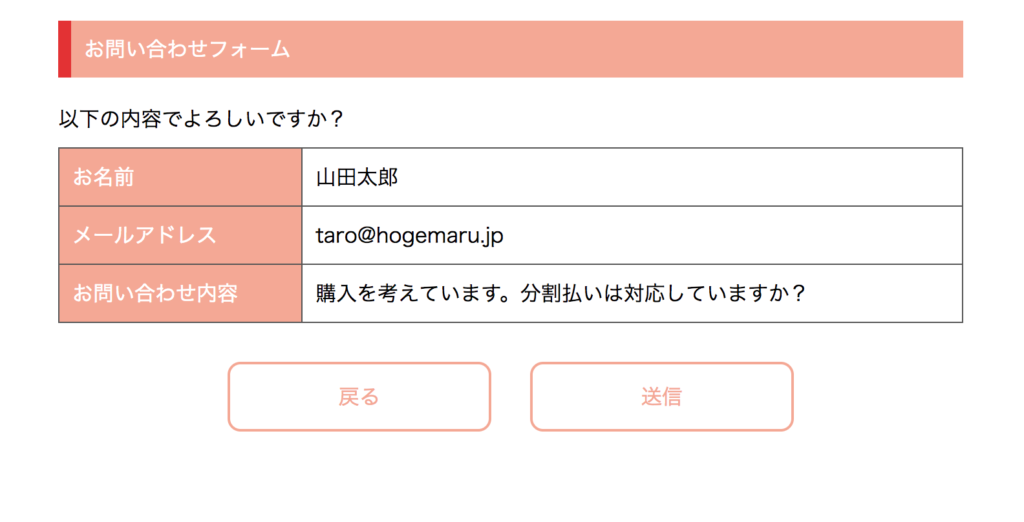
●確認を押す
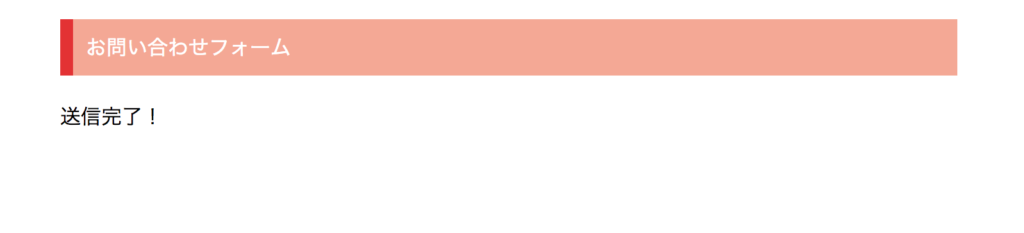
●送信を押すと遷移してメッセージが表示される。
●送信後、再びフォーム画面をリクエストすると。入力がクリアされている。
[作成]
1.エクリプス、新規動的Project作成から「joytas6」アプリケーションを作成する。
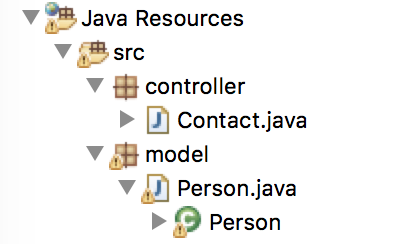
2.modelの作成。modelパッケージにPersonクラスを以下のように作成
●model.Person.java
package model;

import java.io.Serializable;

public class Person implements Serializable{
	private String name;
	private String email;
	private String memo;
	public Person(){}
	public Person(String name,String email,String memo){
		this.name=name;
		this.email=email;
		this.memo=memo;
	}
	public String getName() {
		return name;
	}
	public void setName(String name) {
		this.name = name;
	}
	public String getEmail() {
		return email;
	}
	public void setEmail(String email) {
		this.email = email;
	}
	public String getMemo() {
		return memo;
	}
	public void setMemo(String memo) {
		this.memo = memo;
	}

}
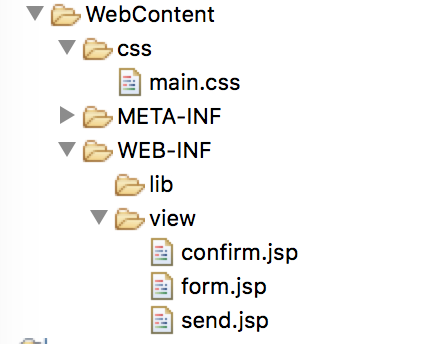
3.viewの作成。以下の図のようなフォルダ構成としファイルを作成する。
●form.jsp
<%@ page language="java" contentType="text/html; charset=UTF-8"
    pageEncoding="UTF-8" import="model.*"%>
<%
Person person=(Person)session.getAttribute("person");
String name=person==null? "":person.getName();
String email=person==null? "":person.getEmail();
String memo=person==null? "":person.getMemo();
%>
<!DOCTYPE html>
<html>
<head>
<meta charset="UTF-8"/>
<link rel="stylesheet" type="text/css" href="http://yui.yahooapis.com/3.18.1/build/cssreset/cssreset-min.css">
<link rel="stylesheet" href="/joytas6/css/main.css">
<title>Joytas6(Session)</title>
</head>
<body>
<h1>お問い合わせフォーム</h1>
<form action="/joytas6/contact" method="post">
<table>
<tr><th>お名前</th><td><input type="text" name="name" value="<%=name%>"></td></tr>
<tr><th>メールアドレス</th><td><input type="email" name="email" value="<%=email%>"></td></tr>
<tr><th>お問い合わせ内容</th><td><textarea name="memo"><%=memo%></textarea></td></tr>
</table>
<input type="submit" value="確認" class="button">
</form>
</body>
</html>
●confirm.jsp
<%@ page language="java" contentType="text/html; charset=UTF-8"
    pageEncoding="UTF-8" import="model.*"%>
<%
Person person=(Person)session.getAttribute("person");
%>
<!DOCTYPE html>
<html>
<head>
<meta charset="UTF-8"/>
<link rel="stylesheet" type="text/css" href="http://yui.yahooapis.com/3.18.1/build/cssreset/cssreset-min.css">
<link rel="stylesheet" href="/joytas6/css/main.css">
<title>Joytas6(Session)</title>
</head>
<body>
<h1>お問い合わせフォーム</h1>
<p class="normalP">以下の内容でよろしいですか?</p>

<table>
<tr><th>お名前</th><td><%=person.getName() %></td></tr>
<tr><th>メールアドレス</th><td><%=person.getEmail() %></td></tr>
<tr><th>お問い合わせ内容</th><td><%=person.getMemo() %></td></tr>
</table>
<div id="btBox"><a href="/joytas6/contact?mode=back" class="button2">戻る</a><a href="/joytas6/contact?mode=send" class="button2">送信</a></div>

</body>
</html>
●send.jsp
<%@ page language="java" contentType="text/html; charset=UTF-8"
    pageEncoding="UTF-8"%>
<!DOCTYPE html>
<html>
<head>
<meta charset="UTF-8"/>
<link rel="stylesheet" type="text/css" href="http://yui.yahooapis.com/3.18.1/build/cssreset/cssreset-min.css">
<link rel="stylesheet" href="/joytas6/css/main.css">
<title>Joytas6(Session)</title>
</head>
<body>
<h1>お問い合わせフォーム</h1>
<p class="normalP">送信完了!</p>
</body>
</html>
●main.css
@charset "UTF-8";
h1{
	box-sizing:border-box;
	width:700px;
	margin:20px auto;
	background:#f4a895;
	color:white;
	padding:10px;
	border-left:10px solid #e33234;

}
table{
	width:700px;
	margin:0 auto;
}
th,td{
	border:1px solid #555;
	padding:10px;
}
th{
	background:#f4a895;
	color:white;
}

input{
	width:100%;
}
textarea{
	width:100%;
	height:100px;
}
.button{
	display:block;
	width:200px;
	height:50px;

	margin:30px auto;
	border-radius:10px;
	border:2px solid #f4a895;
	color:#f4a895;
	background:white;
}
.button2{
	display:inline-block;
	width:200px;
	height:50px;
	margin-top:30px;
	border-radius:10px;
	border:2px solid #f4a895;
	color:#f4a895;
	background:white;
	line-height:50px;
	text-decoration:none;

}
.button:hover,
.button2:hover{
	cursor:pointer;
	background:#f4a895;
	color:white;
	transition-duration: 300ms;

}

.normalP{
	width:700px;
	margin:20px auto 10px;
}
#btBox{
	text-align:center;
}

.button2:first-child{
	margin-right:30px;

}
4.controllerの作成。以下のようなフォルダ構成とし、Contact.java(Servlet)を作成する。
●controller.Contact.java
package controller;

import java.io.IOException;

import javax.servlet.RequestDispatcher;
import javax.servlet.ServletException;
import javax.servlet.annotation.WebServlet;
import javax.servlet.http.HttpServlet;
import javax.servlet.http.HttpServletRequest;
import javax.servlet.http.HttpServletResponse;
import javax.servlet.http.HttpSession;

import model.Person;

@WebServlet("/contact")
public class Contact extends HttpServlet {
	private static final long serialVersionUID = 1L;

	protected void doGet(HttpServletRequest request, HttpServletResponse response) throws ServletException, IOException {
		String path=null;
		String mode=request.getParameter("mode");
		if(mode == null || mode.equals("back")){
			path="/WEB-INF/view/form.jsp";
		}else {
			path="/WEB-INF/view/send.jsp";
			HttpSession session=request.getSession();
			session.invalidate();
		}
		RequestDispatcher rd=request.getRequestDispatcher(path);
		rd.forward(request, response);
	}

	protected void doPost(HttpServletRequest request, HttpServletResponse response) throws ServletException, IOException {
		request.setCharacterEncoding("UTF-8");
		String name=request.getParameter("name");
		String email=request.getParameter("email");
		String memo=request.getParameter("memo");
		Person person=new Person(name,email,memo);
		HttpSession session=request.getSession();
		session.setAttribute("person", person);
		RequestDispatcher rd=request.getRequestDispatcher("/WEB-INF/view/confirm.jsp");
		rd.forward(request, response);
	}

}
5.以下のアドレスにリクエストして、実行例のようになることを確認する。
http://localhost:8080/joytas6/contact
自動返信メール
お問い合わせをした人に自動返信メールを送ってみよう。
1.まずは以下の二つのファイルをダウンロードし/WEB-INF/libフォルダ内にコピペで配置する。

2.controller.Contact.javaを以下のように修正する。
今回はyahooのメールサーバーを利用してるので各自yahooのidとパスワードを入力すること。
package controller;

import java.io.IOException;

import javax.servlet.RequestDispatcher;
import javax.servlet.ServletException;
import javax.servlet.annotation.WebServlet;
import javax.servlet.http.HttpServlet;
import javax.servlet.http.HttpServletRequest;
import javax.servlet.http.HttpServletResponse;
import javax.servlet.http.HttpSession;

import org.apache.commons.mail.DefaultAuthenticator;
import org.apache.commons.mail.Email;
import org.apache.commons.mail.EmailException;
import org.apache.commons.mail.SimpleEmail;

import model.Person;


@WebServlet("/contact")
public class Contact extends HttpServlet {
	private static final long serialVersionUID = 1L;

	protected void doGet(HttpServletRequest request, HttpServletResponse response)
			throws ServletException, IOException {
		String path = null;
		String mode = request.getParameter("mode");
		if (mode == null || mode.equals("back")) {
			path = "/WEB-INF/view/form.jsp";
		} else {
			HttpSession session = request.getSession();
			Person person = (Person) session.getAttribute("person");
			StringBuilder sb = new StringBuilder();
			sb.append("以下のように受け付けました");
			sb.append(System.lineSeparator());
			sb.append("お名前:" + person.getName());
			sb.append(System.lineSeparator());
			sb.append("email:" + person.getEmail());
			sb.append(System.lineSeparator());
			sb.append("お問い合わせ内容:" + person.getMemo());
			sb.append(System.lineSeparator());

			try {
				Email email = new SimpleEmail();
				email.setHostName("smtp.mail.yahoo.co.jp");
				email.setSmtpPort(465);
				email.setAuthenticator(new DefaultAuthenticator("yahooアカウント", "yahooパスワード"));
				email.setSSLOnConnect(true);
				email.setFrom("yahooアカウント@yahoo.co.jp");
				email.setSubject("お問い合わせありがとうございます。");
				email.setMsg(sb.toString());
				email.addTo(person.getEmail());
				email.send();
			} catch (EmailException e) {
				e.printStackTrace();
			}
			session.invalidate();
			path = "/WEB-INF/view/send.jsp";
		}
		RequestDispatcher rd = request.getRequestDispatcher(path);
		rd.forward(request, response);
	}


	protected void doPost(HttpServletRequest request, HttpServletResponse response)
			throws ServletException, IOException {
		request.setCharacterEncoding("UTF-8");
		String name = request.getParameter("name");
		String email = request.getParameter("email");
		String memo = request.getParameter("memo");
		Person person = new Person(name, email, memo);
		HttpSession session = request.getSession();
		session.setAttribute("person", person);
		RequestDispatcher rd = request.getRequestDispatcher("/WEB-INF/view/confirm.jsp");
		rd.forward(request, response);
	}

}
3.フォームから送信してみよう。入力したメールアドレス宛に自動返信メールが届くはずだ。
コメント