1.新規3Dプロジェクトを作成する
2.AssetStoreより以下のAssetをインポートする
https://assetstore.unity.com/packages/3d/environments/fantasy/mega-fantasy-props-pack-87811
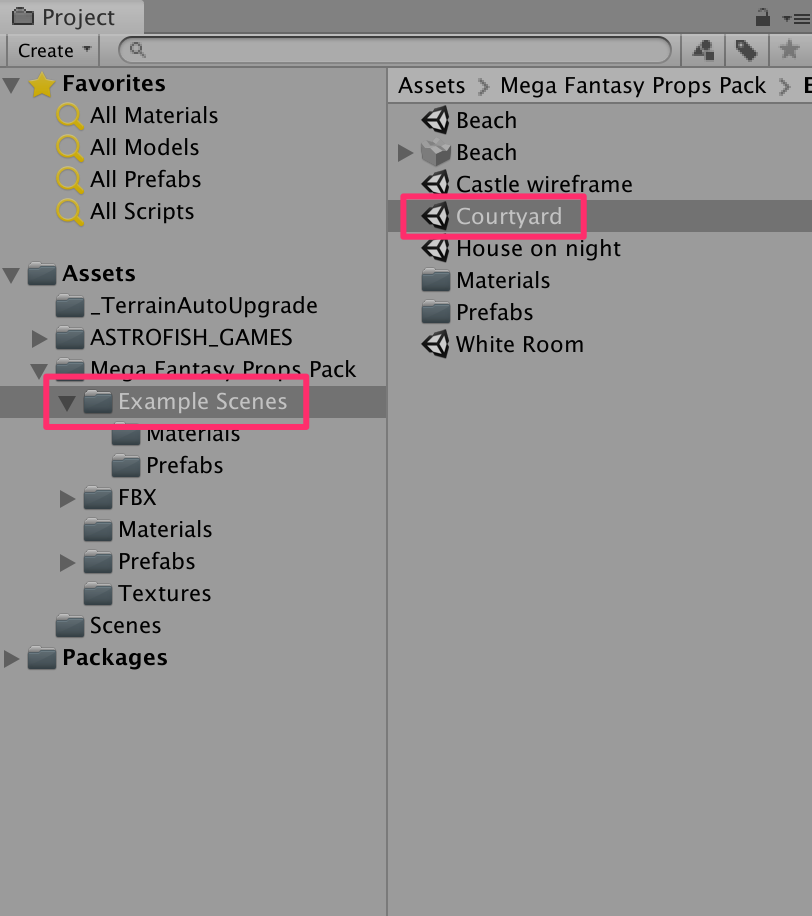
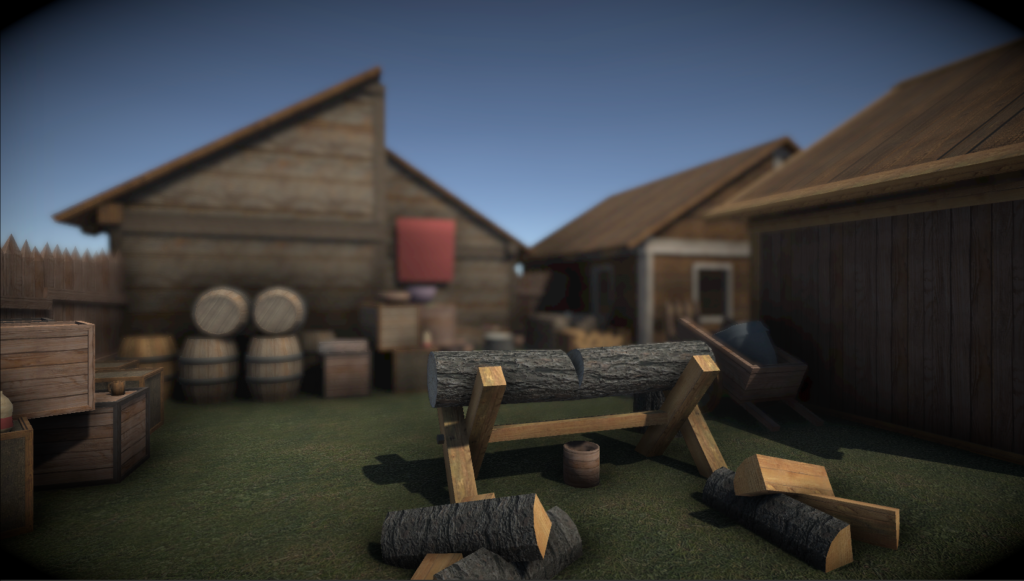
3.Mega Fantasy Props Pack内にあるExampleScenesにあるCourtyardシーンを開く
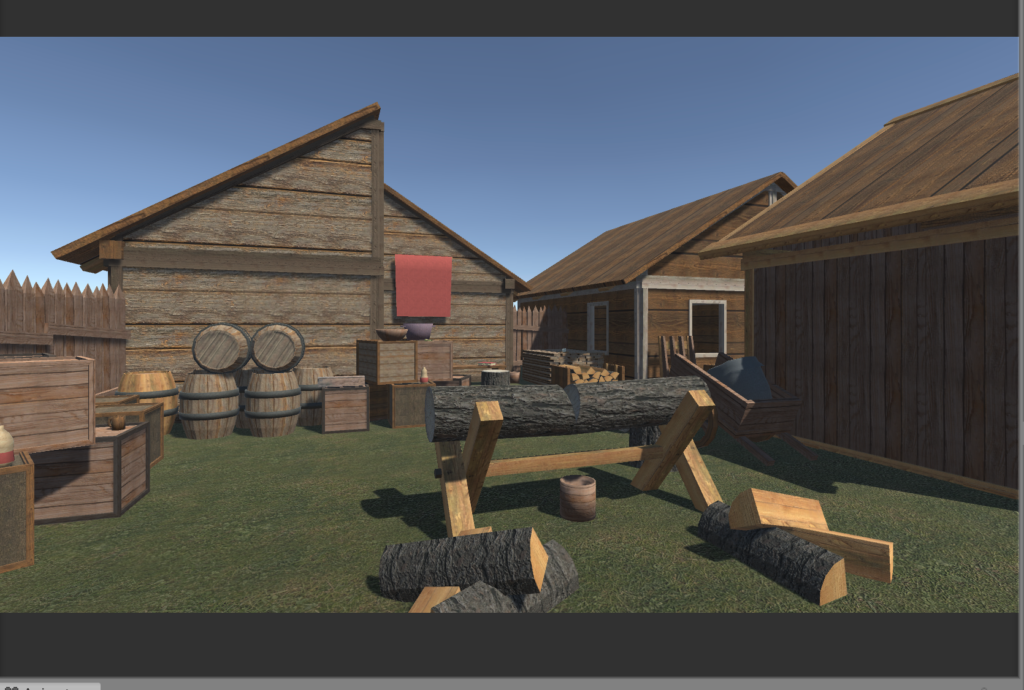
シーンを再生してみよう。以下のように表示されればOKだ。
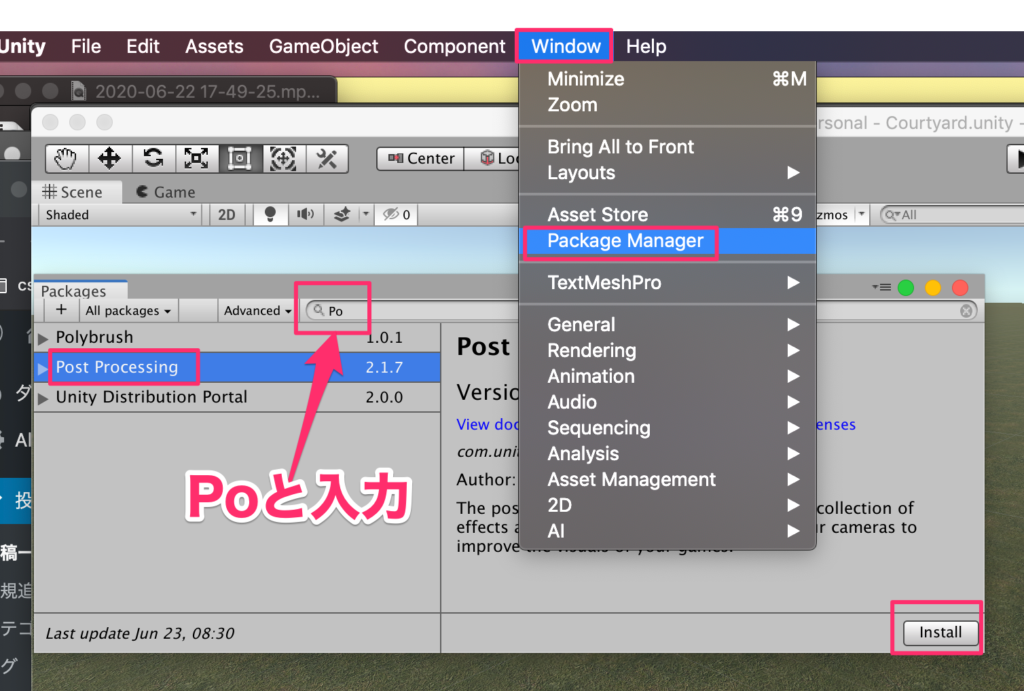
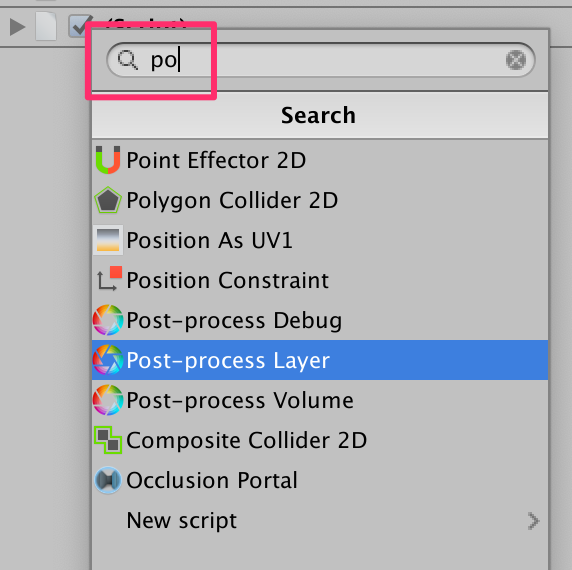
4.Post-Processingのインストール
MenuのWindow->PackageManagerを開き、検索窓にPoと入力して絞り込まれたPostProcessingを選択してInstall
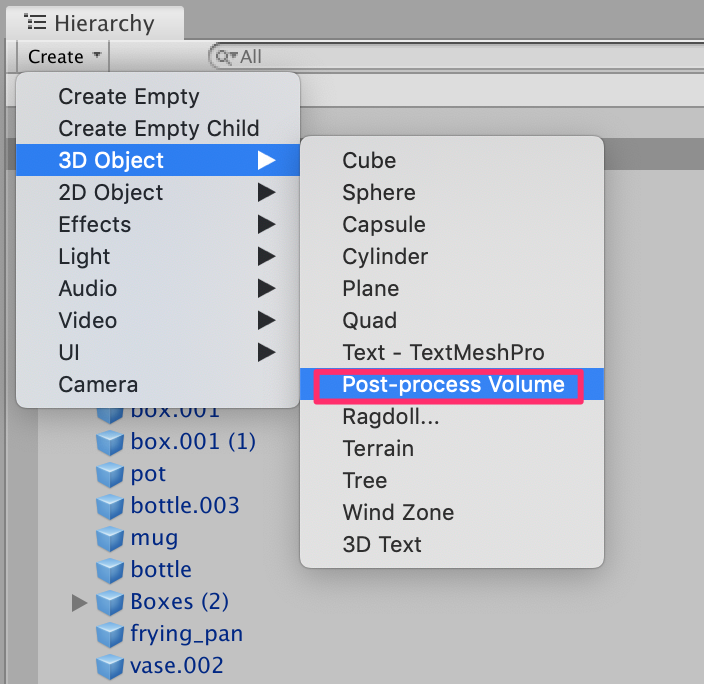
5.Post−Process Volumeオブジェクトの作成
パッケージをインストールすることにより新規3DオブジェクトにPost-process Volumeが選択できるようになるのでこれを選択する。
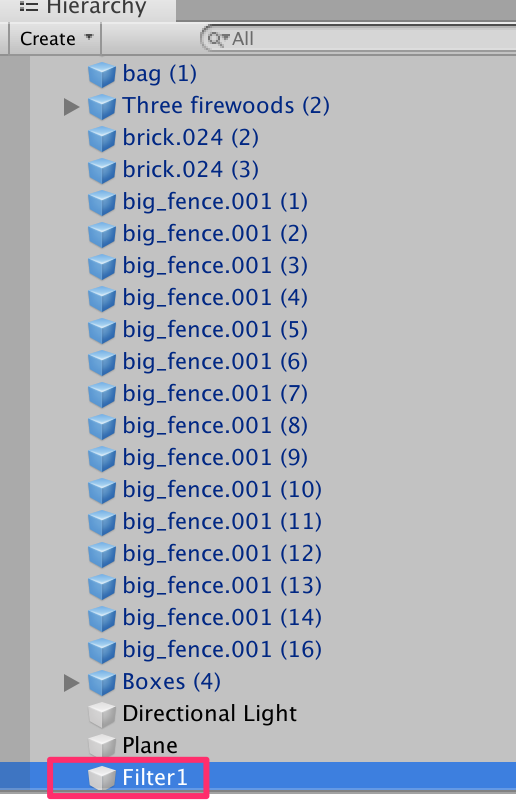
作成されたPost-process VolumeオブジェクトをFilter1とリネームしよう。
このオブジェクトにFilter効果を設定していく。
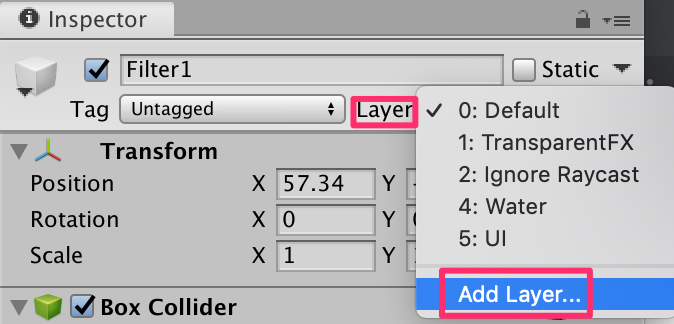
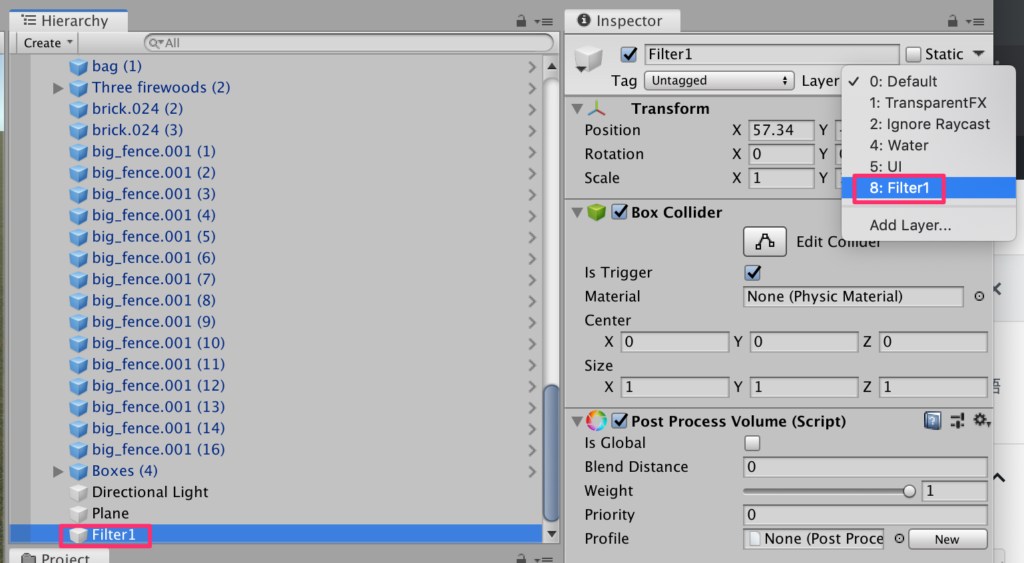
6.レイヤー設定
このFilterに新規にレイヤーを設定しよう。レイヤープルダウンを開きAdd Layerする
Filter1を追加
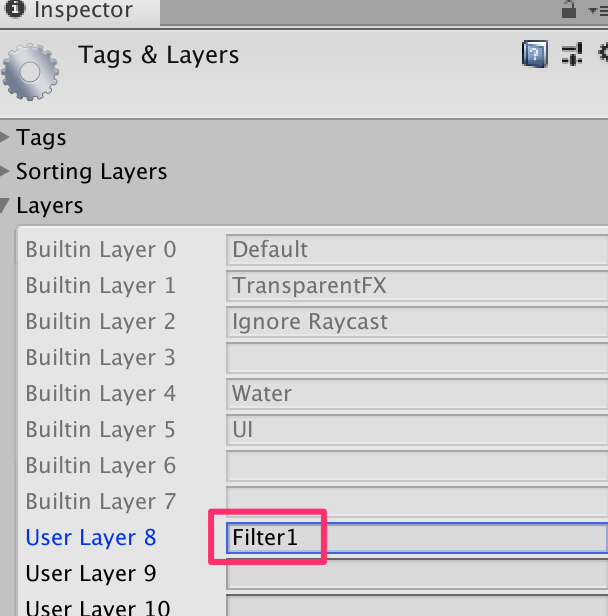
Filter1オブジェクトのレイヤーをFilter1に設定する
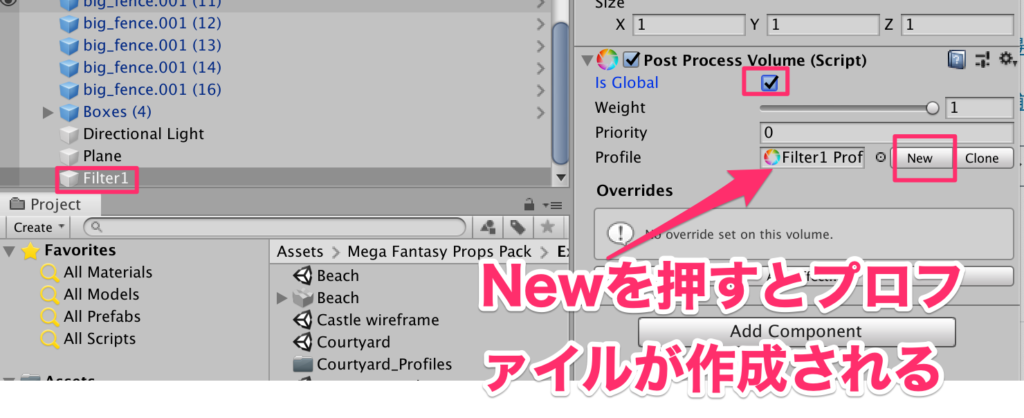
7.新規プロファイルの作成
Filter1オブジェクトを選択しインスペクターからPostPoressVolumeの設定をする
まずFilterが全体に適用されるようにIs Globalをチェック。その後Newボタンを押して新規プロファイルを作成する。
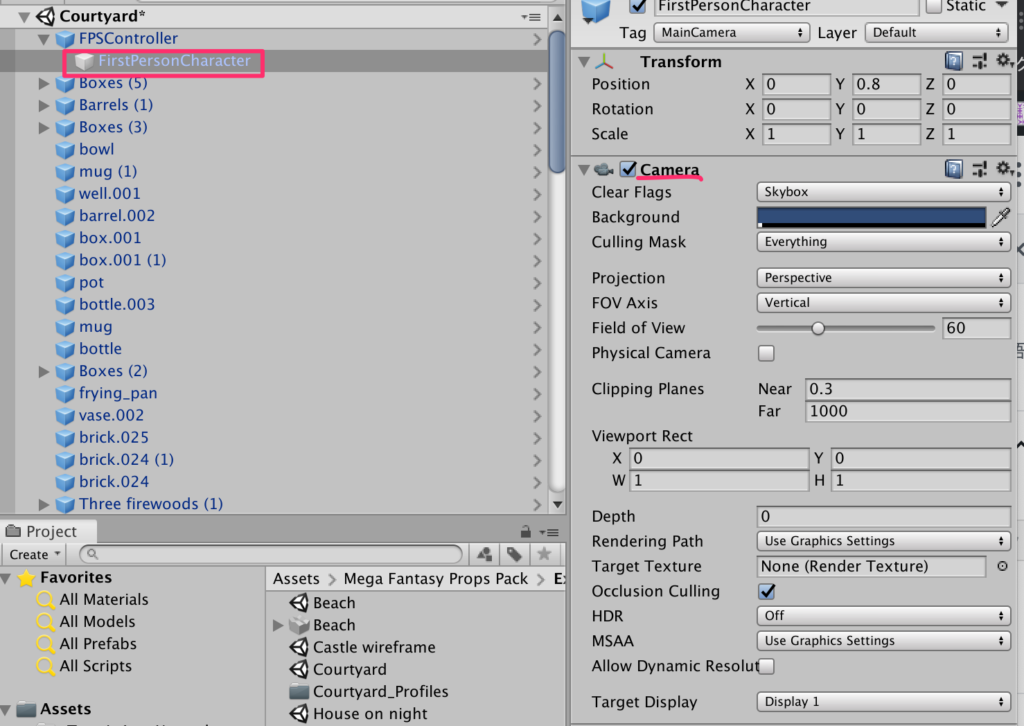
8.カメラにこのこのエフェクトが反映されるように設定
今回のこのシーンのカメラはFPSControllerの子要素として設定されているFirstPersonCharacterが持っている。まずはこのオブジェクトを選択する
Add-componentからPost-process Layerを選択
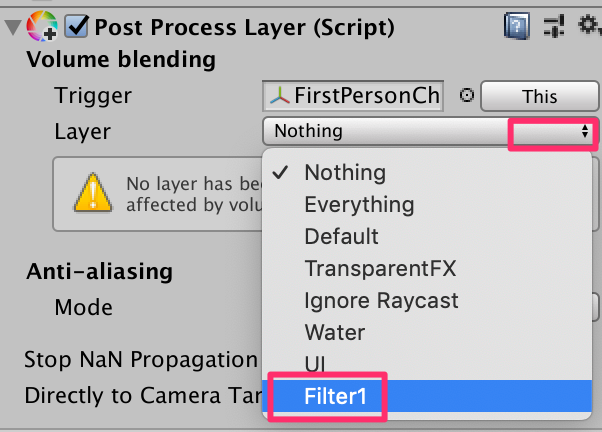
設定されたコンポーネントにLayerからFilter1を設定する
これでこのカメラにFilter1が適用されることになる
9.Filter効果の作成
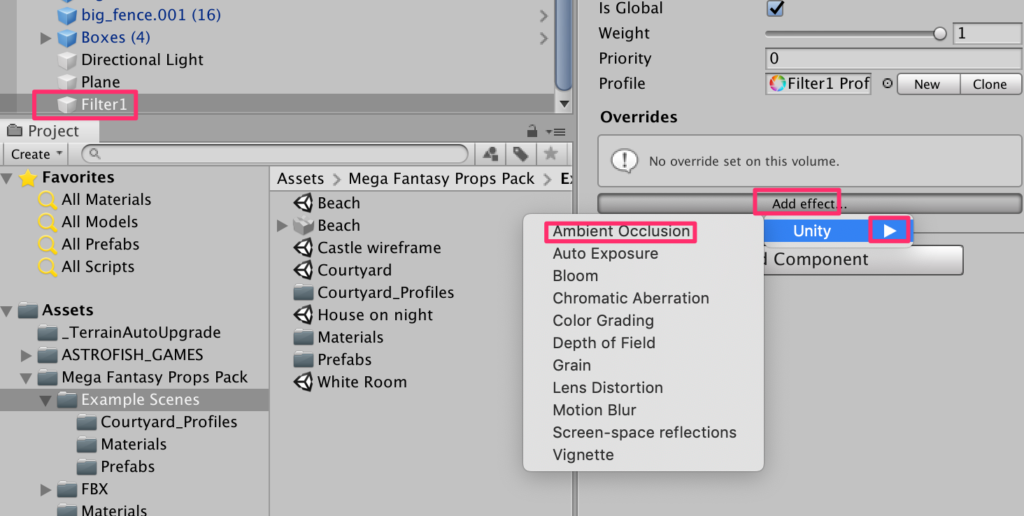
では色々とFilter効果を適用させていこう!まずはFilter1オブジェクトを選択して
Addeffect->Unity->Ambient Occlusion
を選択しよう
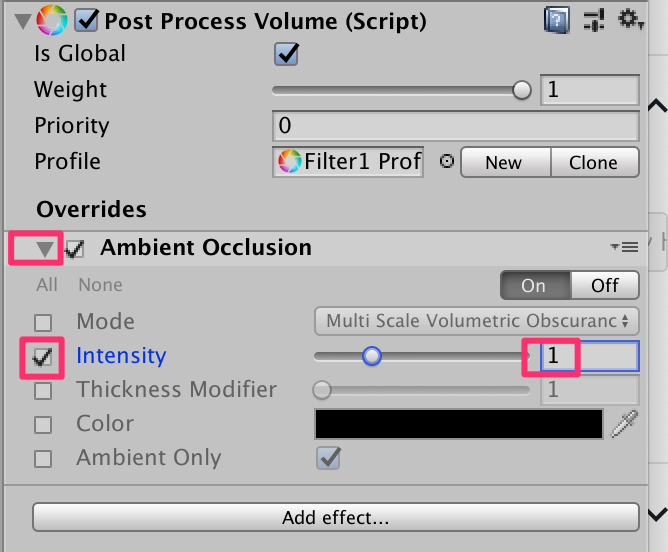
Ambient Occlusionはくぼんでいる部分に対して陰影を加える。Intensityにチェックをいれ1に設定する
以下のように重厚感が加われば成功だ。Intensityのスライダで調整してみよう。
Colorにチェックをいれ色を変えると陰影の色を変えることができる、焦げ茶にするとサビっぽくなる。

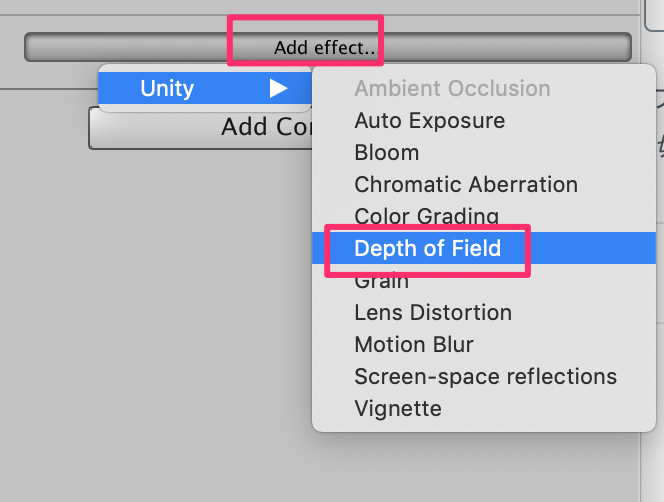
10.被写界深度の設定
続いて被写界深度を設定しよう。再びAdd effectからDepth of Fieldを選択
Aperture(いわゆるf値)を1.8くらい(ボケ量が多い)に設定して、FocusDistance(ピントの合う距離)を5mくらいに設定しよう。
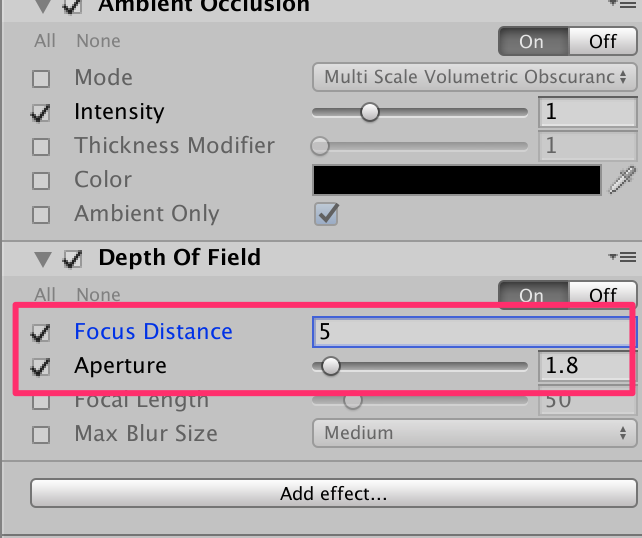
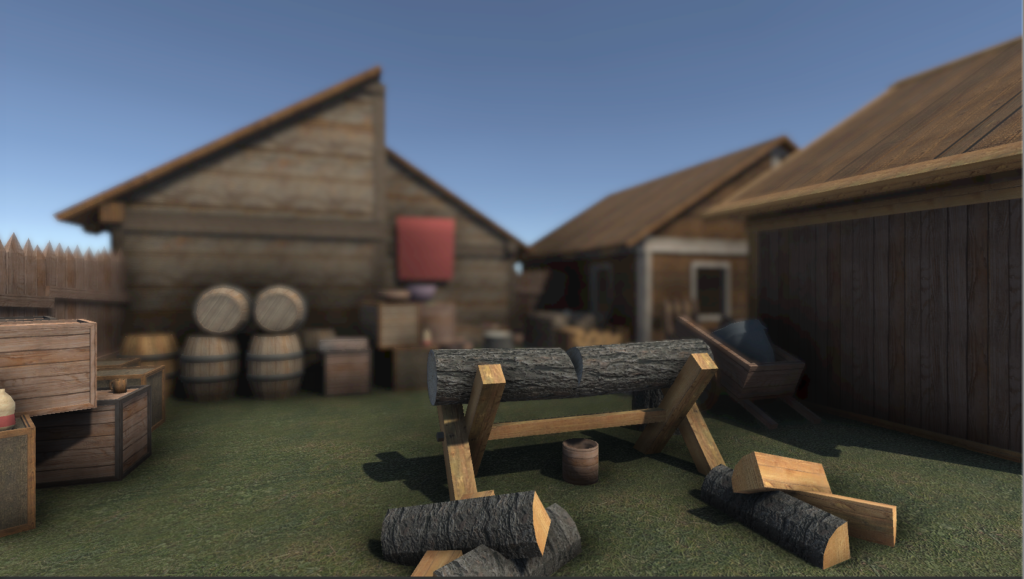
5メートル付近にピントがあい、背景がボケれば成功だ
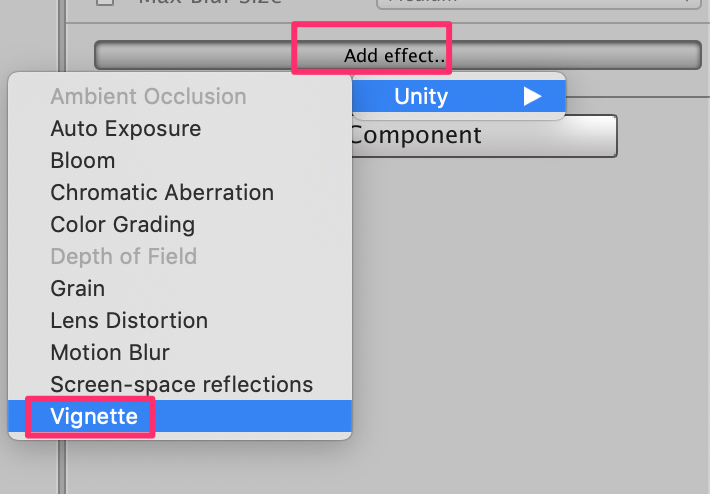
12.ビネットの設定
古いカメラなどで見られる画面の端が黒くなるビネットを設定しよう。
以下のように設定する。今回は効果がわかりやすいように大げさに設定しているがこういった効果は控えめにおこなったほうがよい。
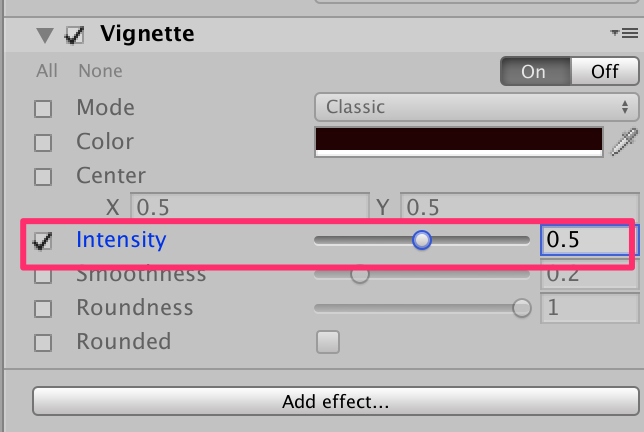
周辺が暗くなった。これもColorを調整して焦げ茶にするとまた違う味がでる。
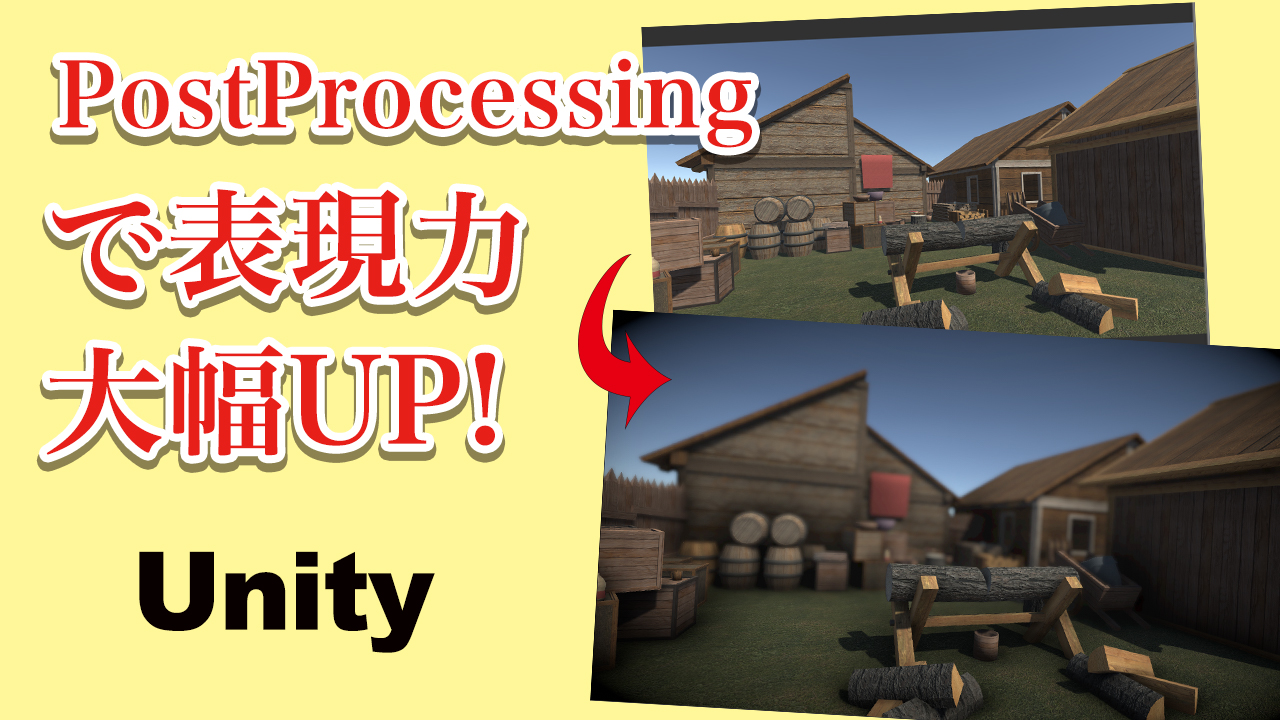
以上で今回のPost-Pocessing機能の紹介は終了だ。ゲームに対して表現力が格段に高まる。
そのほかにも様々な効果がある。下の記事などを参考に色々試してみてもらいたい
https://www.fast-system.jp/unity-post-processing-stack/
(おまけ)
上記のアセット内のフィールドを散策できるようにしよう。
おなじみの公式スタンダードアセット
https://assetstore.unity.com/packages/essentials/asset-packs/standard-assets-for-unity-2017-3-32351
から
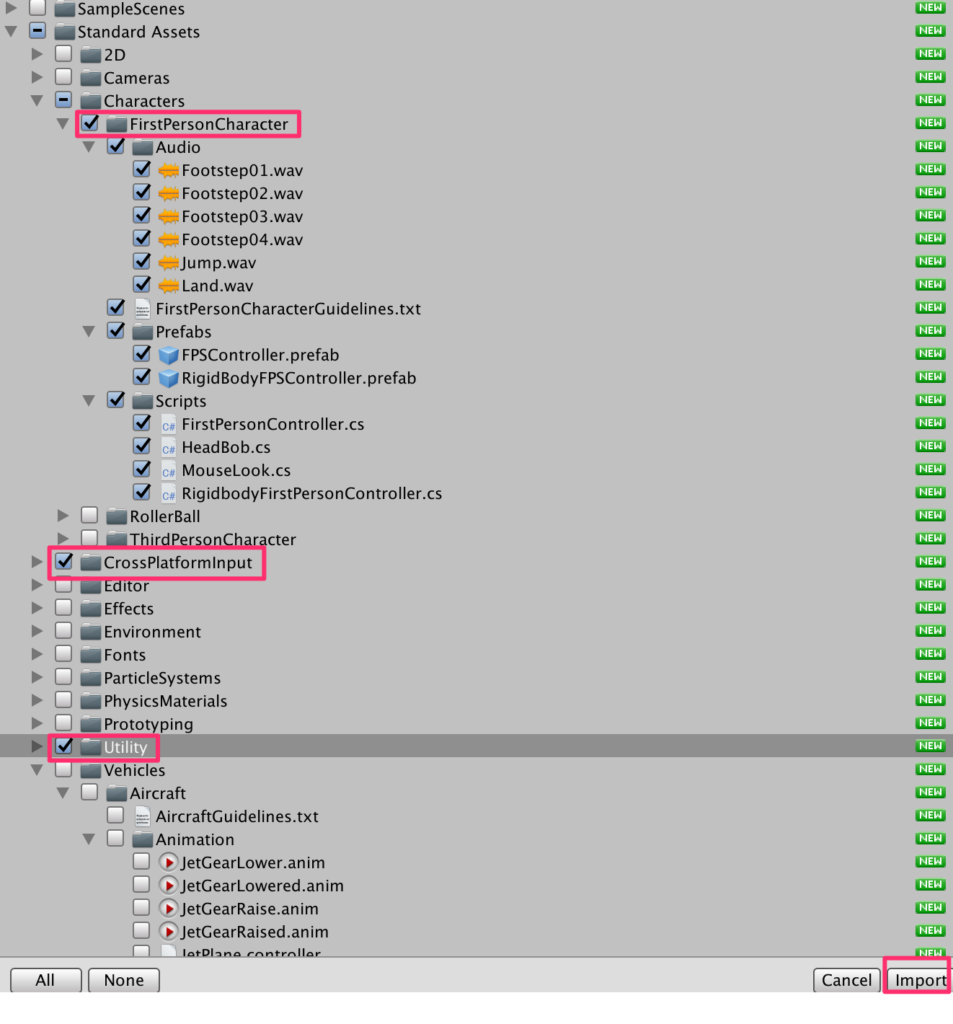
FirstPersonCharacter
CrossPlatformInput
Utility
の3箇所にチェックをいれインポート
インポートが終了すれば動けるようになる再生してマウスと上下キーで散策してみてもらいたい

コメント