以下動画のようなクリックした場所に弾丸を飛ばすゲームを作成してみよう。
(この記事は以前の記事をアップデートしたものである。)
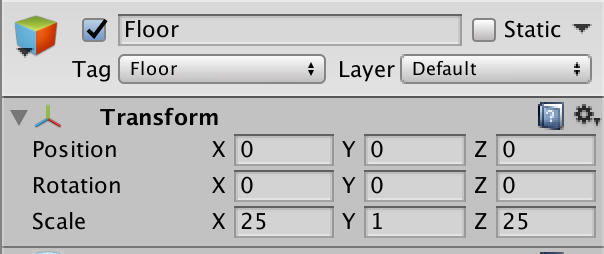
床の作成
1.CubeからFloorを作成する。
2.Floorというタグを作成し付与する。
3.transformは下図
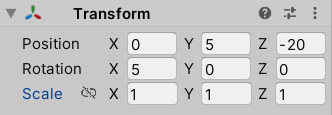
カメラの設定
4.transformを下図のように設定
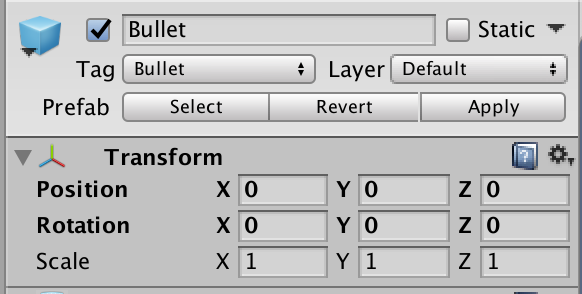
弾丸の作成
5.SphereからBulletを作成する。
6.transformは下図(Floorに埋もれて見えないが気にしなくて良い)
7.表面材質を赤に設定する。
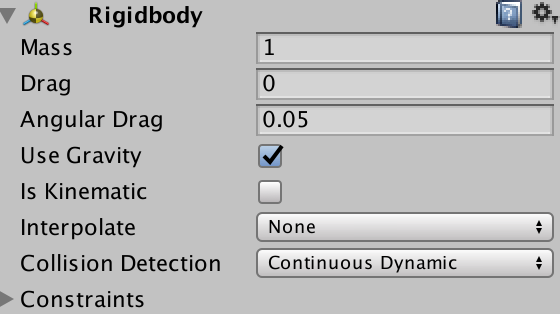
8.Rigidbodyを付与する。すり抜けが発生しないように下図のようにCollision DetectionをContinuous Dynamicに設定する。
9.Bulletというタグを作成し付与する。
10.BulletController.csの作成。以下のようにスクリプトを作成する。画面から見えなくなった時にデストロイする処理を入れている。作成できたらヒエラルキーのBulletに付与する
using System.Collections;
using System.Collections.Generic;
using UnityEngine;

public class BulletController : MonoBehaviour {

	void OnBecameInvisible(){
		Destroy (gameObject);
	}
}
11.プレファブ化する。(ヒエラルキーからは削除する)
Shooterの作成
11.今回はカメラにスクリプト付与する。Shooter.csを以下のように作成しカメラにアタッチする。
using System.Collections;
using System.Collections.Generic;
using UnityEngine;

public class Shooter : MonoBehaviour {
	public GameObject prefab;

	void Update () {
		if (Input.GetMouseButtonDown (0)) {
			//引数一つでInstantiate
			GameObject obj = Instantiate (prefab);
			//親要素設定(今回はカメラ)
			obj.transform.parent = transform;
			//親要素からのオフセットは0
			obj.transform.localPosition = Vector3.zero;
			//メインカメラからマウスクリックした地点にrayを飛ばす
			Ray ray = Camera.main.ScreenPointToRay (Input.mousePosition);
			//rayの方向を長さ1にして dirに代入
			Vector3 dir = ray.direction.normalized;
			//生成したObjのrigidbodyを取得し、速度をdir方向に与える
			obj.GetComponent<Rigidbody>().velocity = dir * 100.0f;
		}
	}
}
12.Shooterスクリプトをカメラにアタッチしたら、インスペクターからBulletプレファブを登録する。

13.実行してマウスをクリックしてみよう。クリックした場所に弾丸が飛んでいけば成功だ。
UIの設定
14.Canvasを利用して、UIを設定していこう。新規UI->CanvasでCanvasを生成し、CanvasScalerの設定を以下のようにしておこう。これで画面サイズが変わった際にUIも自動伸縮してくるようになる。(Canvasを作るとEventSystemも自動的に作成される)

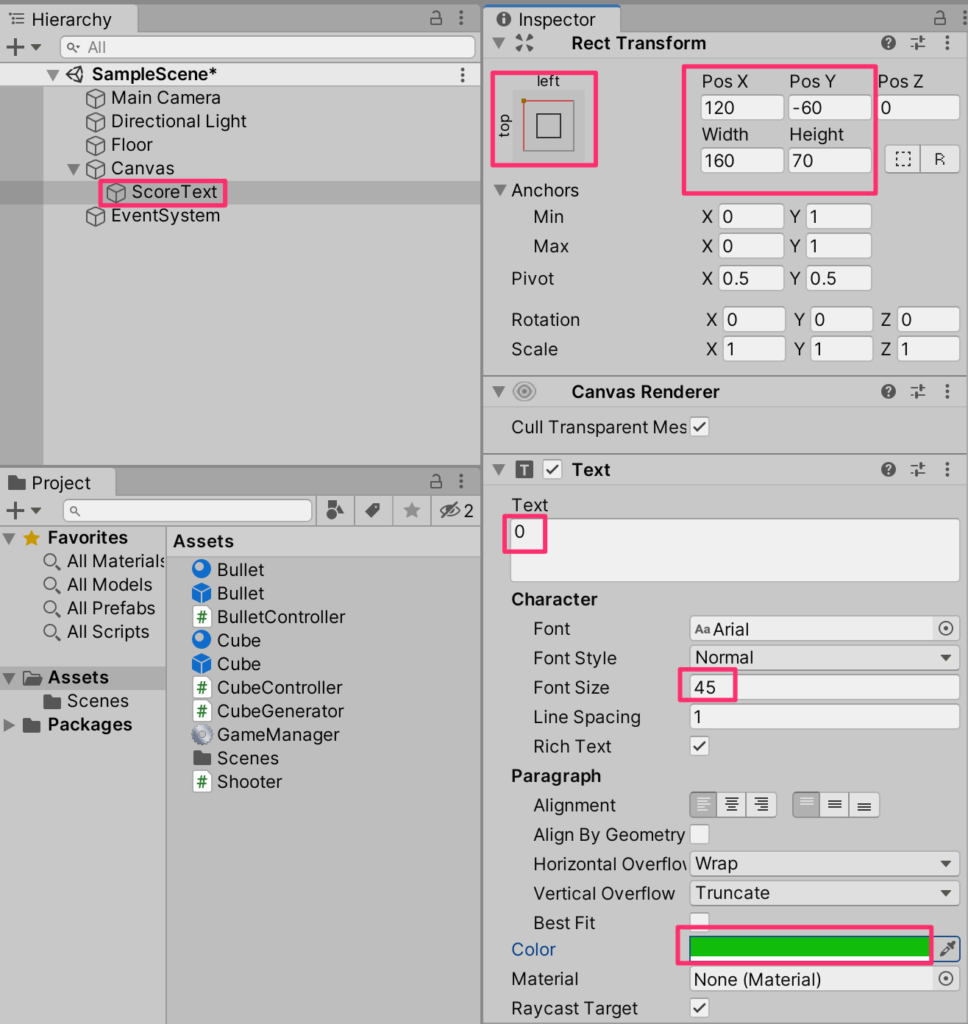
15.Canvasの中にTextを作成し、ScoreTextとリネーム。インスペクターから以下のように調整する
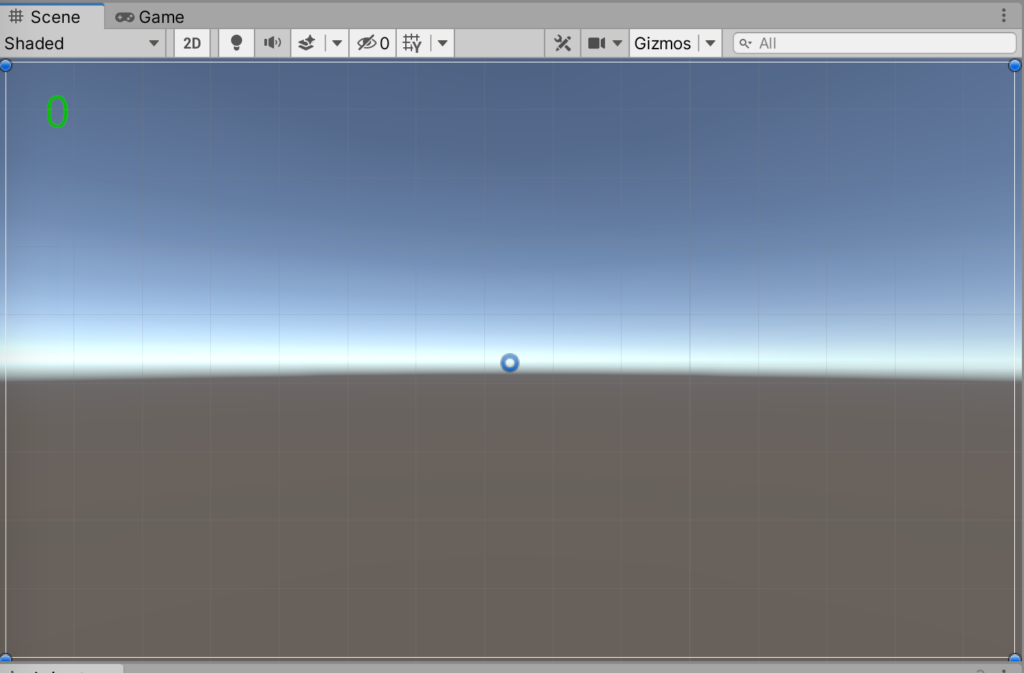
以下のような感じで左上に表示されればOKだ。
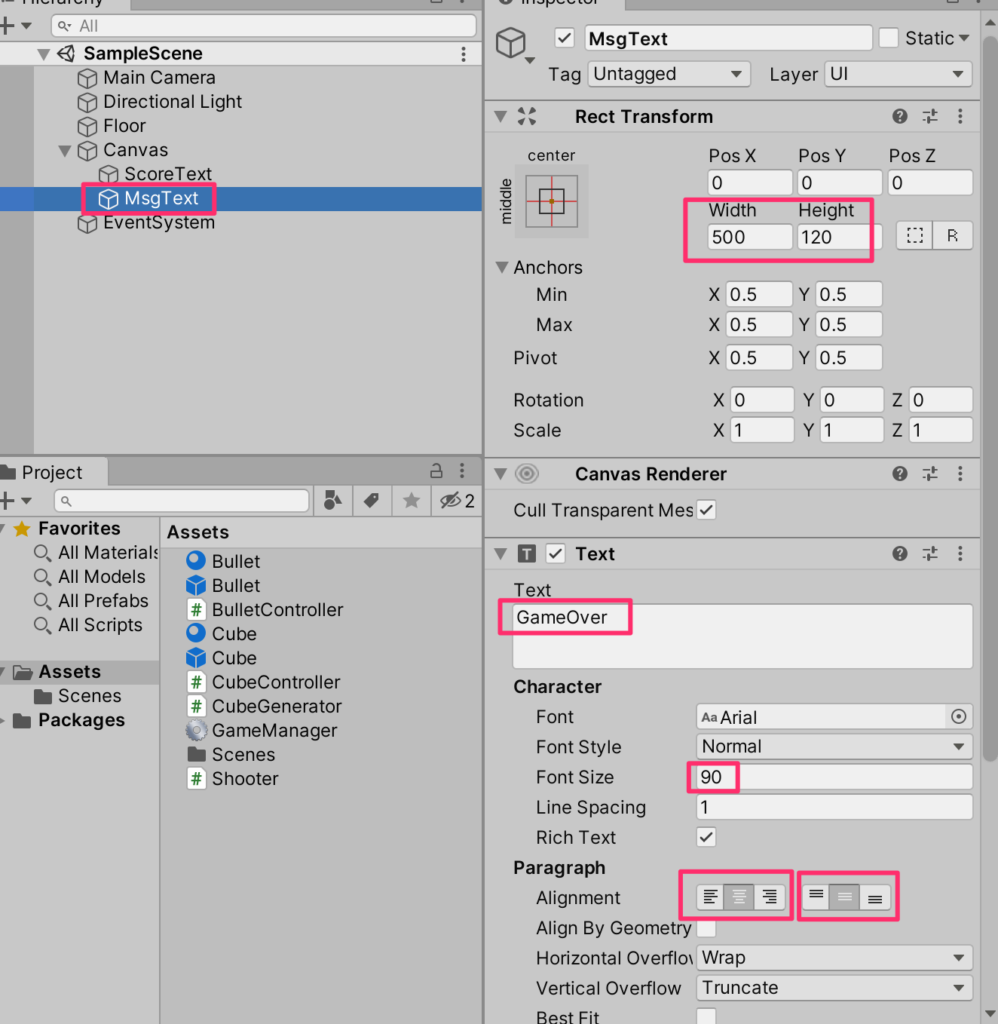
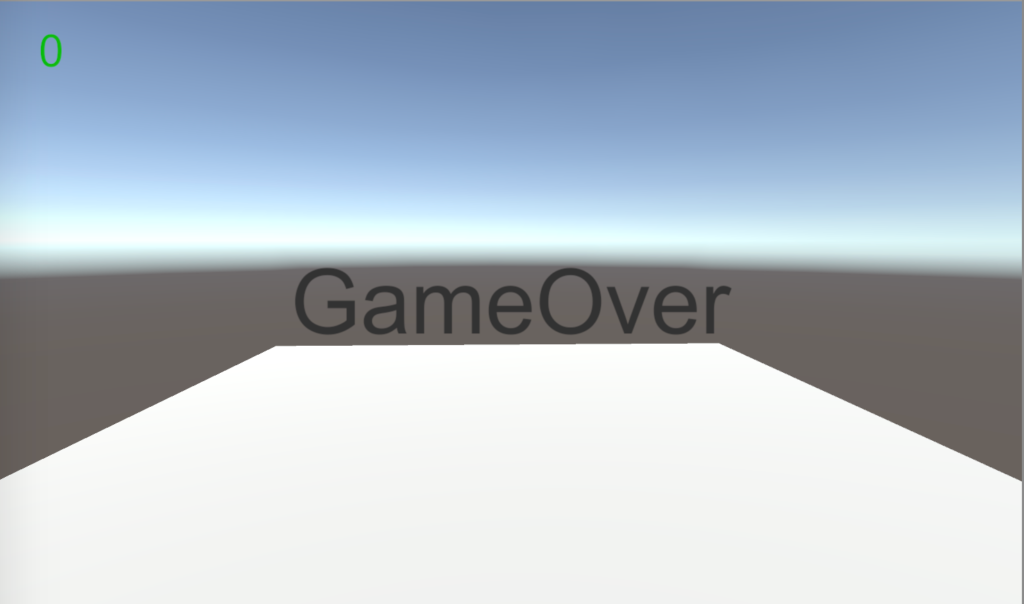
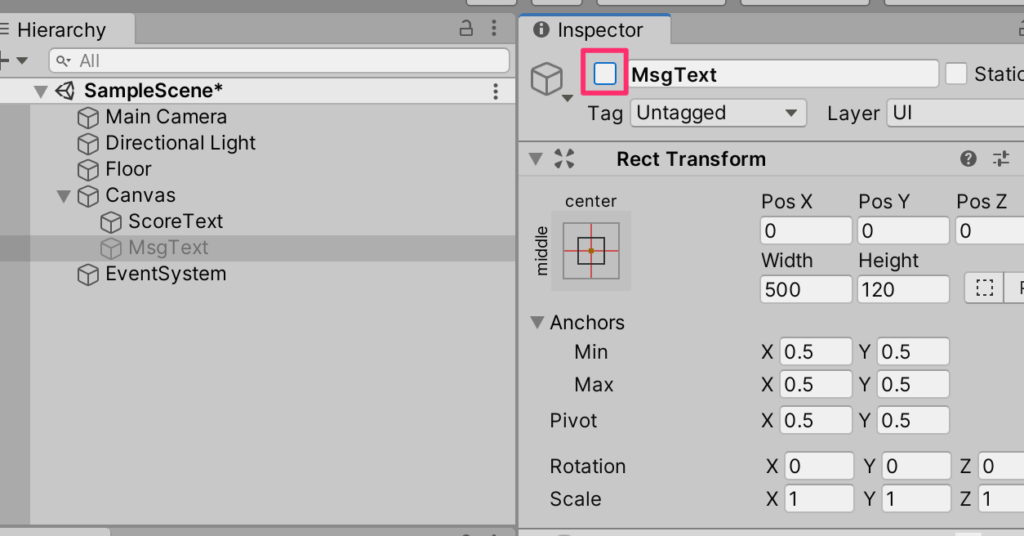
16.同様に新しくTextを作成し名前をMsgTextに変更する。インスペクターから以下のように調整する
以下のように画面の中央にGameOverと表示されればOKだ。
17.このGameOverの文字は最初は隠しておこう。以下のようにチェックボックスを外す
GameManagerの作成
18.UI関連やscoreなどを一元管理できるようにCreateEmptyからGameManagerを作成しGameManager.csスクリプトを以下のように作成する。
using System.Collections;
using System.Collections.Generic;
using UnityEngine;
using UnityEngine.UI;//UIオブジェクトを扱う場合に必要

public class GameManager : MonoBehaviour
{
    int score=0;
    public Text scoreText;
    public GameObject msgText;

    //点数を1増やすメソッド
    public void IncreaseScore(){
        score++;
        scoreText.text=score.ToString();
    }
    //ゲーム終了時に動くメソッド
    public void GameEnd(){
        msgText.SetActive(true);
        //timeScaleを0にすると物体が止まる
        Time.timeScale=0f;
    }
}
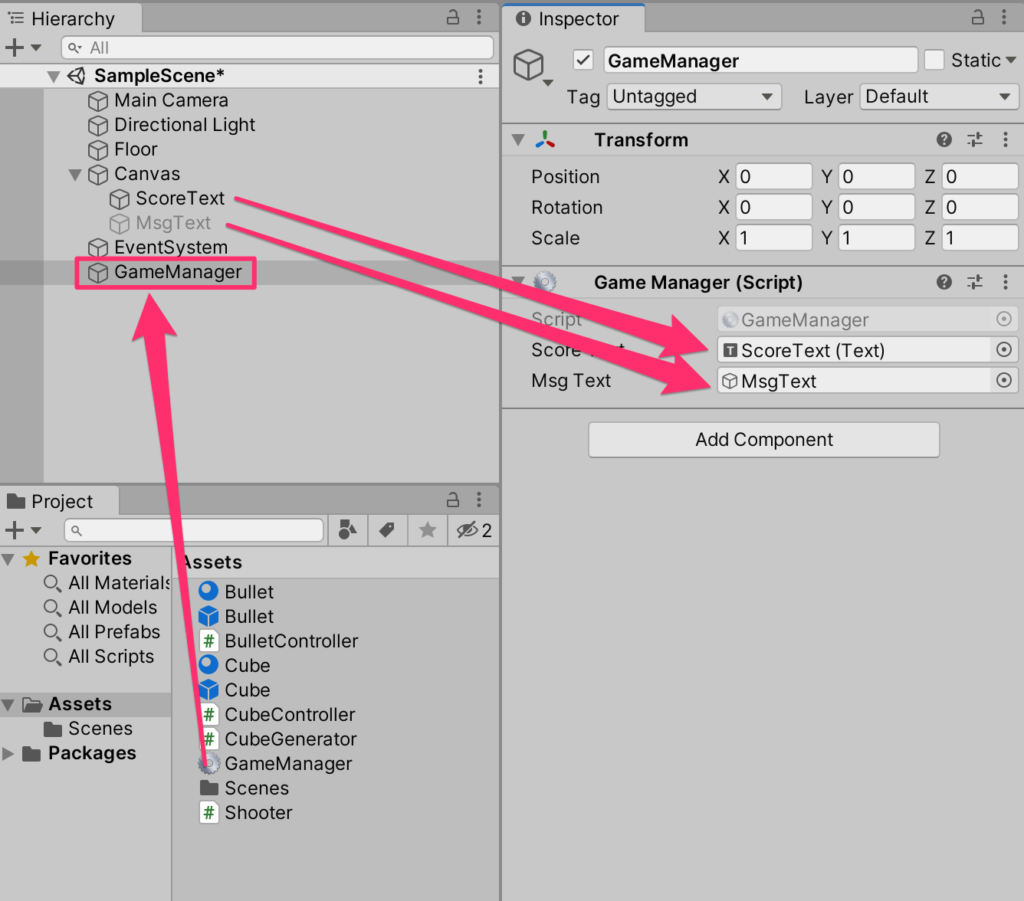
19.CreateEmptyして、GameManagerとリネーム。GameManagerスクリプトをアタッチして、以下のように2つのTextオブジェクトを登録する。(この段階ではゲームを再生しても何も変化はない)
落下してくるCubeの作成
20.Cubeを作成する。トランスフォームは下図。(Floorに埋もれるが考慮しなくてよい)

21.Rigidbodyを付与し、Collision DetectionをContinuous Dynamicに設定する。
22.青の素材を付与する。
23.CubeController.csを下図のように作成し、アタッチする。プレファブには直接GameManagerの参照を渡せないのでフィールドにプロパティとして用意しておく。
using System.Collections;
using System.Collections.Generic;
using UnityEngine;

public class CubeController : MonoBehaviour
{
    public GameManager GM{get;set;}

    void OnCollisionEnter(Collision other) {
        if(other.gameObject.CompareTag("Bullet")){
            GM.IncreaseScore();
            Destroy(gameObject,0.1f);
        }
        if(other.gameObject.CompareTag("Floor")){
            GM.GameEnd();
        }
    }
}
24.プレファブ化し、ヒエラルキーからは削除する。
CubeGeneratorの作成
25.CreateEmptyからCubeGeneratorを作成。
26.CubeGeneratorにCubeGenerator.csスクリプトを下図のように作成する
using System.Collections;
using System.Collections.Generic;
using UnityEngine;

public class CubeGenerator : MonoBehaviour
{
    public GameObject prefab;
    public GameManager gm;

    //Startでの処理がコルーチンの起動のみの場合はStart自体をコルーチン化できる
    IEnumerator Start()
    {
        //キューブの生成間隔
        float delta = 1.5f;
        //無限ループ
        while(true){
            //Cubeのインスタンス化
            GameObject cube = Instantiate(
                prefab,
                new Vector3(
                    Random.Range(-12f,12f),
                    Random.Range(8f,12f),
                    Random.Range(-3f,3f)
                ),
                Quaternion.identity
            );
            //cubeのCubeControllerにアクセスし、GMを登録する
            cube.GetComponent<CubeController>().GM=gm;
            //delta秒の停止
            yield return new WaitForSeconds(delta);

            if(delta > 0.5f){
                //生成間隔を早くしていく
                delta -=0.05f;
            }
        }
    }
}
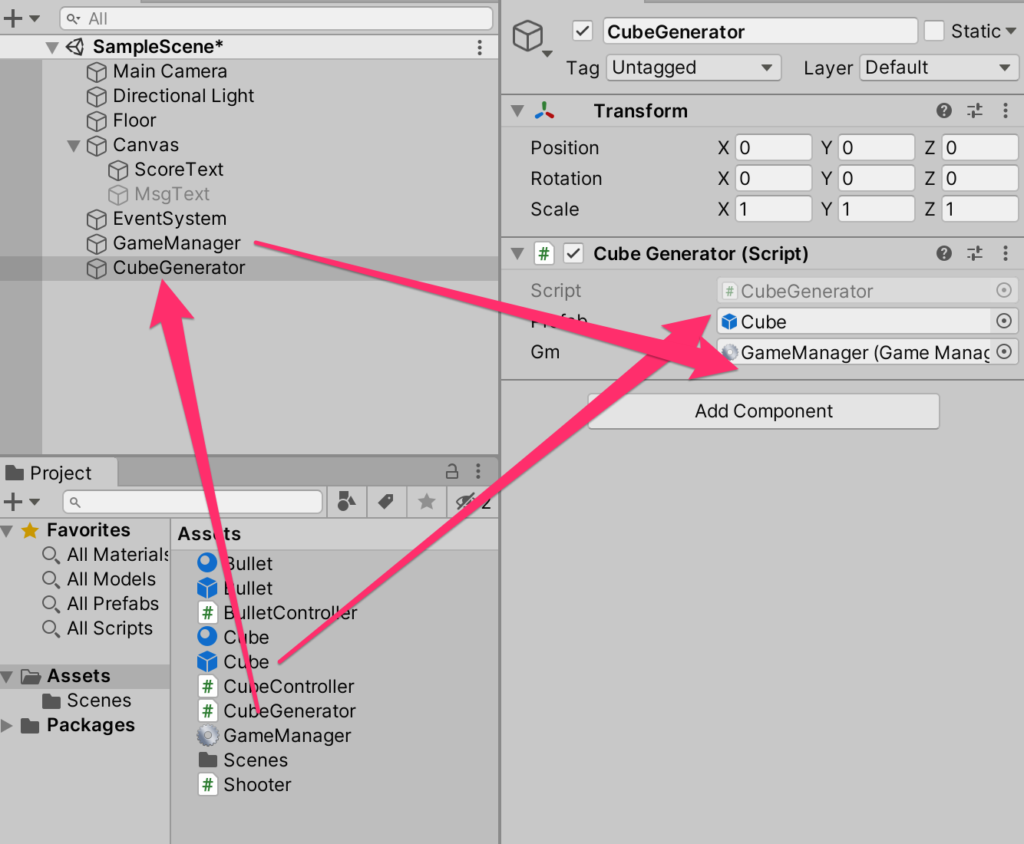
22.CubeGeneratorにCubeGeneratorスクリプトを付与し、以下のように登録する
実行
以上で完成。最初の動画のように遊べれば成功だ。
ポイント解説
今回のポイントはプレファブのCubeにどうやってGameManagerの参照を渡すかというところだ。お互いヒエラルキーに存在している者同士だったら直接インスペクターから登録できるのだが、今回のようにプレファブから動的に生成していく場合にはこの方法は使えない。
もっともお手軽な方法はInstantiateされたあとに「Find系のメソッドを使ってヒエラルキーからGameManagerを探す」という方法だが、Find系は重いので少し気になるところだ。
そういったときには今回のように参照を受け渡す方法をとるとよい。これならば低コストで実現できる。

コメント