今回はRaycastという見えない光線を照射することでTargetを見つけるという機械学習を行う。
作成
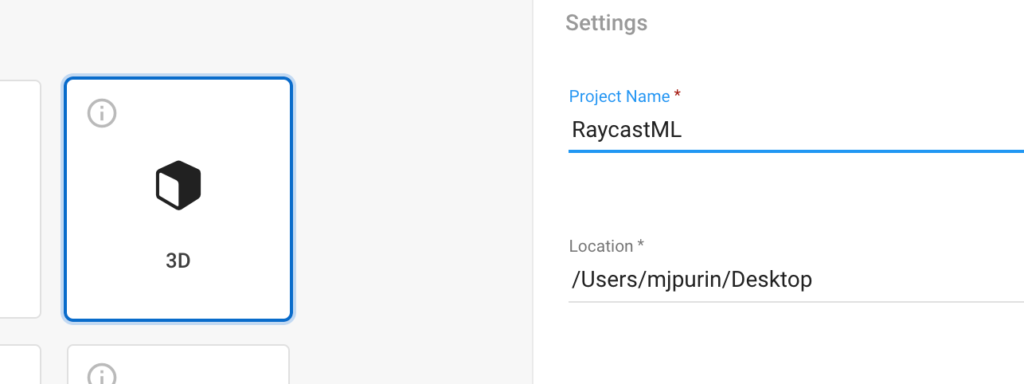
UnityHumを開き新規3DプロジェクトからRaycastMLという名でプロジェクトを作成する。
packageのインストール
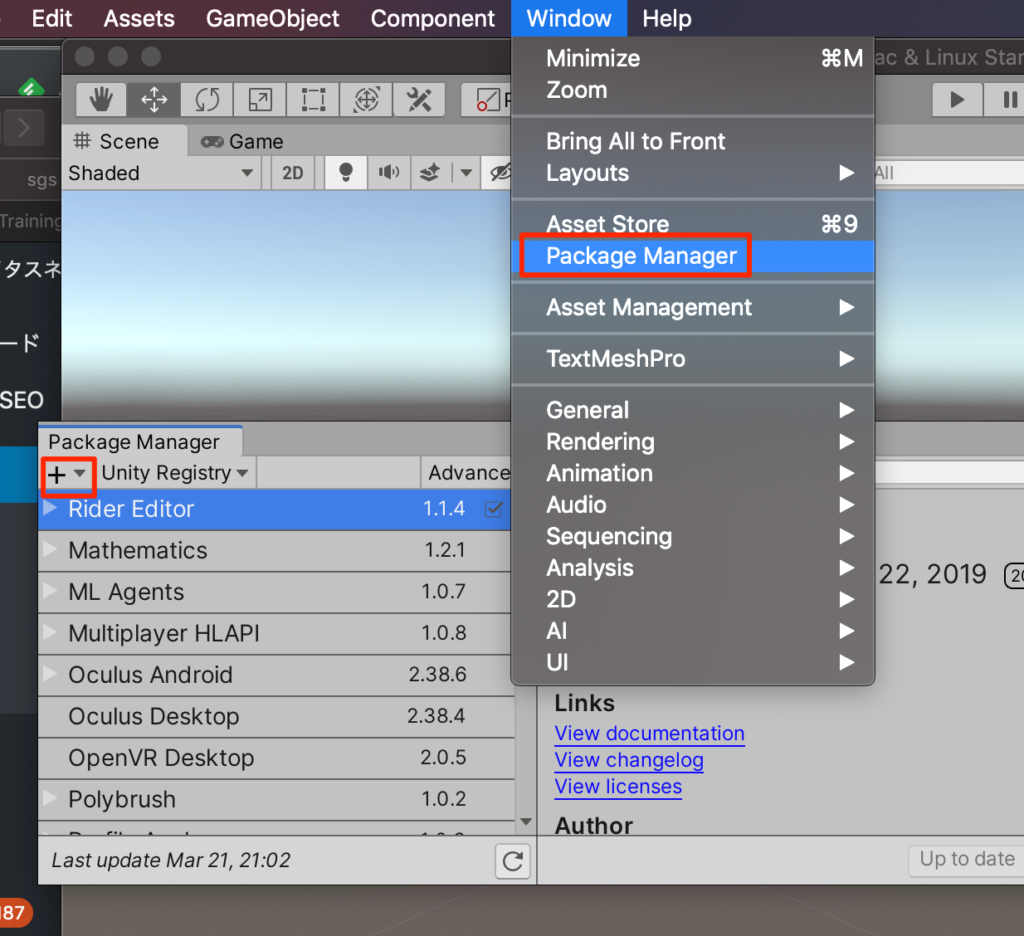
PackageManagerを開き+ボタンからadd package from diskを選択する
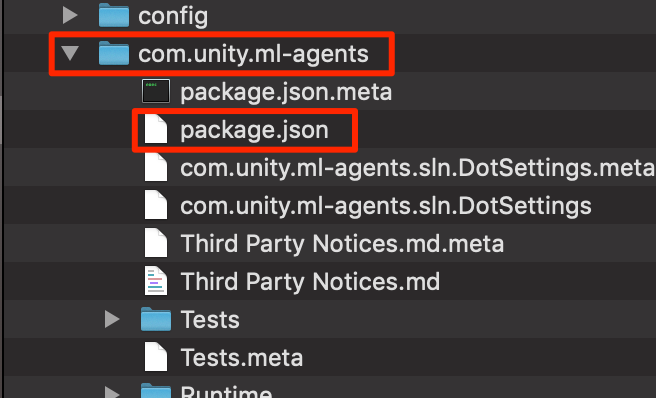
GitHubからインストール済みのml-agentsフォルダ->com.unity.ml-agents->package.jsonを選択しインポートする。(ここらへんの手順はここに詳しく記載Mac,Win)
ステージの作成
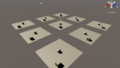
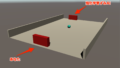
準備ができたのでさっそくステージを作成していこう。
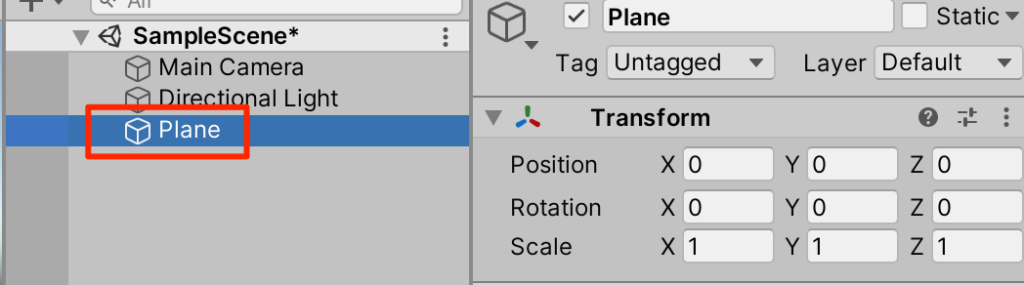
○Create3Dオブジェクトからplaneを選択
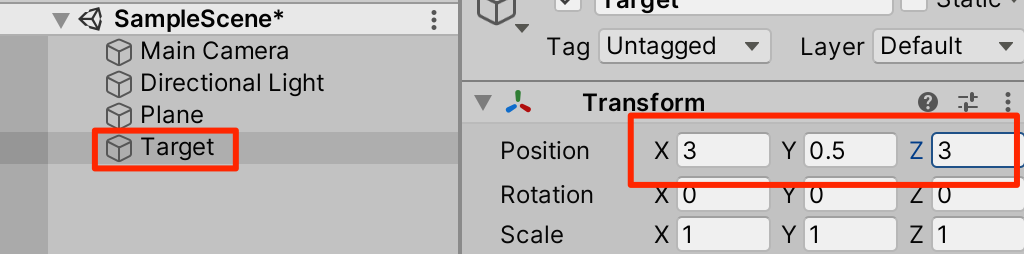
○Create3DオブジェクトからSphereを作成。Targetとリネームする。トランスフォームは以下
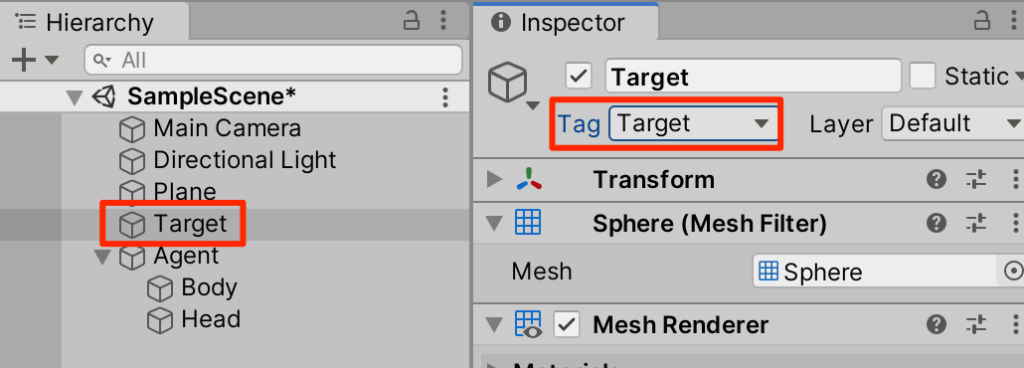
○Targetタグを作成して、付与する。
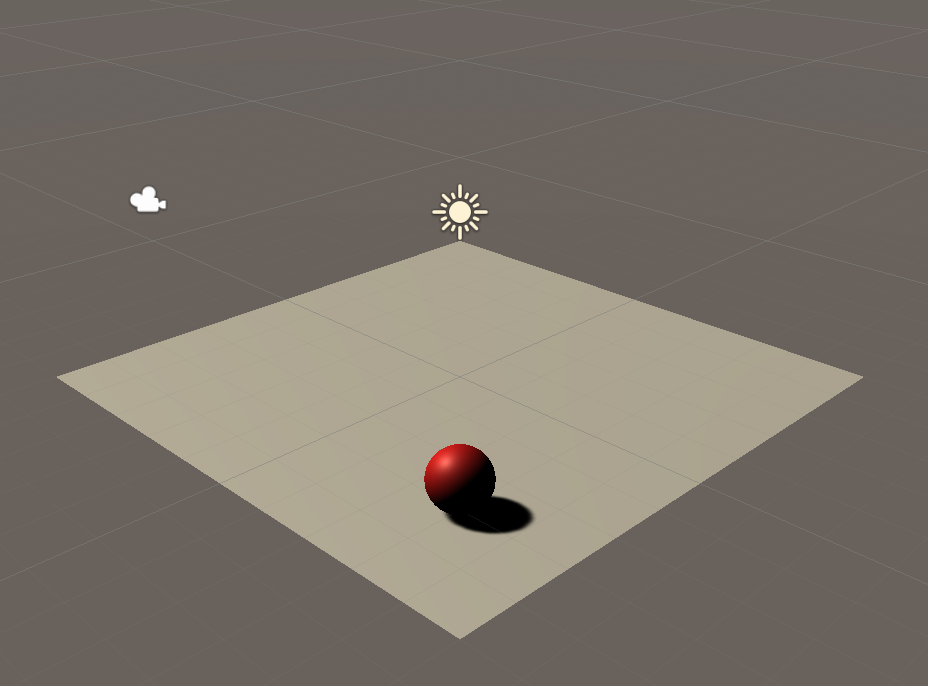
○(任意)マテリアルを付与しよう。ここでは赤くしてみた。
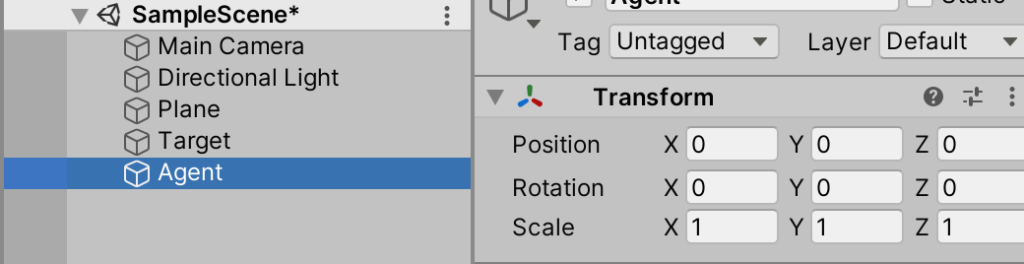
○主人公を作成しよう。まずは原点にCreateEmptyしてAgentとリネーム
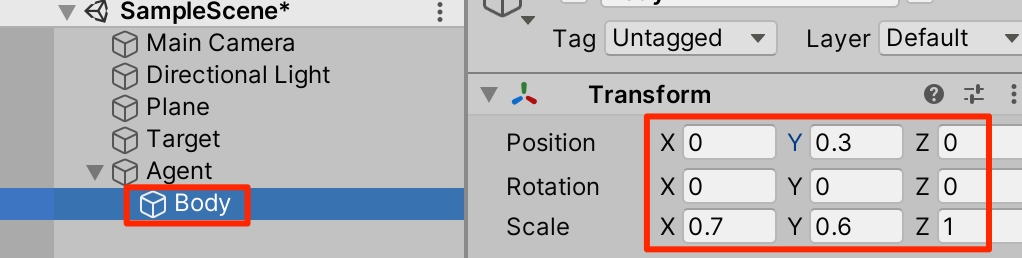
○体を作ろう。Agentを右クリックして、新規Cubeを作成してBodyとリネーム。トランスフォームは以下
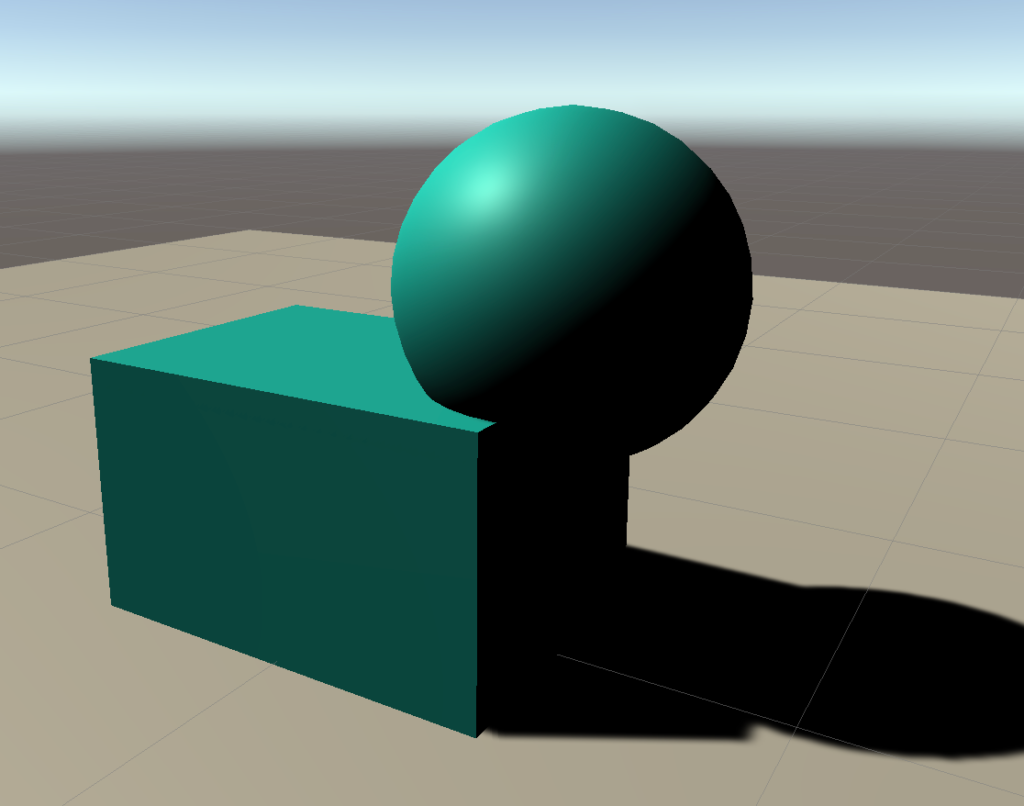
○頭を作る。Agentを右クリックして、新規Sphereを作成しHeadとリネーム。トランスフォームは以下

○(任意)好きな色をつけよう。
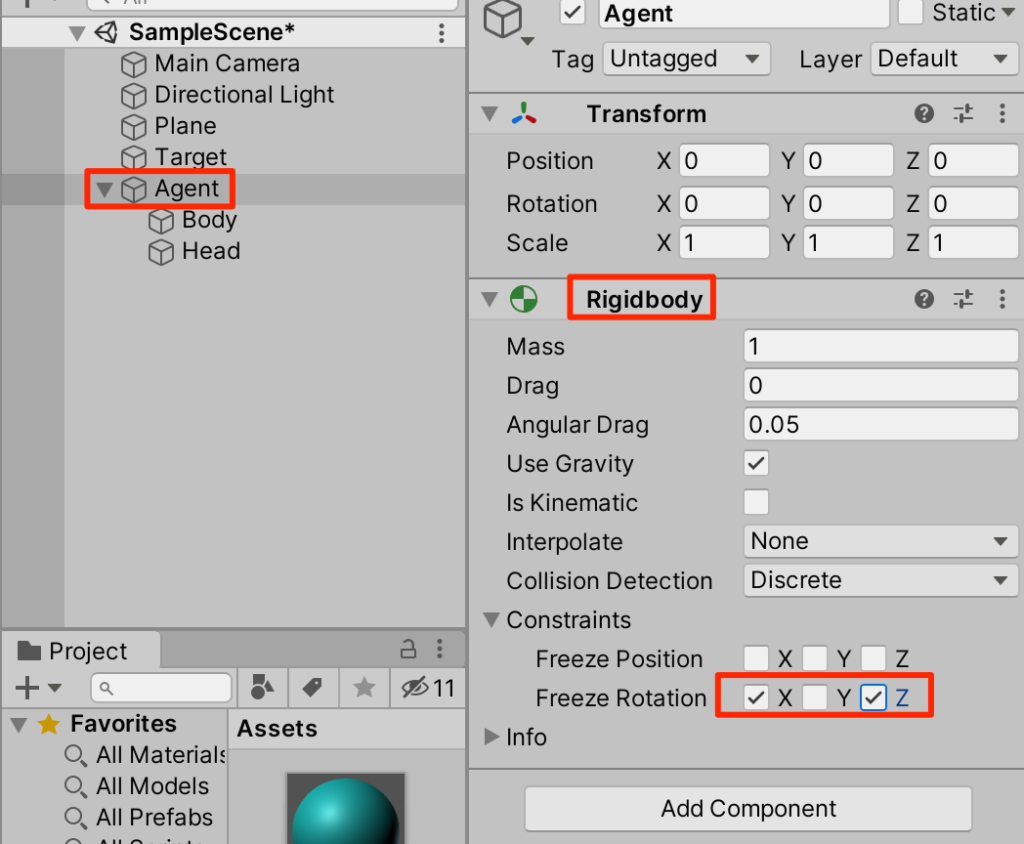
○Agentを選択してRigidbodyを付与。コンストレインツを設定して回転はY軸方向のみができるようにしておく
Agentとしての設定
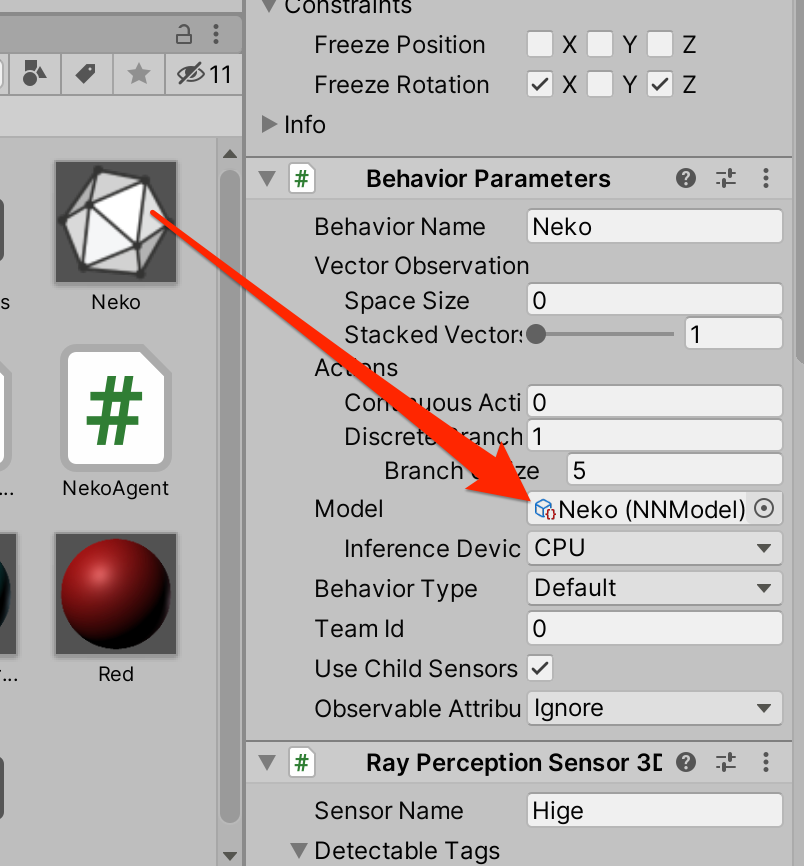
機械学習できるよう設定をしていく。Agentを選択しAddComponentからBehaviorParametersを付与。以下のように設定する。
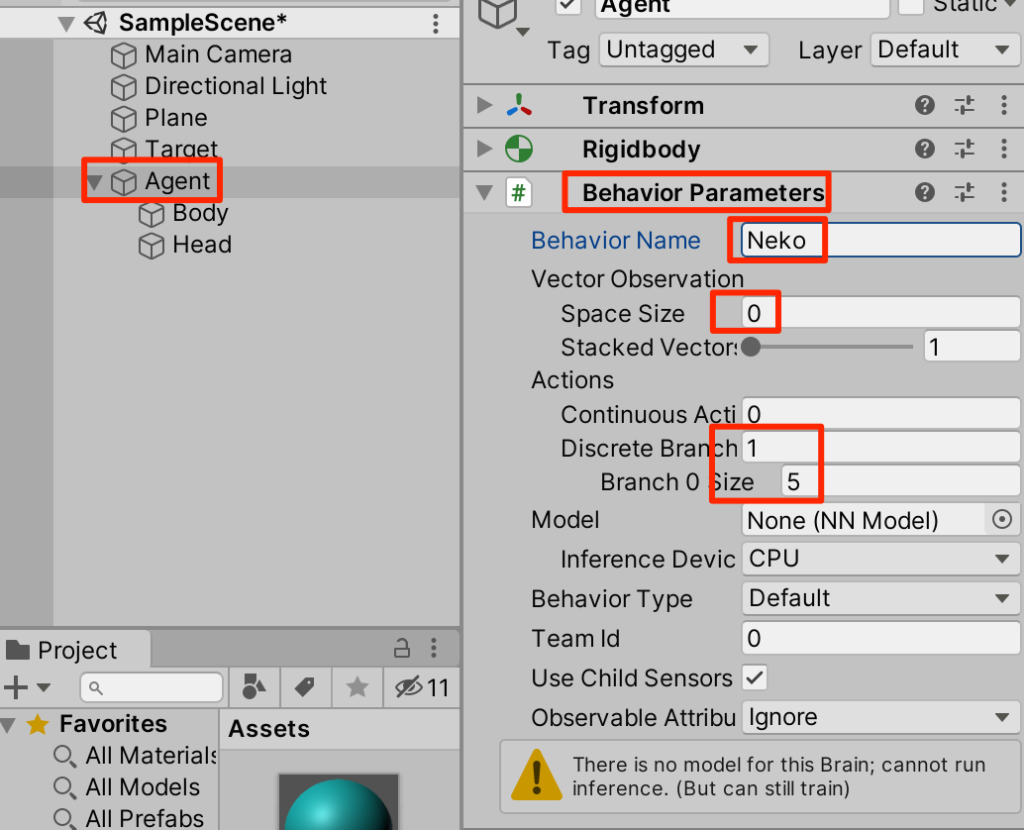
(解説) BehaviorParametersは機械学習する際に必須となる。
Behavior Name:設定ファイル(yaml)から参照する際の識別子となる
○Branch 0 Size:5は以下5つの行動の数
0:移動なし
1:前進
2:後退
3:右回転
4:左回転
Ray Sensorの設定
Agentを選択して、AddComponentからRay Perception Sensor 3Dを選択。以下のように設定する。
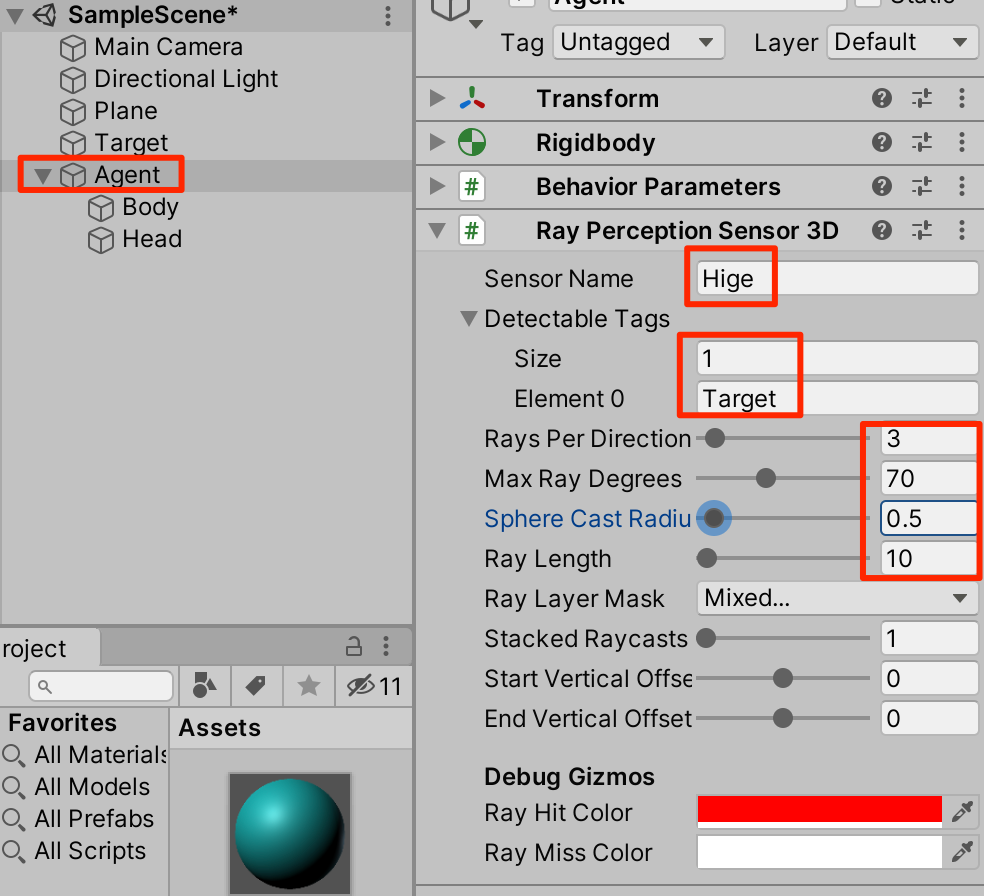
(解説)
SensorName:センサー名
Detactable Tags:検出タグ
RayPerDirection:中心から左右のレイの数
MaxRayDegrees:最外のレイの正面からの角度
SphereCastRadius:レイとして飛ばす球の半径
RayLength:レイの長さ

スクリプトの作成
○新規C#スクリプトからNekoAgentを作成以下のように記述し、Agentにアタッチする。
using System.Collections.Generic;
using UnityEngine;
using Unity.MLAgents;
using Unity.MLAgents.Actuators;
public class NekoAgent : Agent {
public Transform target;
Rigidbody rb;
void Start() {
rb = GetComponent<Rigidbody>();
}
// エピソード開始時に呼ばれる
public override void OnEpisodeBegin() {
// Agentの落下時
if (transform.localPosition.y < 0) {
// Agentの位置と速度をリセット
rb.angularVelocity = Vector3.zero;
rb.velocity = Vector3.zero;
transform.localPosition = Vector3.zero;
}
// Targetの位置のリセット
target.localPosition = new Vector3(
Random.value * 8 - 4, 0.5f, Random.value * 8 - 4);
}
// 行動実行時に呼ばれる
public override void OnActionReceived(ActionBuffers actions) {
Vector3 dirToGo = Vector3.zero;
Vector3 rotateDir = Vector3.zero;
int action = actions.DiscreteActions[0];
if (action == 1) dirToGo = transform.forward;
if (action == 2) dirToGo = transform.forward * -1.0f;
if (action == 3) rotateDir = transform.up * -1.0f;
if (action == 4) rotateDir = transform.up;
transform.Rotate(rotateDir, Time.deltaTime * 200f);
rb.AddForce(dirToGo * 0.4f, ForceMode.VelocityChange);
// RaycastAgentがTargetの位置に到着
float distanceToTarget = Vector3.Distance(
transform.localPosition, target.localPosition);
if (distanceToTarget < 1.42f) {
AddReward(1.0f);
EndEpisode();
}
// RaycastAgentが落下
if (this.transform.localPosition.y < -0.1f) {
EndEpisode();
}
}
// ヒューリスティックモードの行動決定時に呼ばれる
public override void Heuristic(in ActionBuffers actionsOut) {
var actions = actionsOut.DiscreteActions;
actions[0] = 0;
if (Input.GetKey(KeyCode.UpArrow)) actions[0] = 1;
if (Input.GetKey(KeyCode.DownArrow)) actions[0] = 2;
if (Input.GetKey(KeyCode.LeftArrow)) actions[0] = 3;
if (Input.GetKey(KeyCode.RightArrow)) actions[0] = 4;
}
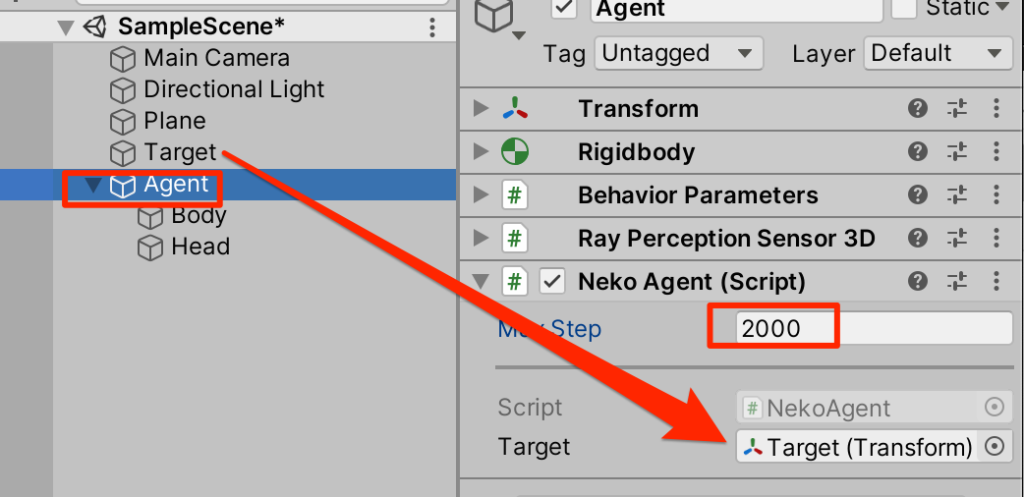
}○インスペクターから以下のように設定する
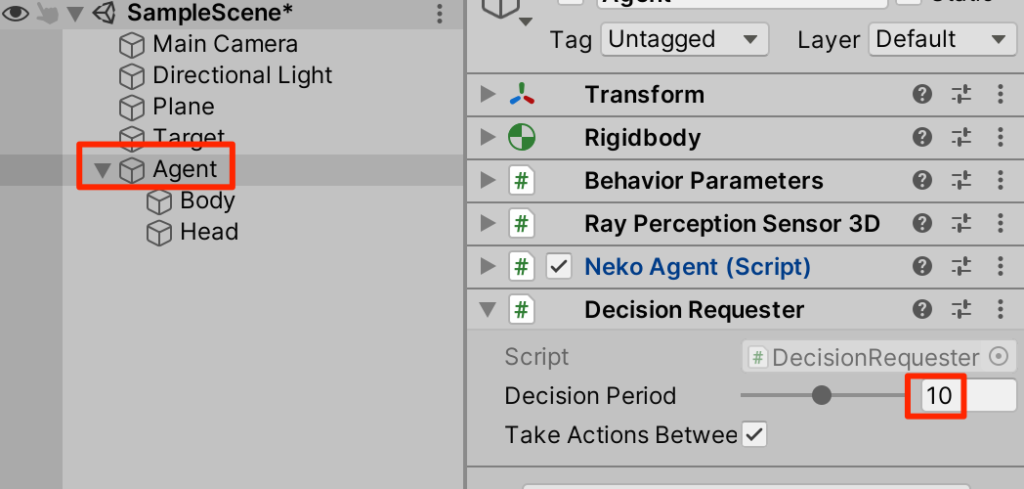
○Agentを選択し、AddComponentからDecision Requesterを追加。以下のように設定する
Heuristicで試す
Heuristicをオーバーライドしているのでこの段階で試すことができる実行してみよう。
矢印キーでAgentが動くのでTargetまで移動してみよう。
訓練ファイルの作成
bashに移動して、GitHubからクローンしたml-agentsフォルダに移動し、configフォルダ内にneko.yamlを作成する。

内容は以下をコピペする。
behaviors:
  Neko:
    trainer_type: ppo
    hyperparameters:
      batch_size: 128
      buffer_size: 2048
      learning_rate: 0.0003
      beta: 0.005
      epsilon: 0.2
      lambd: 0.95
      learning_rate_schedule: linear
    network_settings:
      normalize: true
      hidden_units: 128
      num_layers: 2
    reward_signals:
      extrinsic:
        gamma: 0.99
        strength: 1.0
    checkpoint_interval: 500000
    max_steps: 500000
    time_horizon: 64
    summary_freq: 10000
    threaded: true
このパラメータの詳細はここにある。
学習開始
では学習を開始しよう。以下のコマンドを入力して、Unityを実行する
$ mlagents-learn ./config/neko.yaml --run-id=neko1
学習できてきたと思ったらUnityの再生を止めよう。学習ファイルはresultsフォルダに入っているのでそれをUnityにドラッグ
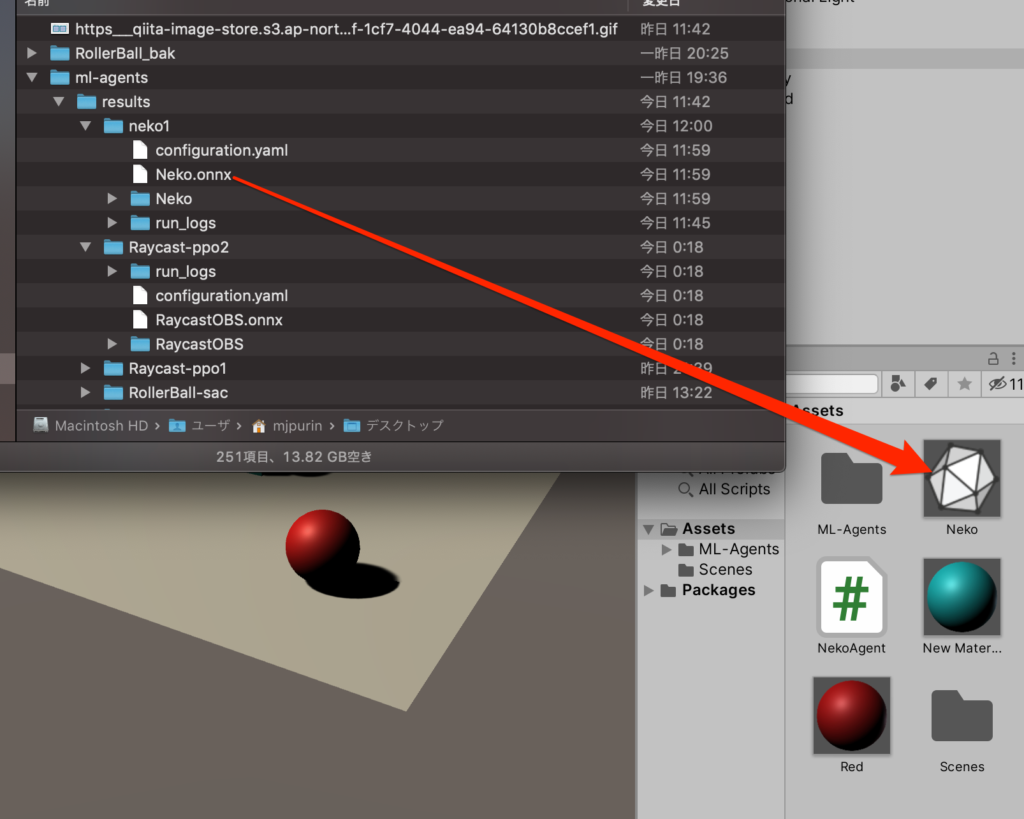
Behavior PrametersのModelに登録。再生して学習の成果を見よう。
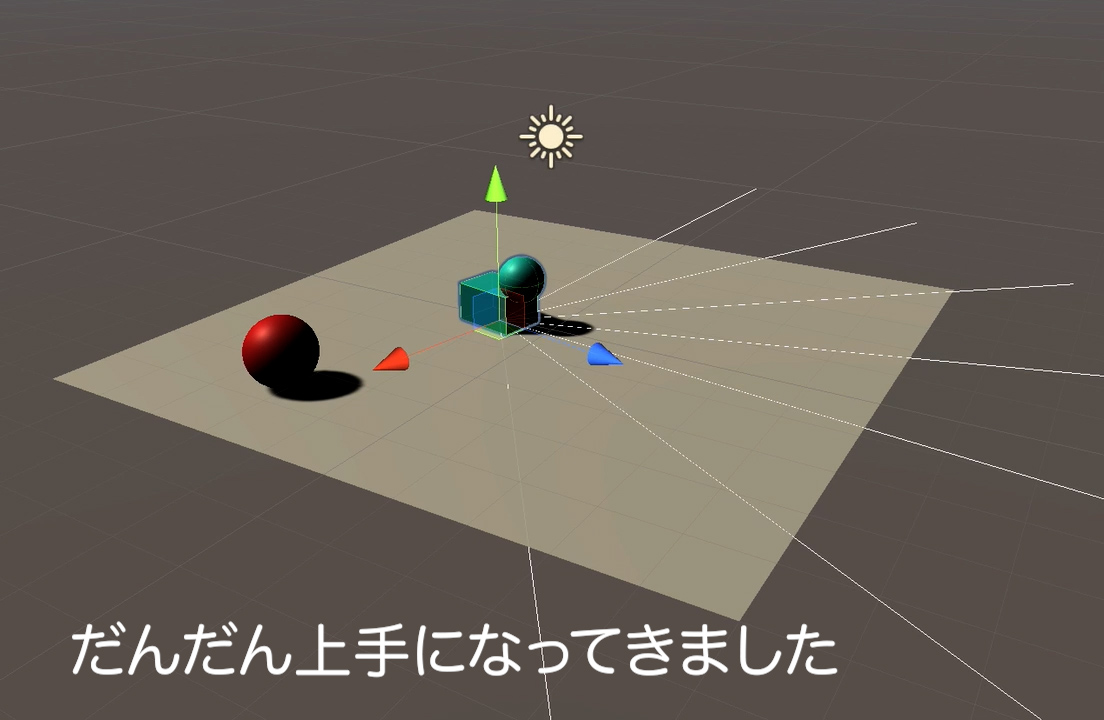
学習の成果をご覧あれ
終わりに
今回はセンサーを使って状況を判断し、行動をするという学習を行った。フィールドをさまよう敵の行動AIとしても使えそうだ。
 参考書
参考書
以下の書籍を参考にしています。

コメント