
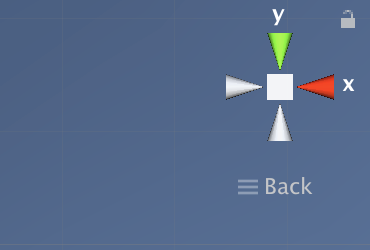
1.3Dでプロジェクトを作成したら3dギズモを以下のように調整する
2.新規Cubeを作成しGroundにリネーム。transformを以下のように調整する

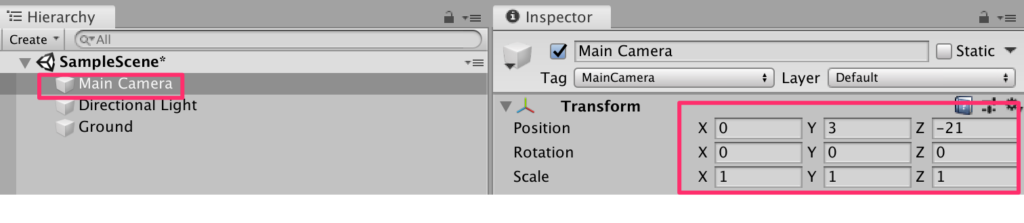
3.カメラの調整。
メインカメラを選択して以下のようにtransformを調整する
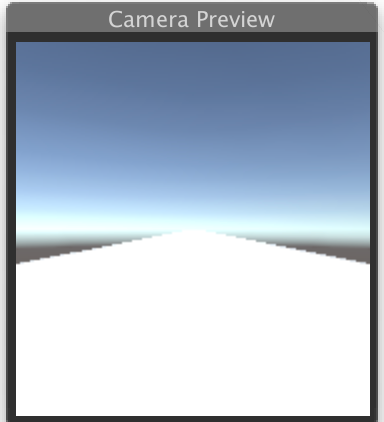
だいたい以下のような構図になればOKだ
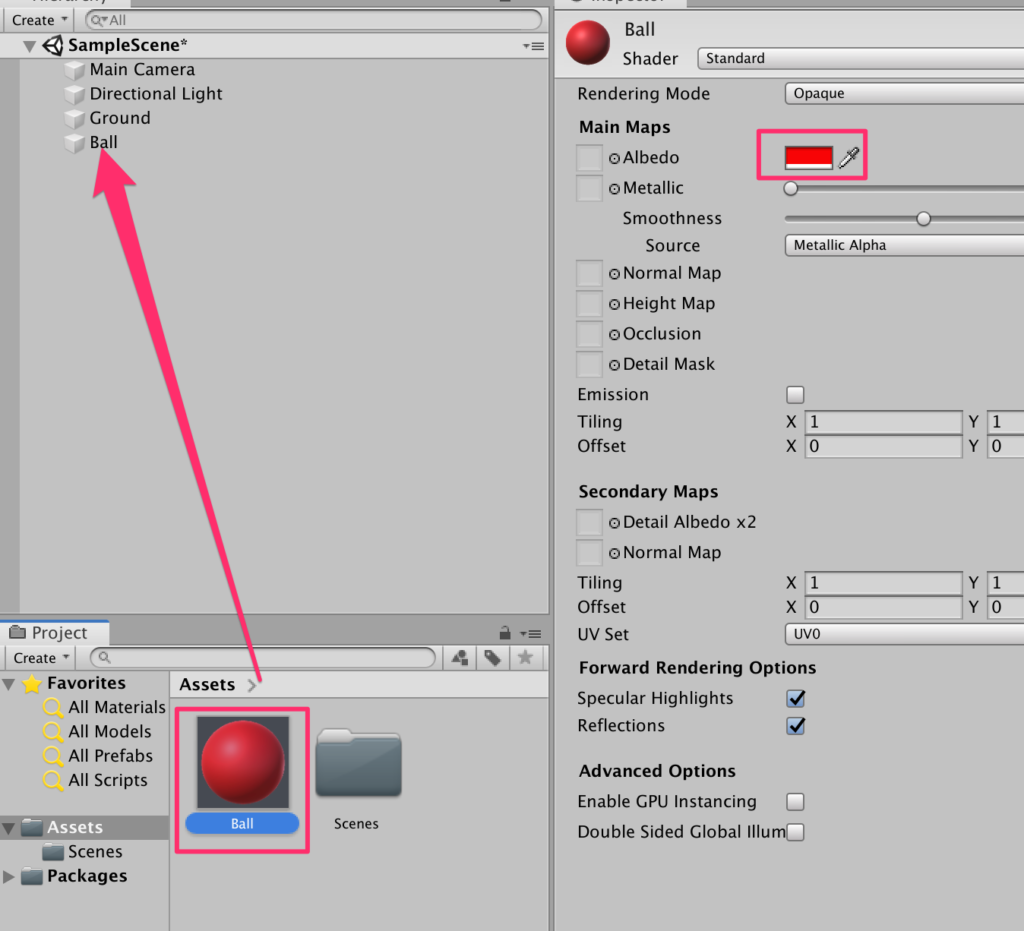
4.Ballの作成
新規Sphereを作成しBallにリネーム。transformを調整する

新規にマテリアルを作成し、赤色に設定し、ballにアタッチ
Rigidbodyを付与する。値は特に変更しなくてよい。
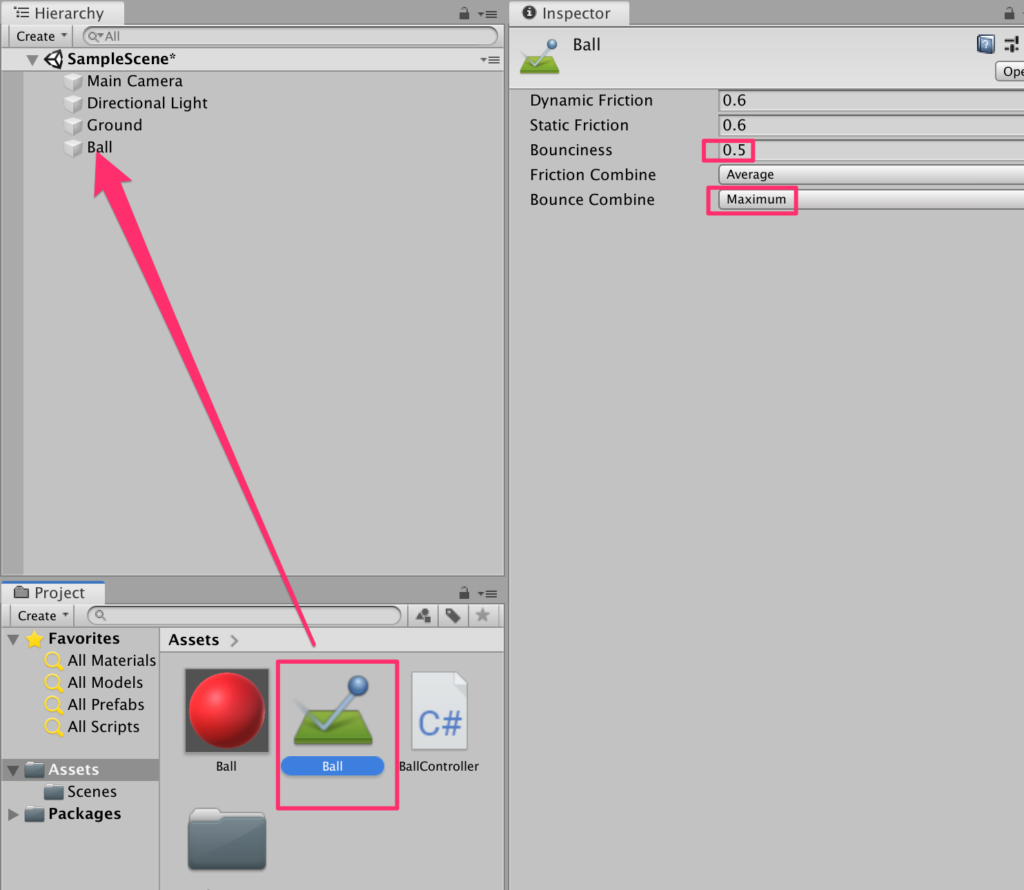
新規にPhysicMaterialを作成しBallとリネーム。下のように設定しBallにアタッチする
実行してみよう。
ボールが落下し少しはねたら成功だ。
5.ボールを飛ばす処理の作成
今回はマウスでドラッグすることにより打ち上げる角度やパワーを調整する仕組みにする。
新規C#スクリプトよりBallControllerを作成し以下のように記述する
using System.Collections;
using System.Collections.Generic;
using UnityEngine;

public class Sphere : MonoBehaviour
{
    Vector2 startPos;
    Vector2 endPos;
    Rigidbody rb;

    void Start()
    {
        rb = GetComponent<Rigidbody>();
    }

    void Update()
    {
        if (Input.GetMouseButtonDown(0)) {
            startPos = Input.mousePosition;
        }
        if (Input.GetMouseButtonUp(0)) {
            endPos = Input.mousePosition;
            Vector2 dir = startPos - endPos;
            Vector3 vec = new Vector3(0, dir.y, dir.x);
            rb.AddForce(vec*3f );
        }
    }
}
スクリプトをBallにアタッチして実行してみよう。画面を右上から左下に向かってドラッグして離す。
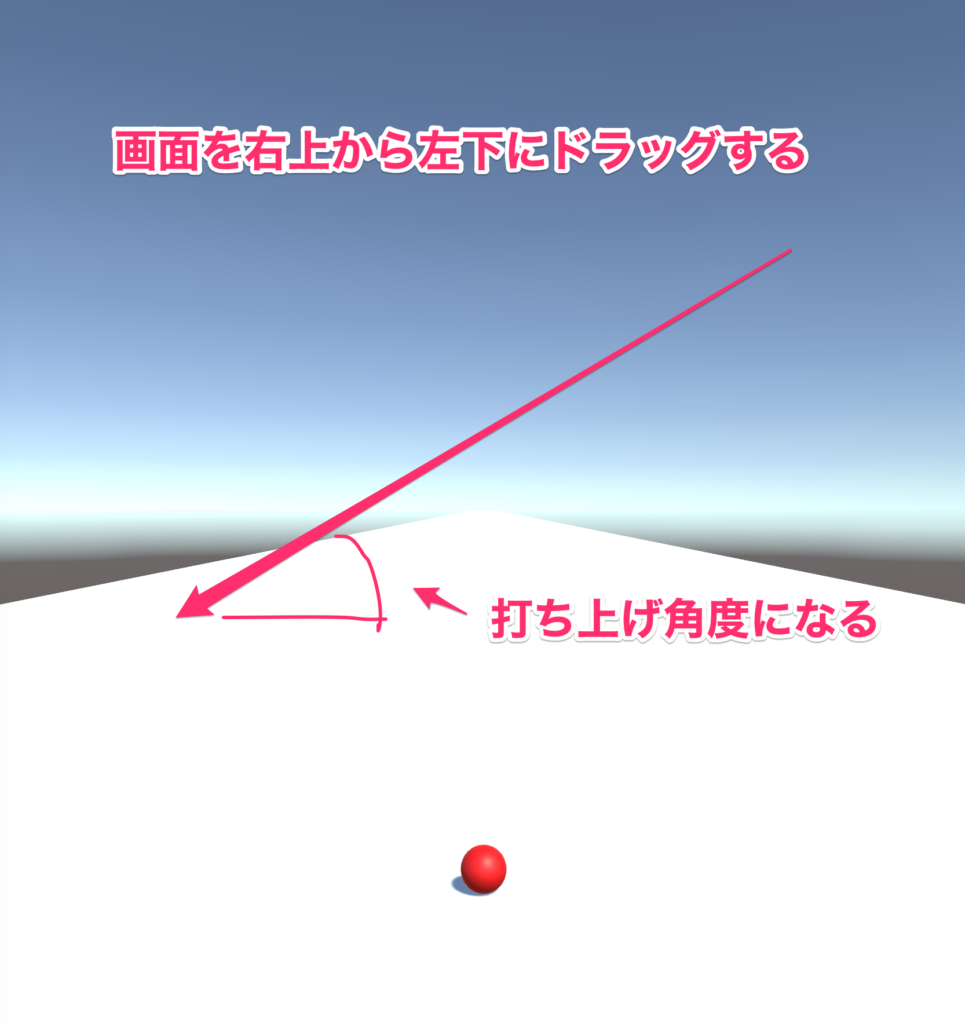
ボールが飛んでいけば成功だ。ドラッグする際の角度がボールの打ち上げ角度になるのでいろいろ試してもらいたい。

コメント