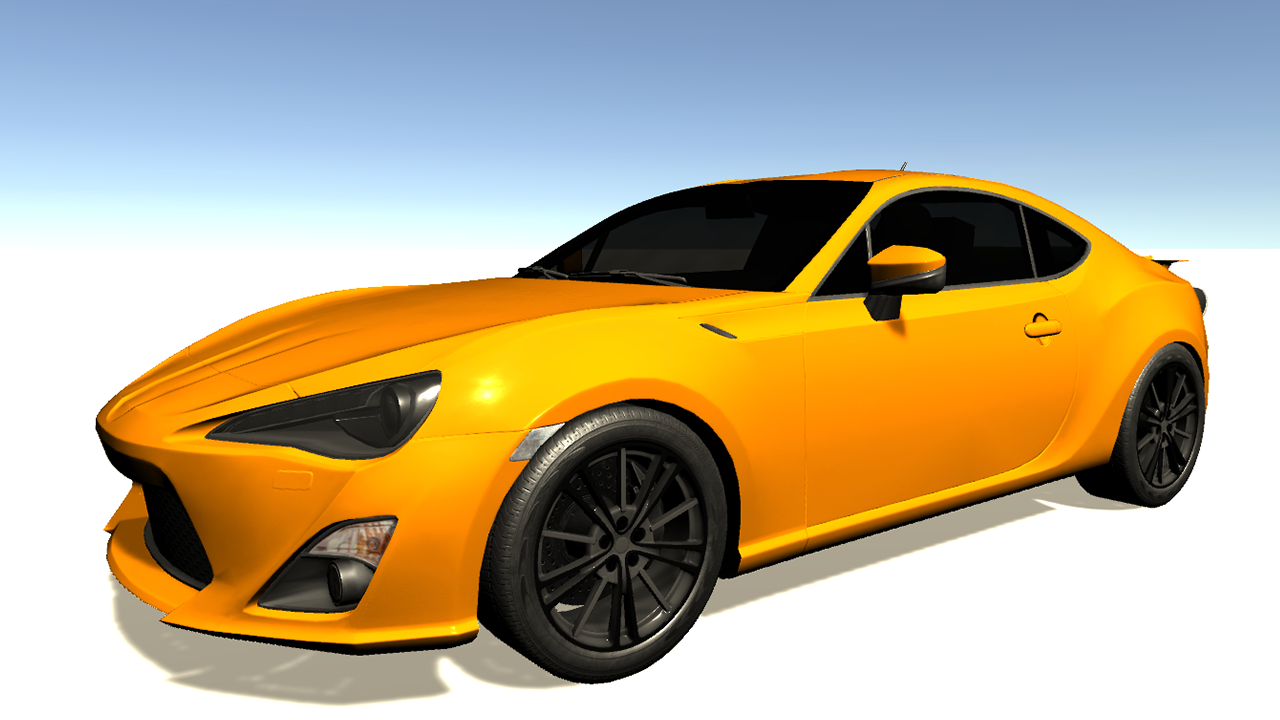
前回、WheelColliderの基本的な使い方を学んだので今回はアセットストアにある車の3DモデルにWheelColliderを反映させてみよう!
作成
1.新規に3DプロジェクトをCar86という名で作成する。
2.地面を作成しよう。新規3DオブジェクトからCubeを作成。Floorとリネームして大きさを調整する。

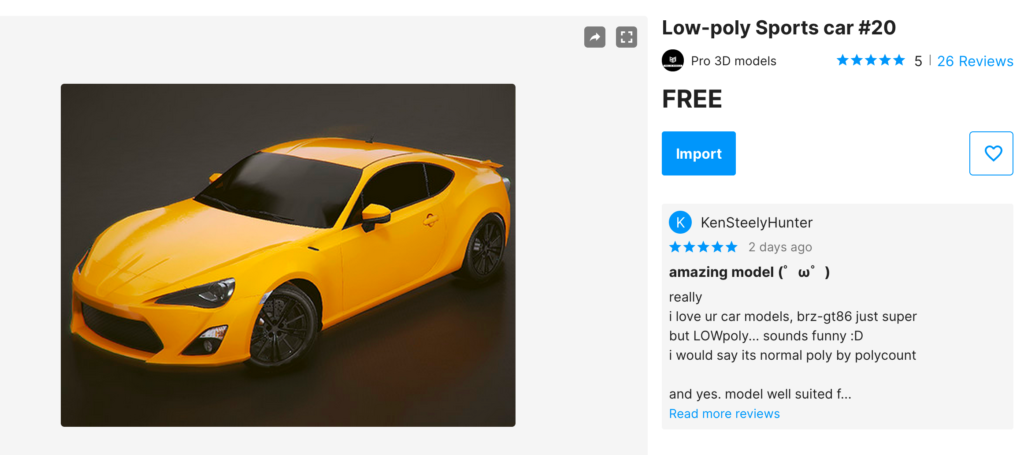
3.AssetStoreからのインポート。AssetStoreを開き以下のモデルをインポートする。(すべてをインポートしてよい)
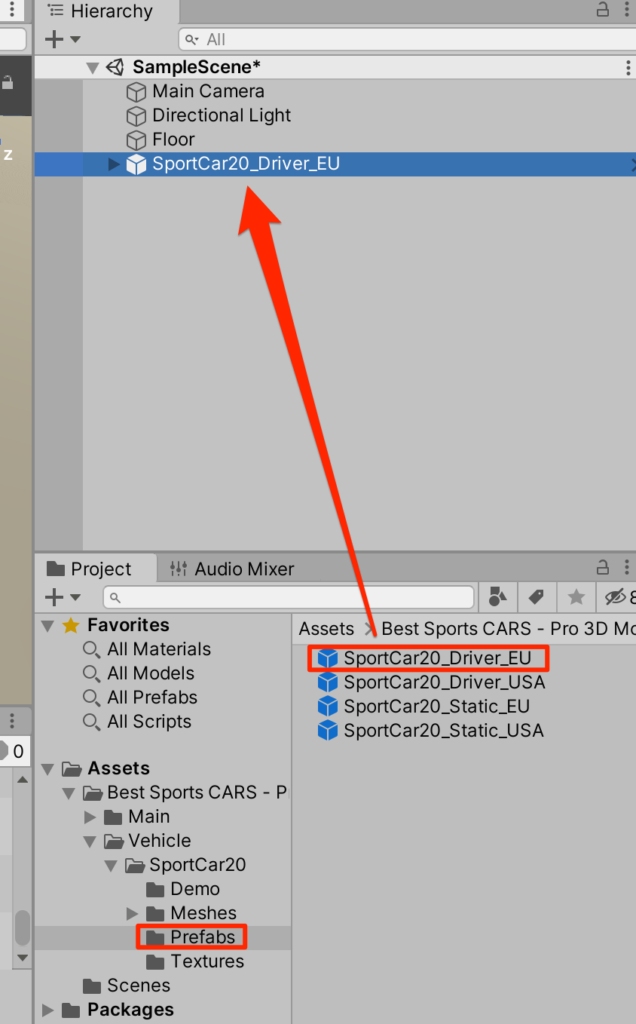
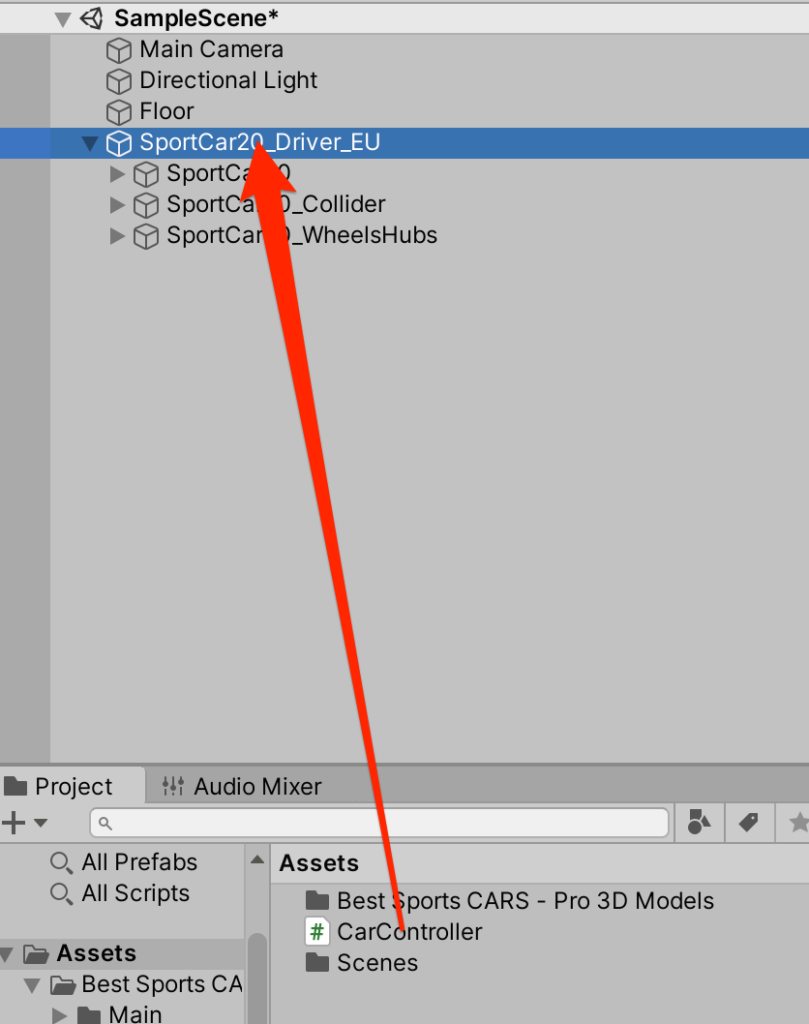
4.prefabsフォルダの中にある[SportCar20_Driver_EU]というプレファブをシーンにドラッグ&ドロップで配置する。
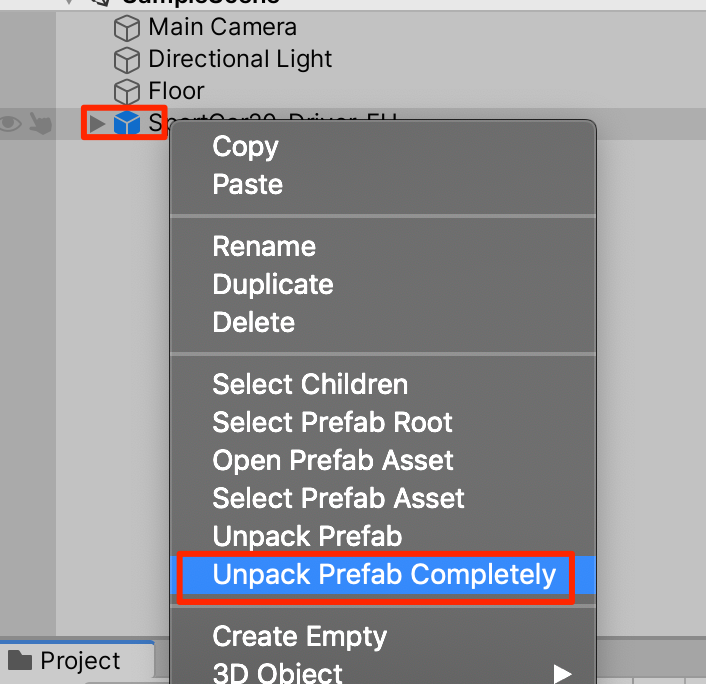
5プレファブのままでは編集がしづらいので解除してしまおう。右クリックからUnpack prefab completelyを選択し、プレファブ状態を解除する。
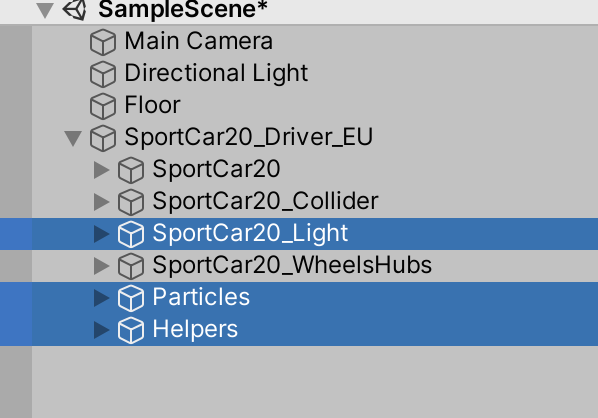
6.使わない部分を削除していこう。SportCar20_Light,Particles,Helpersを削除する
SportCar20_Diver_EUについているScpriptコンポーネントを3つ削除する。
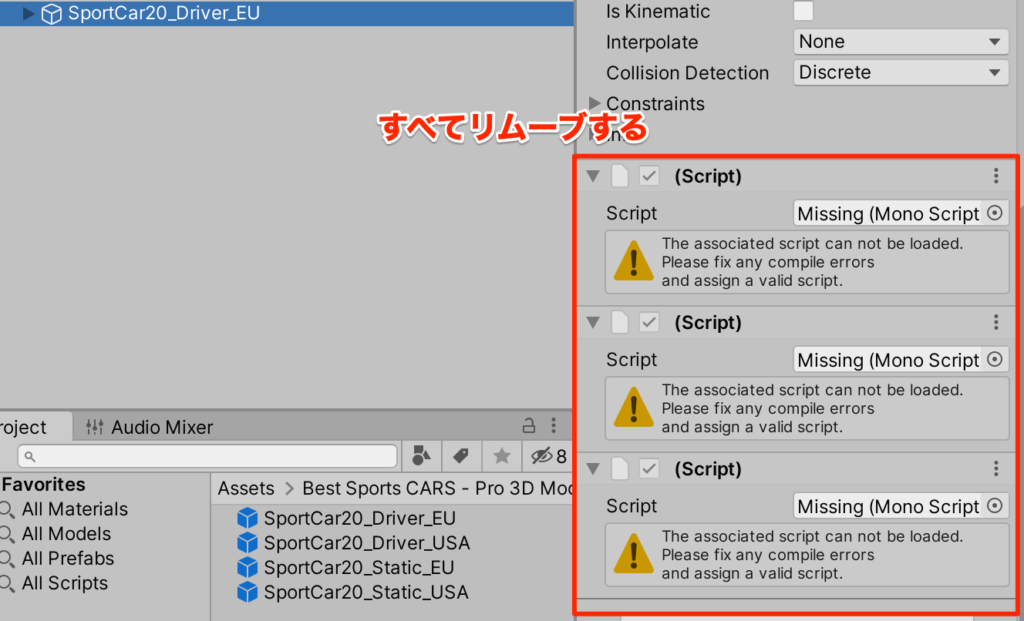
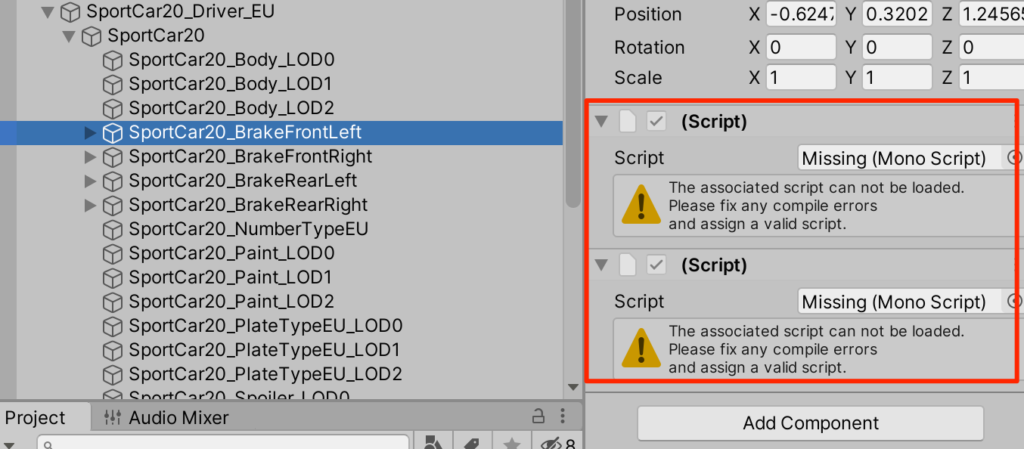
同様に内部にある未使用のScriptコンポーネントを削除していく。
(削除しなくても実行できるが、警告がでてしまう)
未使用のScriptコンポーネントの削除ができたら車を少し持ち上げて実行してみよう。
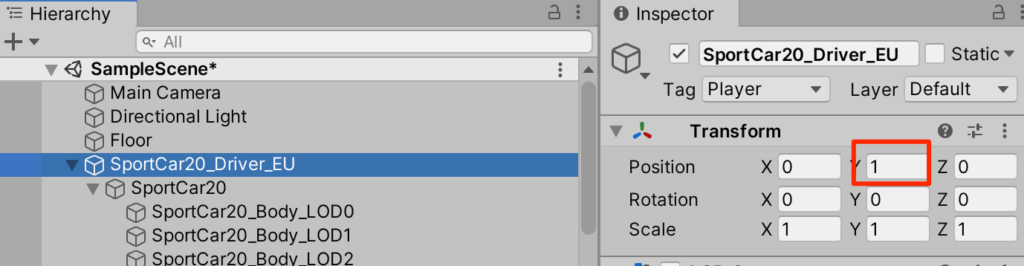
コンソールに警告でなければOKだ。
タイヤの親子関係の付け替え
WheelColliderがインポートした段階で設定してあるので、これらの子要素にタイヤ部分を移動させる。
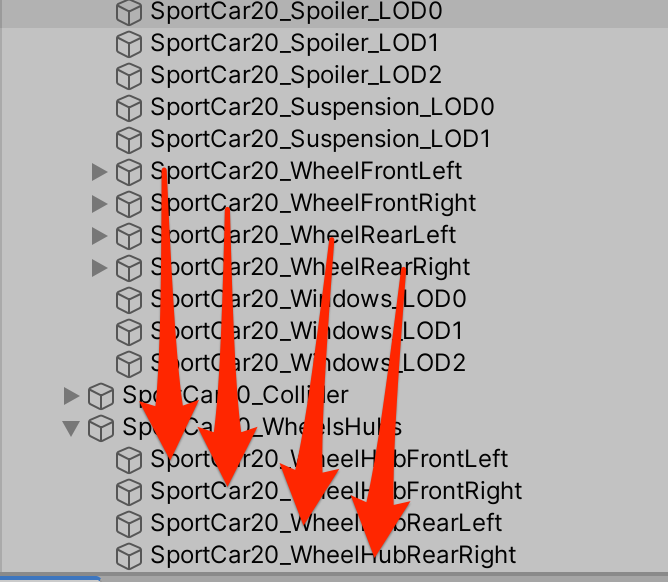
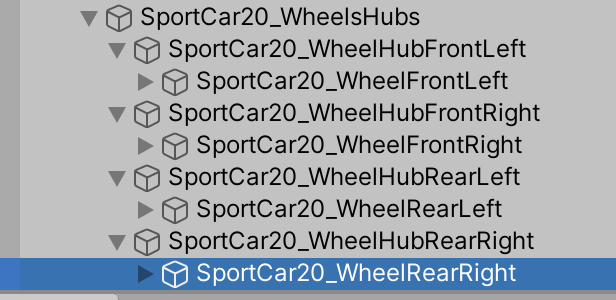
以下が移動後の状態
CarControllerの作成
新規C#スクリプトから以下のようにCarControllerを作成する。
using System.Collections;
using System.Collections.Generic;
using UnityEngine;
public class CarController : MonoBehaviour {
public List<AxleInfo> axleInfos;
public float maxMotorTorque;
public float maxSteeringAngle;
public void ApplyLocalPositionToVisuals(WheelCollider collider) {
Transform visualWheel = collider.transform.GetChild(0);
Vector3 position;
Quaternion rotation;
collider.GetWorldPose(out position, out rotation);
visualWheel.transform.position = position;
visualWheel.transform.rotation = rotation;
}
public void FixedUpdate() {
float motor = maxMotorTorque * Input.GetAxis("Vertical");
float steering = maxSteeringAngle * Input.GetAxis("Horizontal");
foreach (AxleInfo axleInfo in axleInfos) {
if (axleInfo.steering) {
axleInfo.leftWheel.steerAngle = steering;
axleInfo.rightWheel.steerAngle = steering;
}
if (axleInfo.motor) {
axleInfo.leftWheel.motorTorque = motor;
axleInfo.rightWheel.motorTorque = motor;
}
ApplyLocalPositionToVisuals(axleInfo.rightWheel);
ApplyLocalPositionToVisuals(axleInfo.leftWheel);
}
}
}
[System.Serializable]
public class AxleInfo {
public WheelCollider leftWheel;
public WheelCollider rightWheel;
public bool motor; //駆動輪か?
public bool steering; //ハンドル操作をしたときに角度が変わるか?
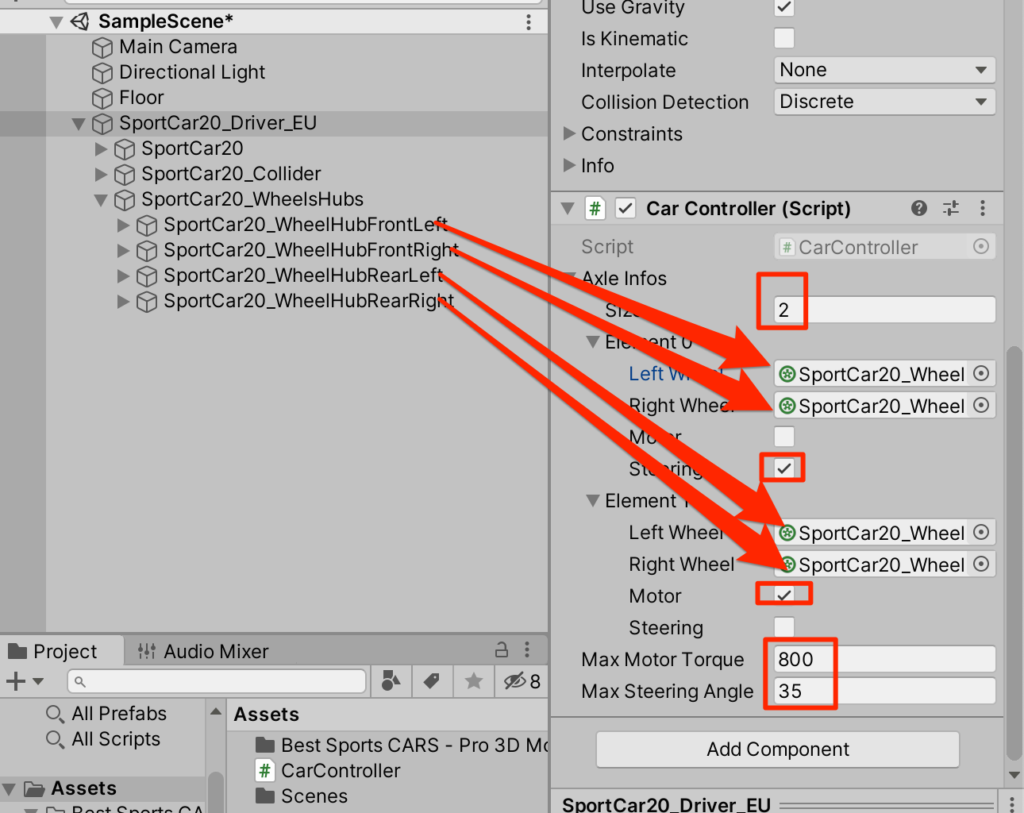
}作成したスクリプトを車のルートにアタッチする。
対応するホイールコライダーを登録し、各種値を以下のように設定する。
実行
実行してみよう。上下左右の矢印キーで車が移動すれば成功だ。
アレンジ
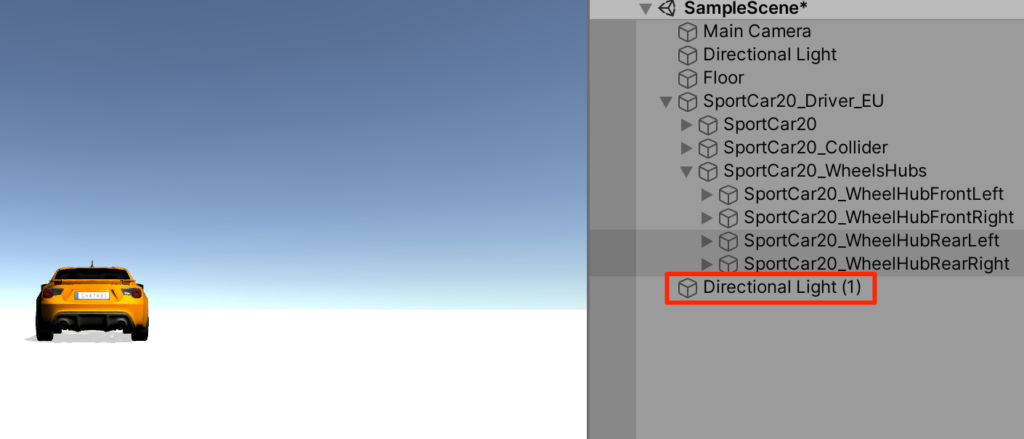
まずは全体が少し暗いのでdirectionalライトを1つ追加しよう。
テールハッピー
今回の後輪駆動車をいわゆるテールハッピーにしてしまおう。テールハッピーというのは後輪のグリップ力が少なくてすぐに後輪がスリップする状態だ。後輪の2つのWheelColliderを選択して、Stiffnessを0.3に設定する。
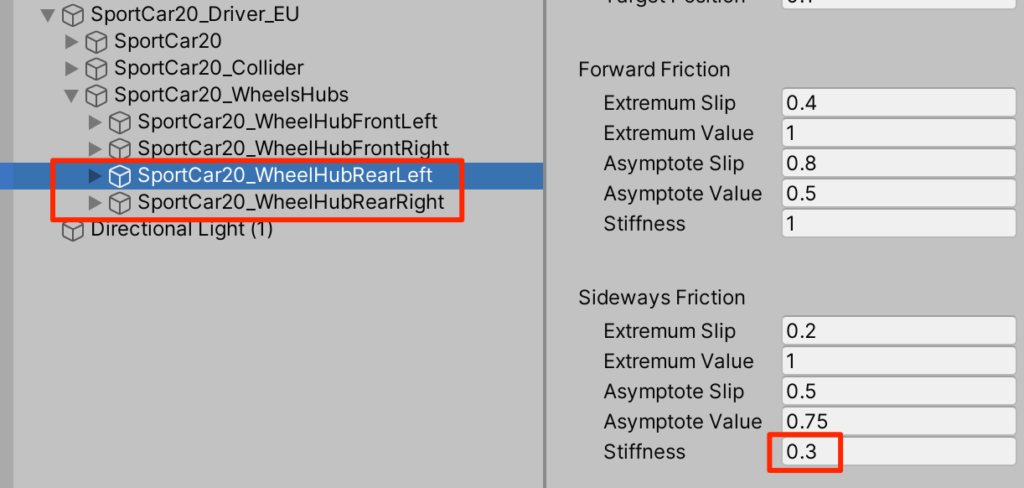
Stiffnessがグリップ力を決める。横方向の設定を0.3にすれば後輪はスリップしまくりとなる。
車好きでなくともこの挙動は楽しめる。車好きなら一晩中遊べるのではなかろうか。設定を色々変えてお好みのセッティングを見つけよう。
ダウンロード
以下のリンクから今回のAssetsをダウンロード出来る
https://joytas.net/downloads/car86assets.unitypackage

コメント